File Filter Input
File filter workflows are a fantastic way to create filtered searches where you specify the file types you want Alfred to search and/or the locations you want him to search in.
Jump to:
Why create a file filter?
A file filter allows you to narrow down your search to particular file types you want to find, making it easier to locate the file you need.
Rather than add every possible file type to your default Alfred results, or trawl through an unfiltered list of all files that match your search term, these finely focused filters will help you find the results you need in a moment.
You can then trigger the file search using the file filter keyword or adding a hotkey.
Setting Up Your File Filter
In the File Filter input, you can specify:
- File types searched
- Search scope within which Alfred should search
- Fields to search
- How you want to limit and sort the results
1. File Types
First, you'll set the File Types you want to search. Leave this blank to search all file types, and specify the search scope instead.
To add File Types, drag files of the type you want from Alfred's results or from Finder into the File Types box. Alternatively, type their UTIs (Uniform Type Identifier) in.
Broadening File Types
When typing in the file types, you can add a specific ContentType or add a ContentTypeTree to broaden the file types.
For example, a png file is of the ContentType public.png, and a ContentTypeTree of
public.png
public.image
public.data
public.item
public.contentThe ContentTypeTree goes from the most precise classification (png) to the broadest (content), so if you'd like to include anything that conforms to the public.image ContentTypeTree, press the + button and add a "+public.image" entry.
Sounds complicated? If you're not sure, don't worry about it. You can just drag a png, a jpg and a gif into the File Types box instead to include these multiple file types in your filter.
2. Search Scope
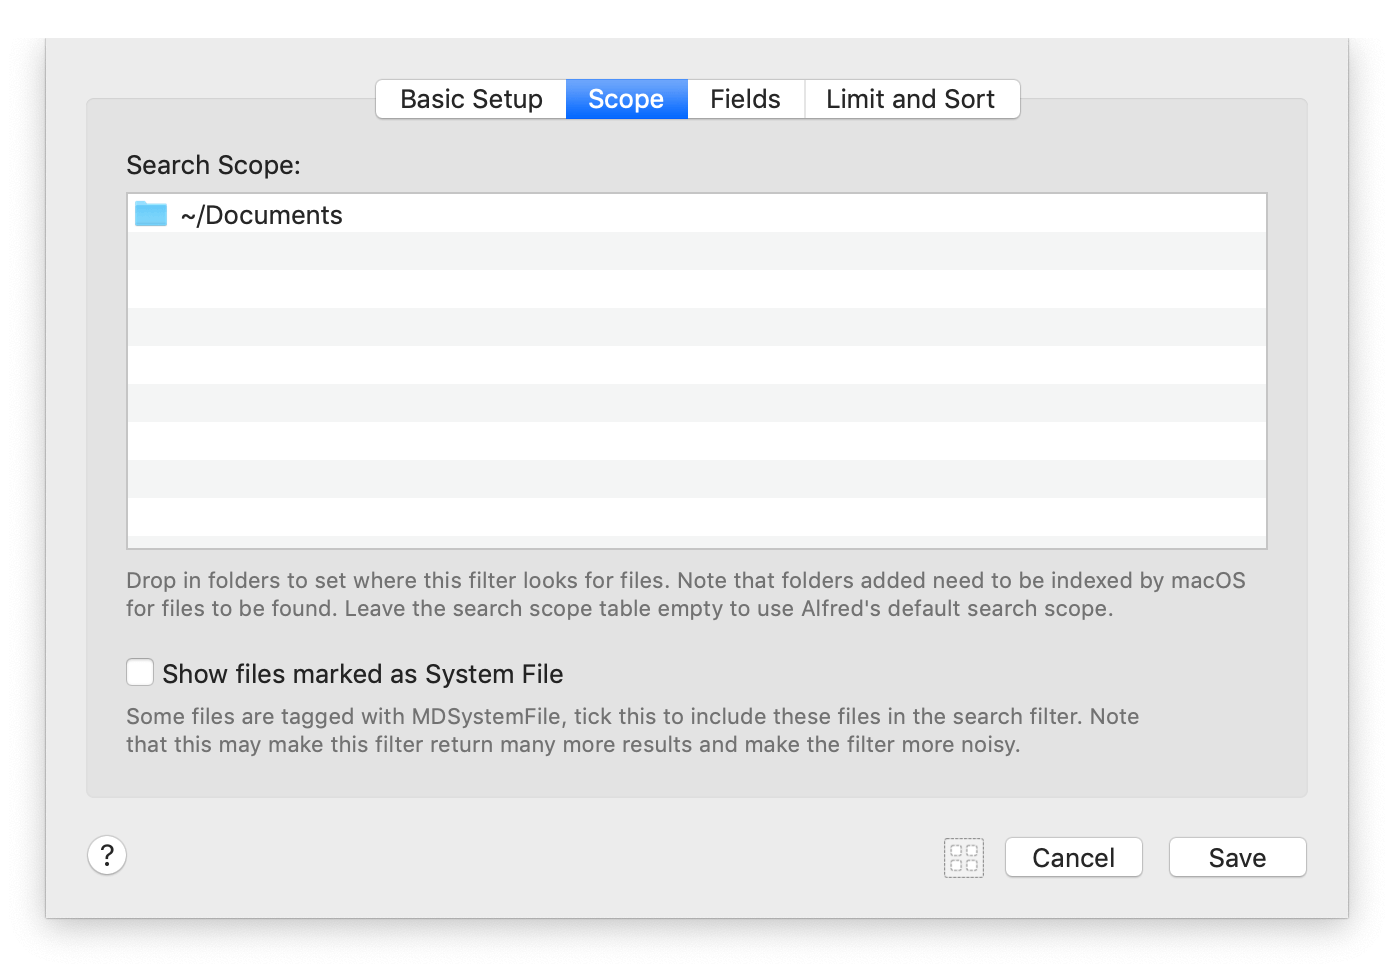
You can specify a search scope by dragging one or many folders into the Search Scope tab.
Only check the box to show files marked as System File if you really need to include these, as they'll otherwise add noise (and seemingly strange files) to your results.
3. Fields
By default, Alfred searches the display name, file name and Finder comments added to the file, which is usually sufficient to search for files by name.
If you need to search further fields, such as macOS Tags (kMDItemUserTags), you can add these fields here. You can exclude fields with the NOT column.
You can also change the anchoring to broaden the search with wildcarding:
- The "Words" column searches from word boundaries (the beginning of a word, rather than anywhere within a word)
- The "Split" column splits each word into a separate parameter instead of grouping them together as a single query
4. Limit and Sort
Optionally, you can set a date range (today, last 3, 7 or 30 days, or older than 30 days) for when the file was created or last modified.
The Result Limit can be set to anywhere from 10 to 200 results, but we recommend keeping it below 100 to keep things snappy!
Finally, you can sort the results based on Alfred's Knowledge, which takes into account your previous usage, or you can sort by Creation or Last Modified date.
What's next?
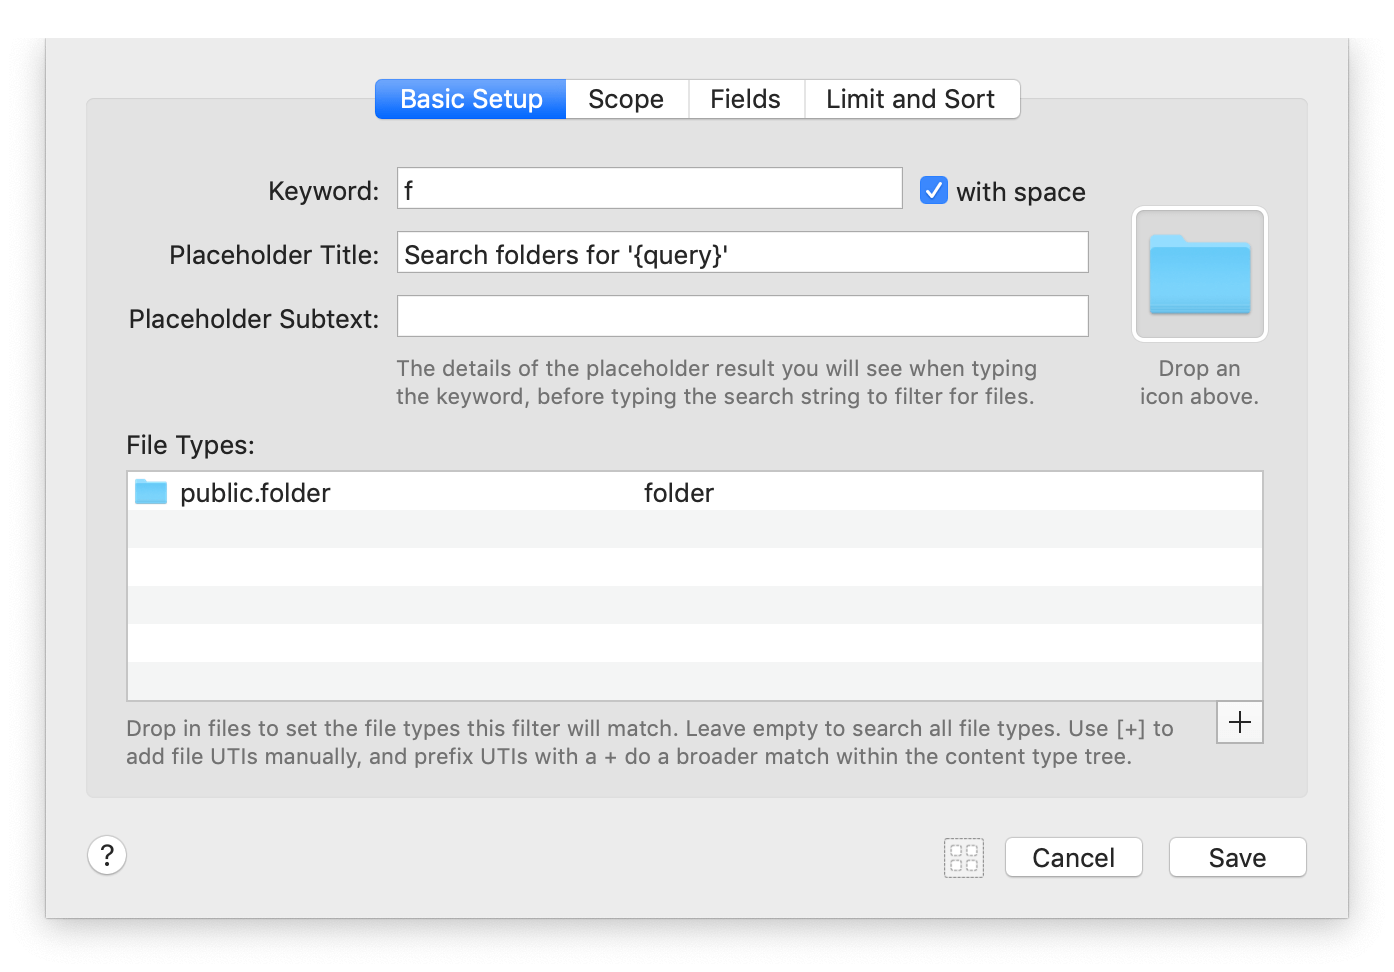
The simplest example using the File Filter is to connect this workflow item to an "Open file" action to filter for folders only and open them in Alfred.
Optionally, set an "Open with" application in the "Open file" action to open these files in an app other than the standard one (e.g. open photos in your photo editing software instead of Preview.app)
The placeholder title and subtitle is displayed in Alfred's results until the File Filter search query text returns results.
Placeholder text is no longer required, but is recommended. The placeholder title and subtitle appear until you start typing your actual search query text. Without a placeholder, your filter will still work, but will not appear until you start typing your search query text.
Creating your own File Filter Workflow
In this example, let's create a file filter that searches only for PDFs in your Documents folder. If you're searching the contents of this folder every day, it makes it much quicker to create a search like this rather than manually navigating into the folder every time.
-
Launch Alfred's preferences to the Workflows tab
-
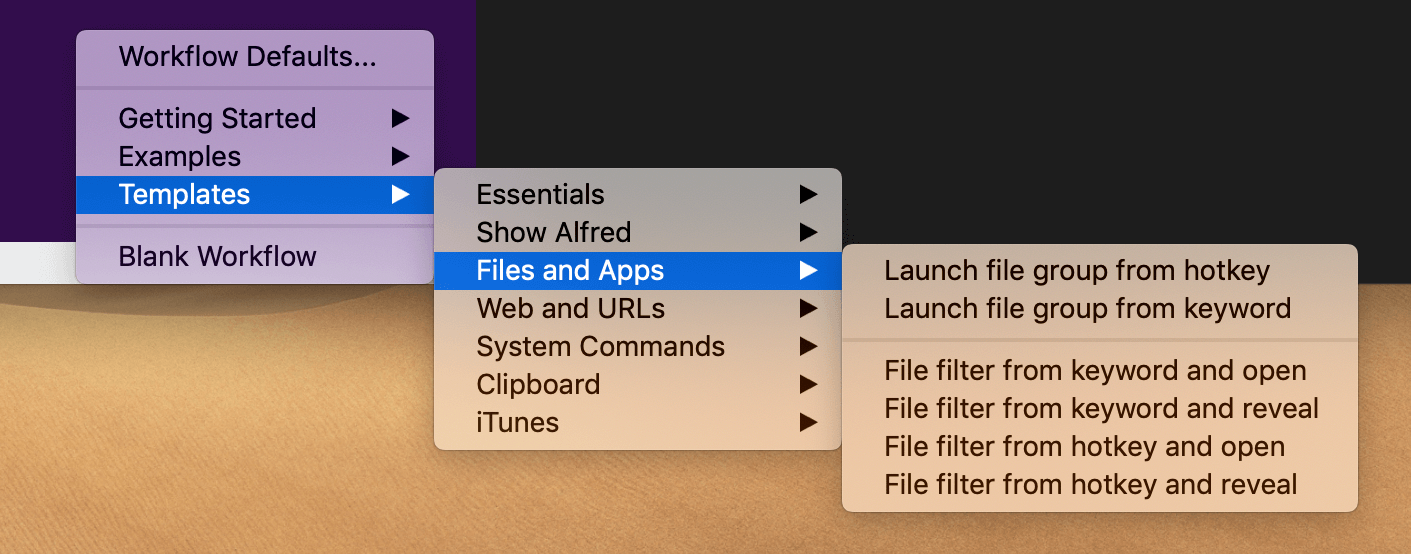
Click the + button at the bottom of your Workflows sidebar, and select Templates > Files & Apps > File filter from keyword and open. Give your workflow a name and a bundle ID.
-
Double-click the File Filter object to make the dropdown appear.
-
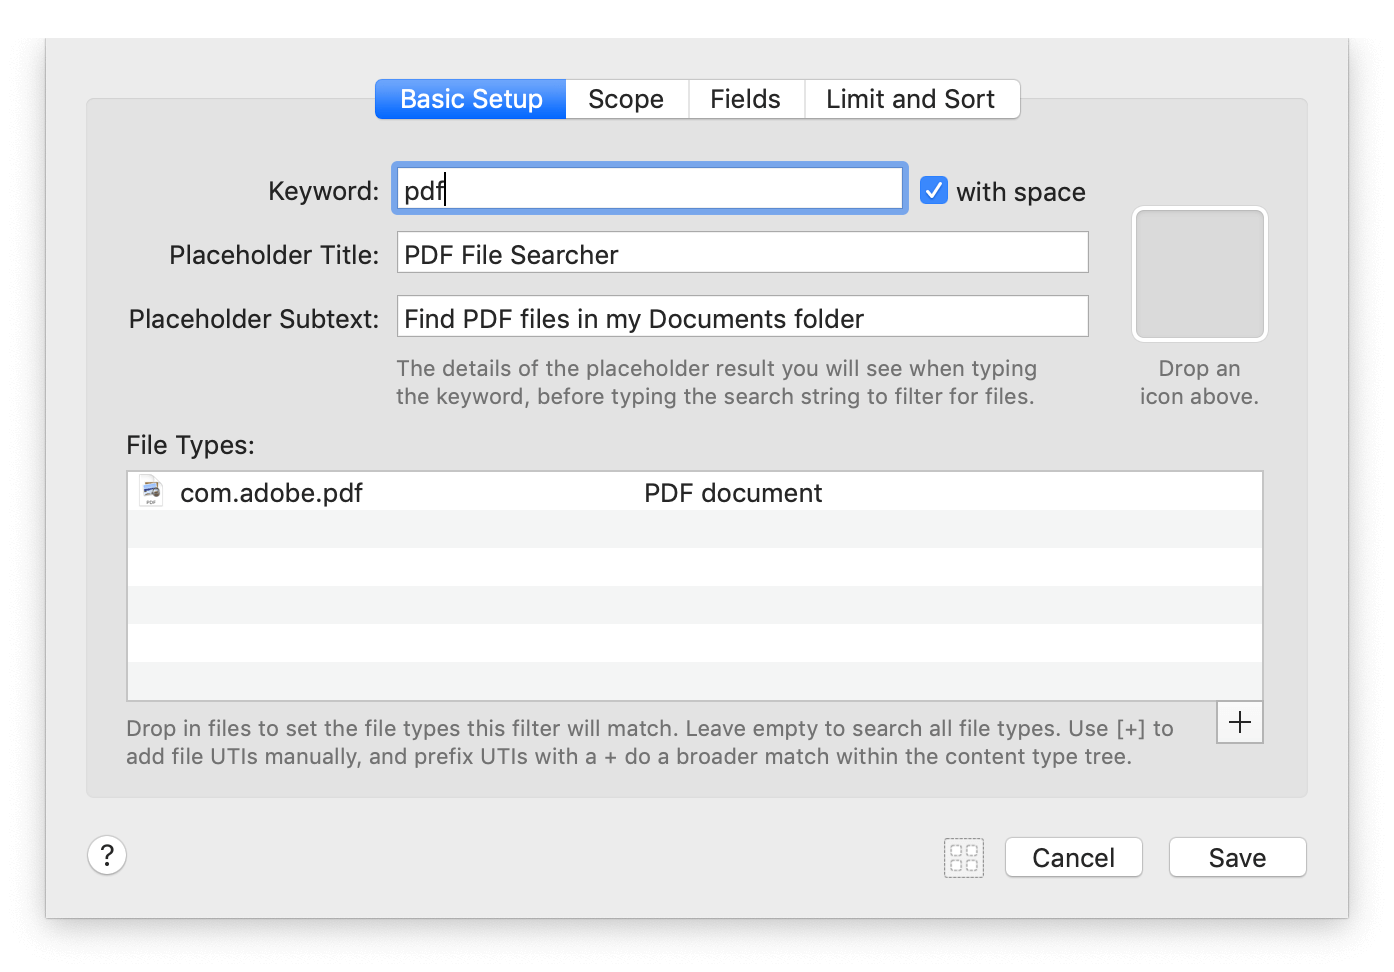
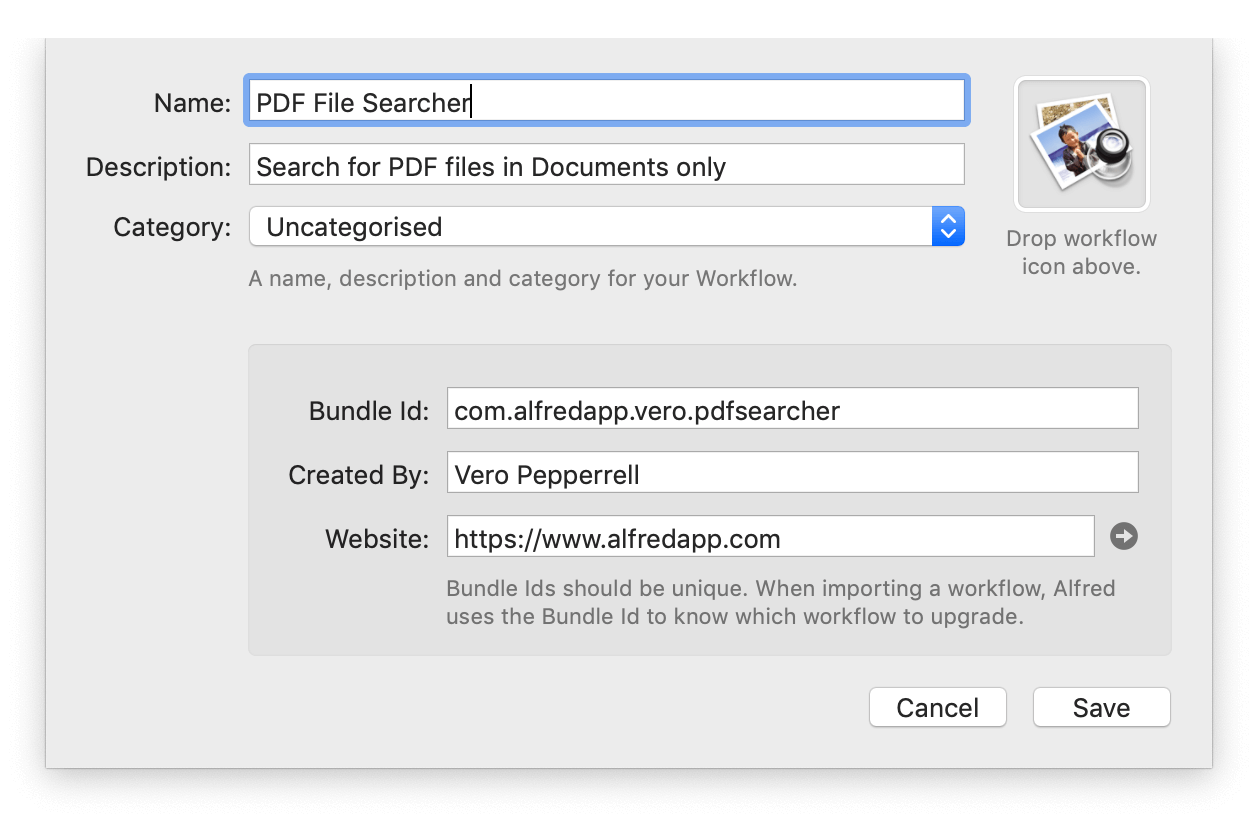
Set your keyword to "pdf" and add a title (e.g. "PDF File Searcher") and some subtext that explains what the workflow will do.
-
Drag a PDF file to the "File types" box so that Alfred knows you want to search for PDF files only.
You could now save your workflow and be all done, but let's add a few more improvements.
-
Optionally, you can set an icon for your workflow by dragging a pdf file or an icon of your choice to the image well that says "Drop an icon above".
-
Want to set the search scope to only search specific folders? Go to the Advanced tab and drag in the folders you want to search in this workflow. Here we'll add the Documents folder, but you can add as many as you like or leave it blank to use your default Alfred search scope.
-
Click the save button.
-
Want to give your workflow a clearer name? Double-click the workflow in the left sidebar to set a name and a description, then click Save.
Now launch Alfred and type "pdf" followed by your keyword and you will see that only PDF files will appear in your filtered search.
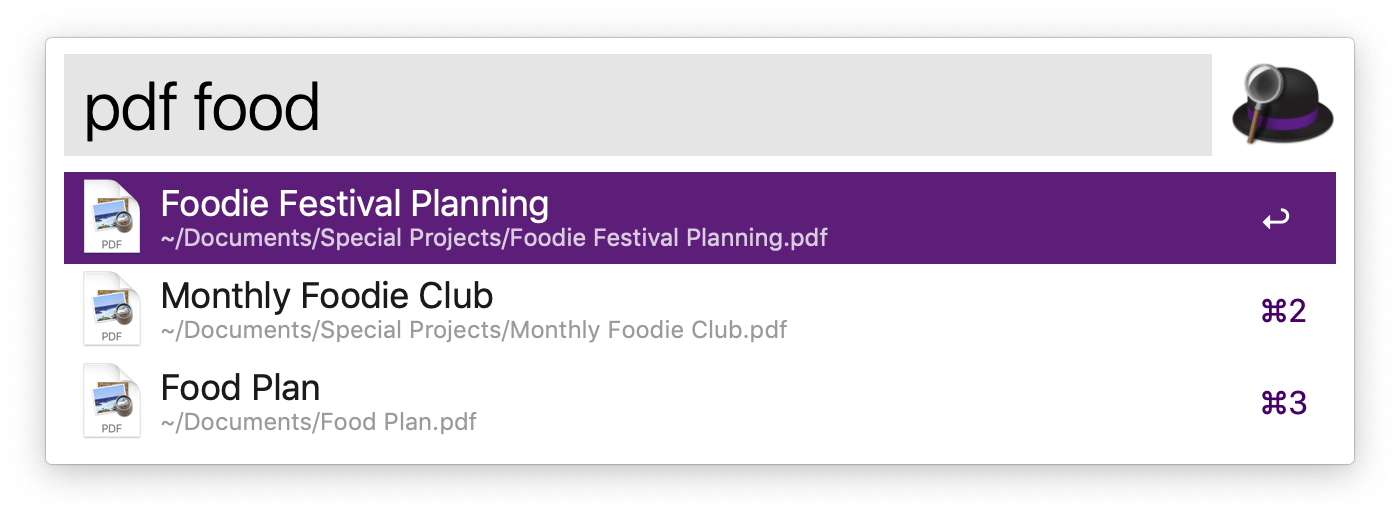
Congratulations, you've created your first workflow! You can now create filters like this but drag different file types to filter only folders, images, text files and more.
File Filter Example Workflows
Take a look at these examples to see how you can easily create your own file filters:
- Simple Folder Search: Search for folders in your Home Folder
- Dynamic File Search: Choose a folder, then search for files within it
Next, try creating a File Filter to suit your specific needs. Join us on Alfred forum if you need help customising your workflow.