Sound Board Alfred UI Tutorial
Let's create a classic sound board: A simple grid of buttons you click to make some noise. We'll be using macOS' default sounds, as they are readily available.
Sound Board
A grid of buttons to play sounds
Workflow Setup
Create a new blank workflow. Add a Keyword Input and an Alfred UI object, then connect the former to the latter.
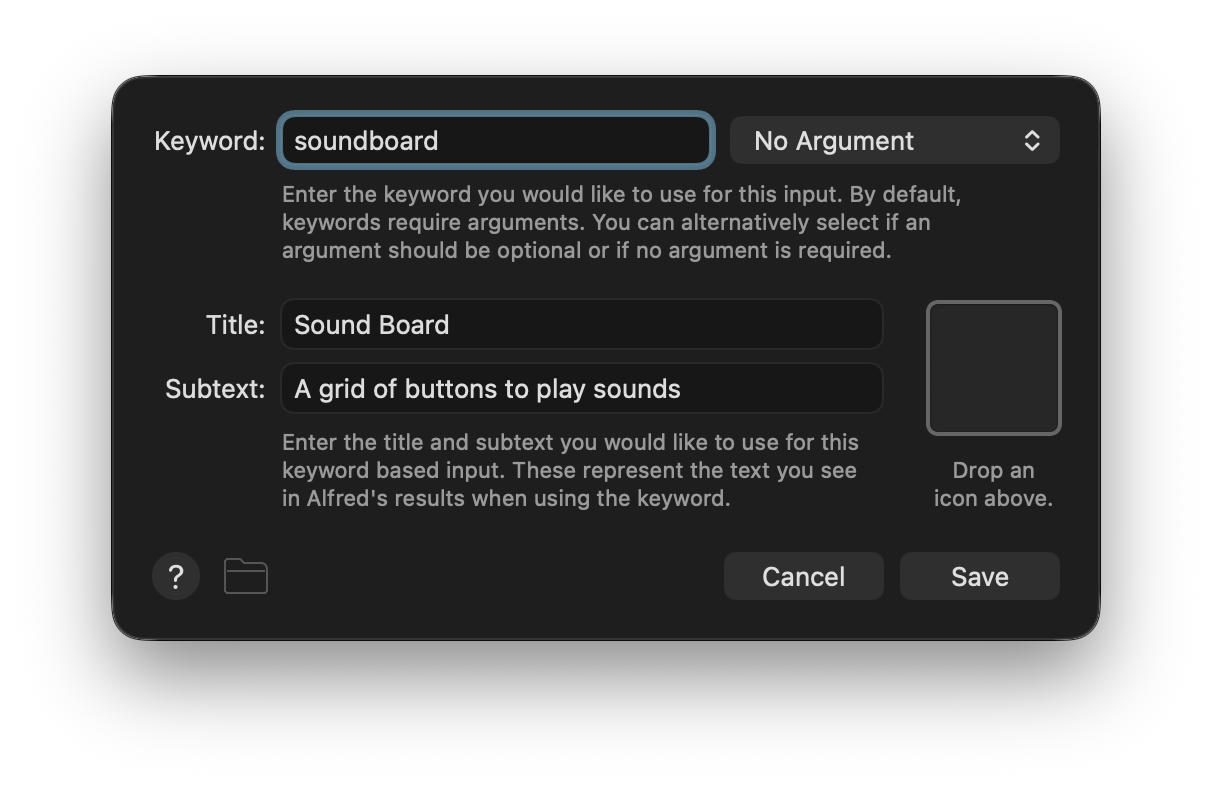
Configure the Keyword Input first. Make the Keyword, Title, and Subtext whatever you like but ensure the argument handling is set to No Argument.
Configure the Alfred UI object next. Set a name for the Alfred UI file and click the +.
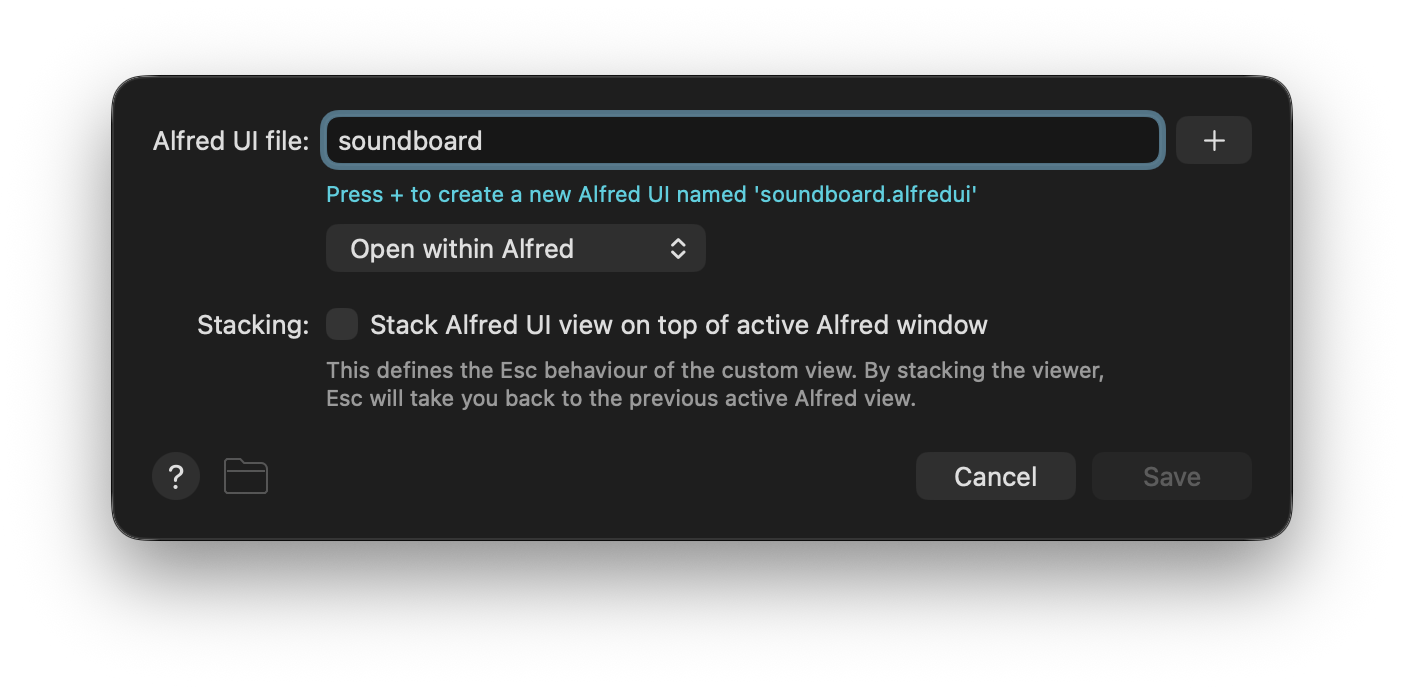
You can now click the ... to open the the .alfredui package in the Finder or Terminal. Open the ui.json file in your favourite text editor and let's get started making our UI.
TipYou can create the
.alfreduifolder andui.jsonfiles manually, though doing so through the interface sets you up with the default template.
In the interest of pedagogy, delete the contents of the ui.json file so we can add back just what we need and explain as we go.
Building the UI
Creating a Window with One Button
Let's start with a window and a single button
{
  "window": {
    "root": {
      "type": "button",
      "text": "Glass"
    }
  }
}
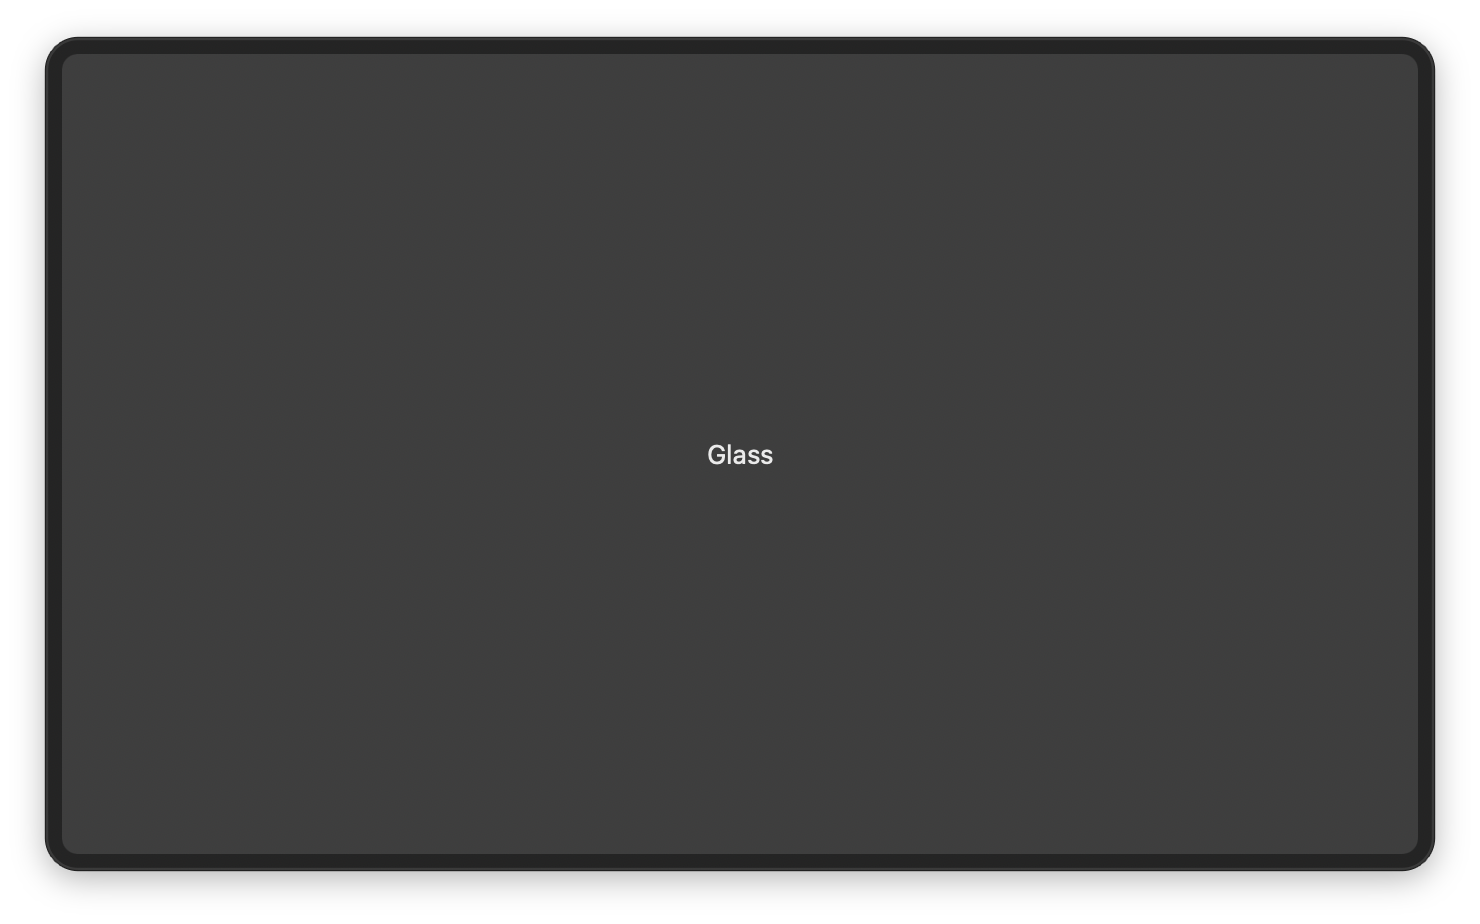
That was easy! But it looks a bit funny. This is because UIs by default only take whatever space is necessary to house their components. The width of the window follows your theme and the height grows as necessary. In turn, components default to fit their available space. Let's make the window taller and add some padding.
{
  "window": {
    "size": { "height": 400 },
    "padding": 8,
    "root": {
      "type": "button",
      "text": "Glass"
    }
  }
}
Connecting the Button
Now let's tap into events and action to make the button work. Specifically, we'll use the JSON Action command to play a sound.
{
  "window": {
    "size": { "height": 400 },
    "padding": 8,
    "root": {
      "type": "button",
      "text": "Glass",
      "events": [
        {
          "triggers": "actioned",
          "action": {
            "type": "json",
            "src": { "sound": { "src": "Glass" } }
          }
        }
      ]
    }
  }
}
Run the UI again and click the button. We have sound!
Laying Out the Grid
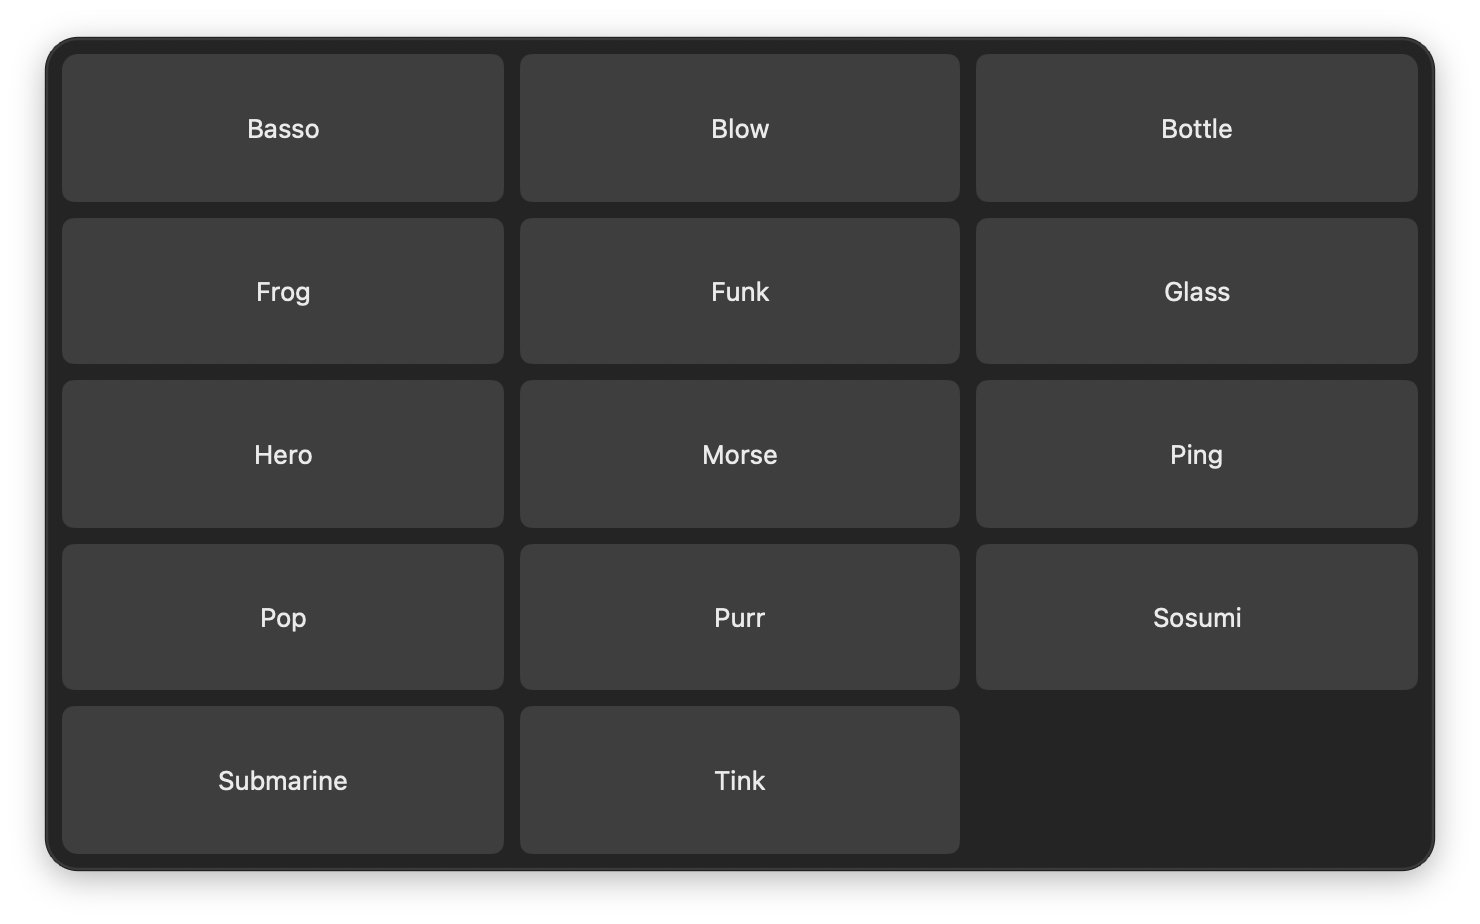
To focus on laying out multiple buttons, we'll park events and action for the time being. We'll add them back later with a neat trick. macOS ships with 14 default sounds, so let's make a grid of 5 rows by 3 columns, spaced 8px apart.
{
  "window": {
    "size": { "height": 400 },
    "padding": 8,
    "root": {
      "type": "view",
      "layout": "grid",
      "spacing": 8,
      "rows": 5,
      "cols": 3,
      "components": [
        { "type": "button", "text": "Basso" },
        { "type": "button", "text": "Blow" },
        { "type": "button", "text": "Bottle" },
        { "type": "button", "text": "Frog" },
        { "type": "button", "text": "Funk" },
        { "type": "button", "text": "Glass" },
        { "type": "button", "text": "Hero" },
        { "type": "button", "text": "Morse" },
        { "type": "button", "text": "Ping" },
        { "type": "button", "text": "Pop" },
        { "type": "button", "text": "Purr" },
        { "type": "button", "text": "Sosumi" },
        { "type": "button", "text": "Submarine" },
        { "type": "button", "text": "Tink" }
      ]
    }
  }
}
Visually, it's just what we were looking for. Note how we replaced the root with a grid and added a components array to house all the buttons.
At this point you have enough tools to finish the UI yourself. Try it. All you have to do is reproduce the events above in each button, replacing Glass in "src": { "sound": { "src": "Glass" } } with the name of each sound. You're done!
Read on for a cleverer way, but don't worry if you can't follow it just yet because it's a more advanced concept. Adding each event manually is fine.
Introducing Templates
Templates are a way to repurpose complex components which differ in simple ways. Define them once, reuse them multiple times by defining only what's unique about each.
{
  "templates": {
    "soundbutton": {
      "type": "button",
      "text": "{param:soundname}",
      "events": [
        {
          "triggers": "actioned",
          "action": {
            "type": "json",
            "src": { "sound": { "src": "{param:soundname}" } }
          }
        }
      ]
    }
  },
  "window": {
    "size": { "height": 400 },
    "padding": 8,
    "root": {
      "type": "view",
      "layout": "grid",
      "spacing": 8,
      "rows": 5,
      "cols": 3,
      "components": [
        { "type": "template", "src": "soundbutton", "params": { "soundname": "Basso"} },
        { "type": "template", "src": "soundbutton", "params": { "soundname": "Blow"} },
        { "type": "template", "src": "soundbutton", "params": { "soundname": "Bottle"} },
        { "type": "template", "src": "soundbutton", "params": { "soundname": "Frog"} },
        { "type": "template", "src": "soundbutton", "params": { "soundname": "Funk"} },
        { "type": "template", "src": "soundbutton", "params": { "soundname": "Glass"} },
        { "type": "template", "src": "soundbutton", "params": { "soundname": "Hero"} },
        { "type": "template", "src": "soundbutton", "params": { "soundname": "Morse"} },
        { "type": "template", "src": "soundbutton", "params": { "soundname": "Ping"} },
        { "type": "template", "src": "soundbutton", "params": { "soundname": "Pop"} },
        { "type": "template", "src": "soundbutton", "params": { "soundname": "Purr"} },
        { "type": "template", "src": "soundbutton", "params": { "soundname": "Sosumi"} },
        { "type": "template", "src": "soundbutton", "params": { "soundname": "Submarine"} },
        { "type": "template", "src": "soundbutton", "params": { "soundname": "Tink"} }
      ]
    }
  }
}
We added a templates key at the top level with a soundbutton entry defining a general structure, then replaced each button with a reference to it, setting a soundname parameter to replace the {param:} placeholders in the template.
With the above, we have our sound board!
Bonus: Adding Your Own Sounds
Above we defined sounds by name alone. These are the names of the sounds found under /System/Library/Sounds, meaning these are equivalent:
"src": { "sound": { "src": "Glass" } }
"src": { "sound": { "src": "/System/Library/Sounds/Glass.aiff" } }
You can use custom sounds by placing them inside the .alfredui package and using them as the src. Paths are relative to the root .alfredui folder, so if you place a file under soundboard.alfredui/resources/sounds/bite.mp3:
"src": { "sound": { "src": "resources/sounds/bite.mp3" } }