Alfred 5 Workflow Editor and Palette
In Alfred 5, the Workflow Editor has been completely rewritten to be higher performance, more efficient and user-friendly than ever. You can create more powerful workflows faster, with less need to use your mouse and, often, no need to write your own scripts.
Take a look at the sections below to discover how to make the most of the Workflow Editor:
- Workflow Editor canvas
- Palette, including the objects, prefabs and favourites
- Palette Search
- Palette Hotkeys
- Configuration Builder
- Debugger
- Exporting Workflows
Workflow Editor canvas
This is the heart of your workflow, where you add objects and connect them to tell Alfred what actions you want to perform.
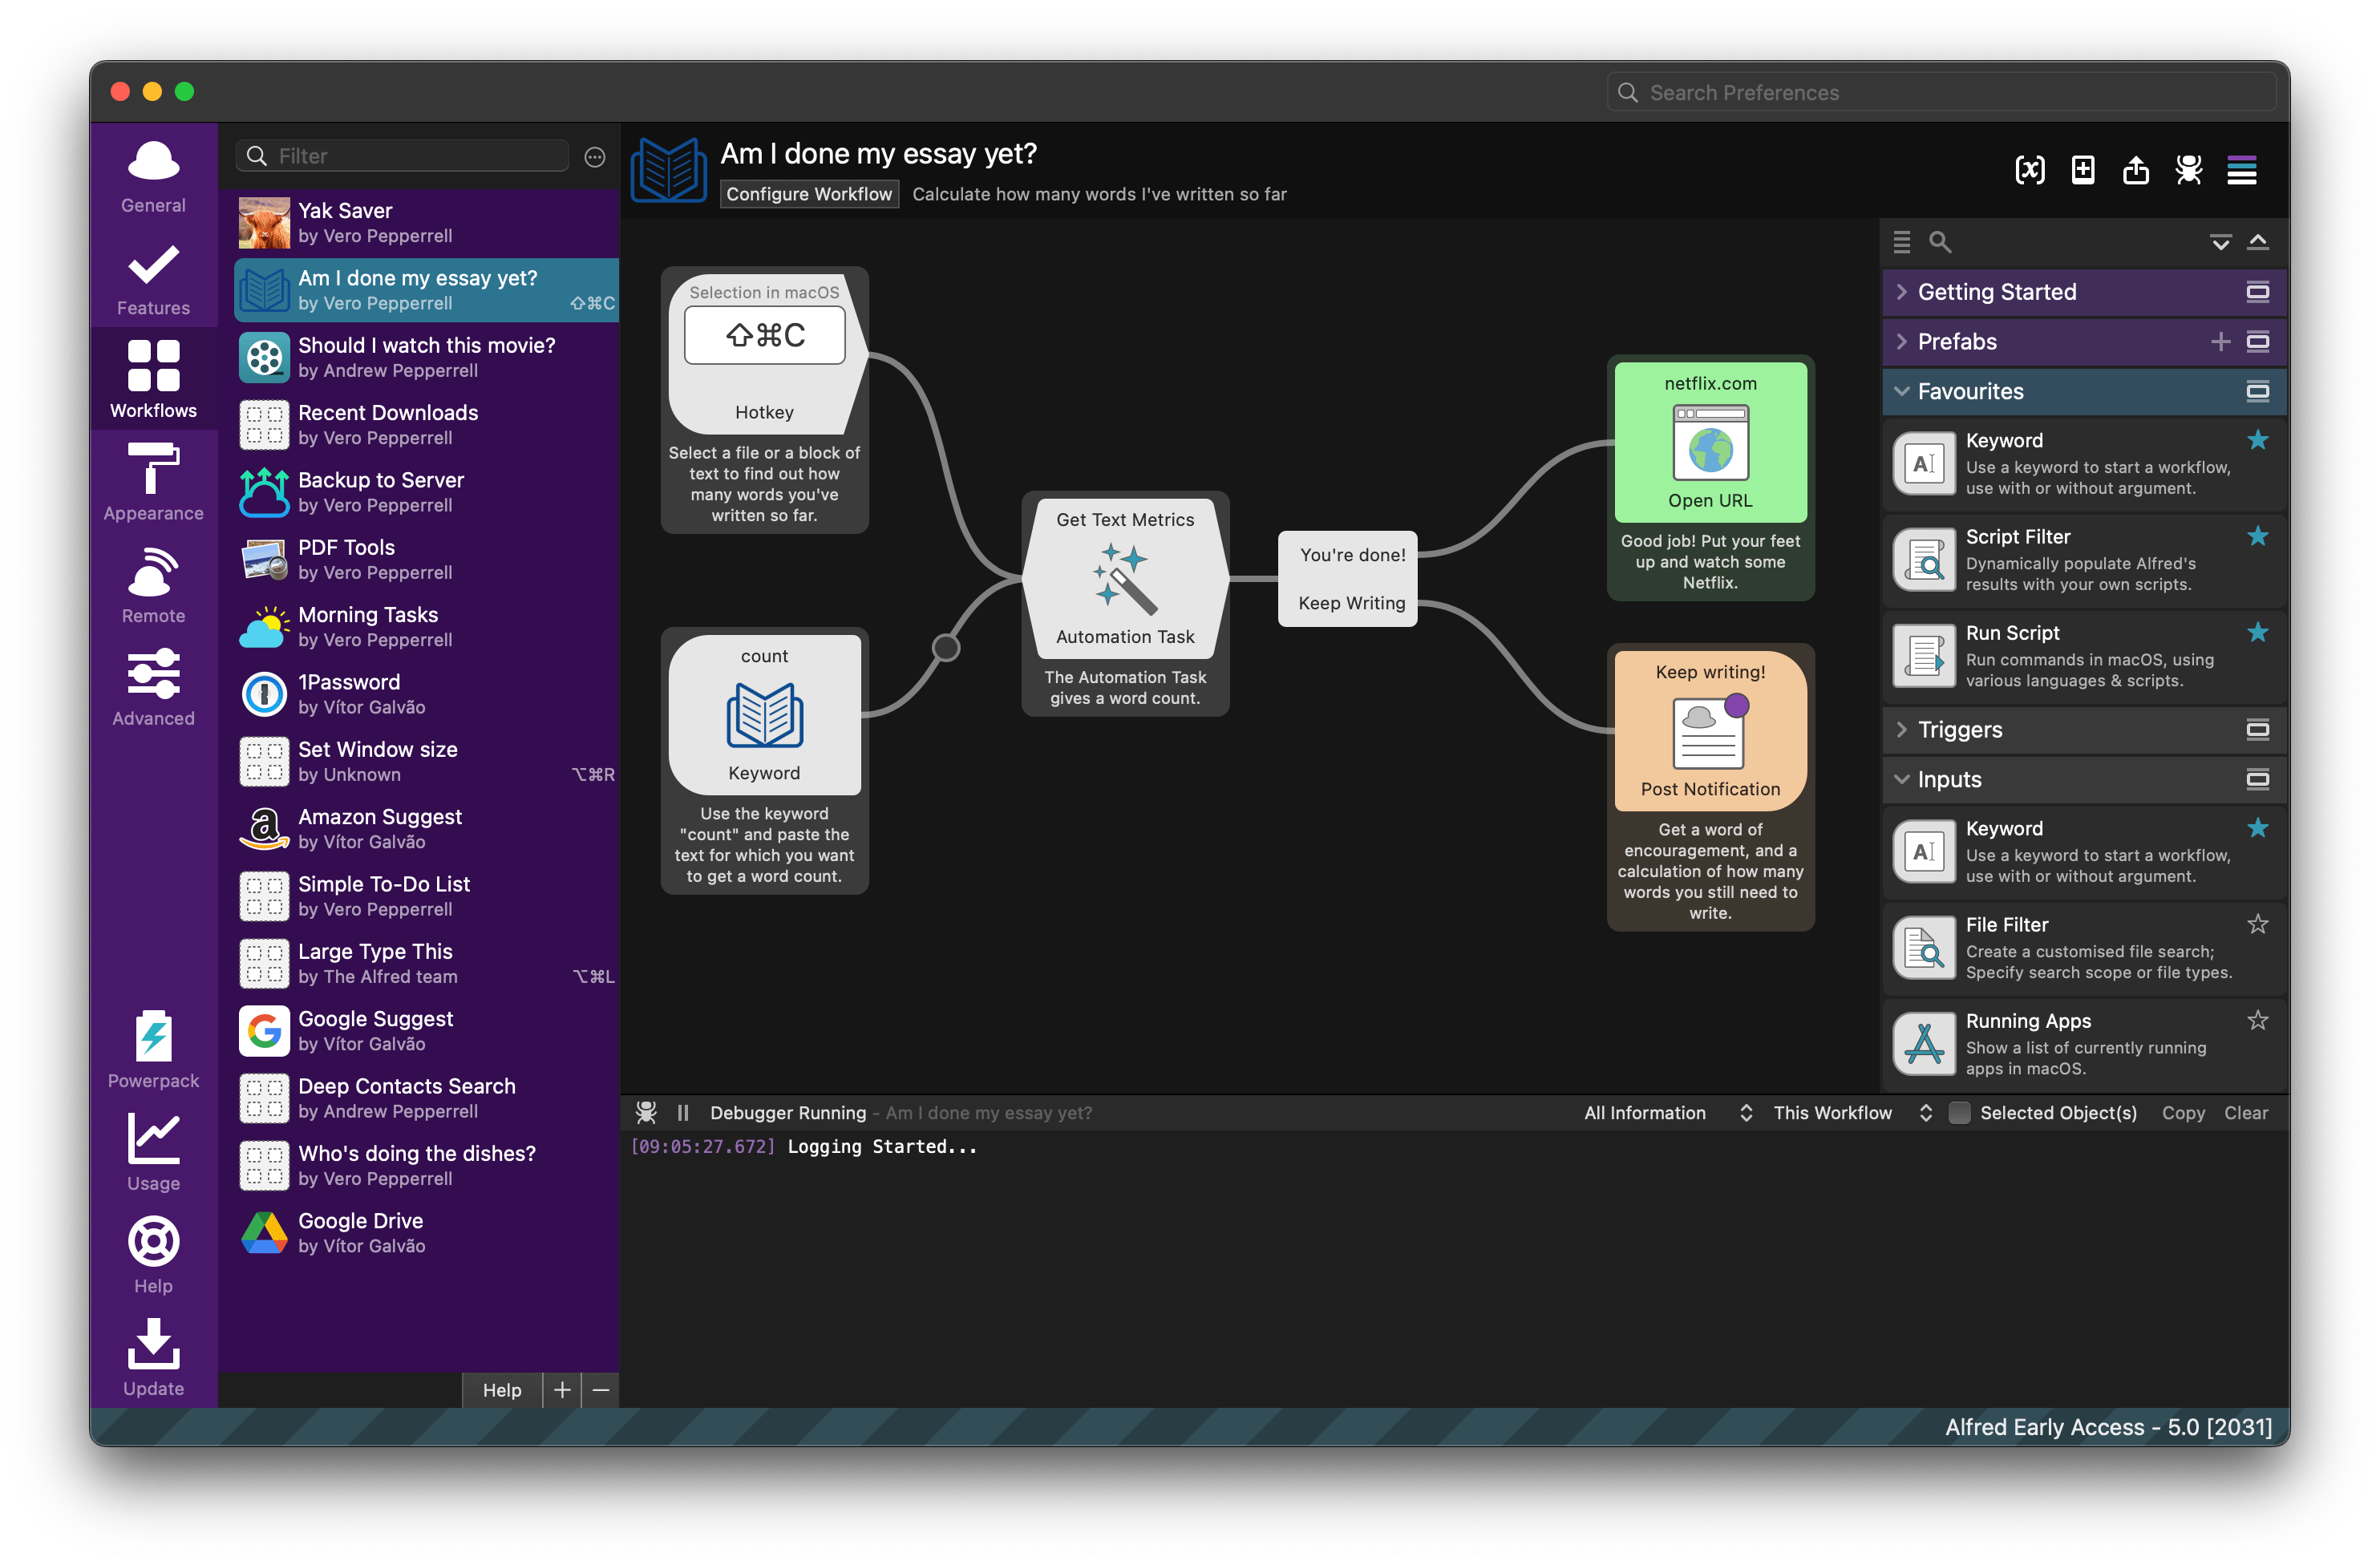
Palette
The Palette is a new feature to Alfred 5, giving you a more efficient way to browse and search for objects, and to add them to your workflows.
You can show and hide the Palette completely using Palette icon (the four stripes) in the very top right of the Workflow Editor. Alternatively, you can toggle the Palette size to be wide or thin using the smaller grey Palette icon.
Even when hidden, you can summon the Palette Search with / or \ when you're in the Workflow Editor.
1. Workflow Objects
These are the building blocks you'll use to create your workflow.
They are grouped by type; Triggers, Inputs, Actions, Automations, Utilities and Outputs. You'll also find your own Prefabs and Favourites at the top of the list.
For any of the objects, add them to the canvas and click the ? in their configuration window to see full documentation on how to use them.
Automation Tasks are an exciting new feature in Alfred which allows you to build even more complex Workflows without a line of code. Discover how to use and configure them.
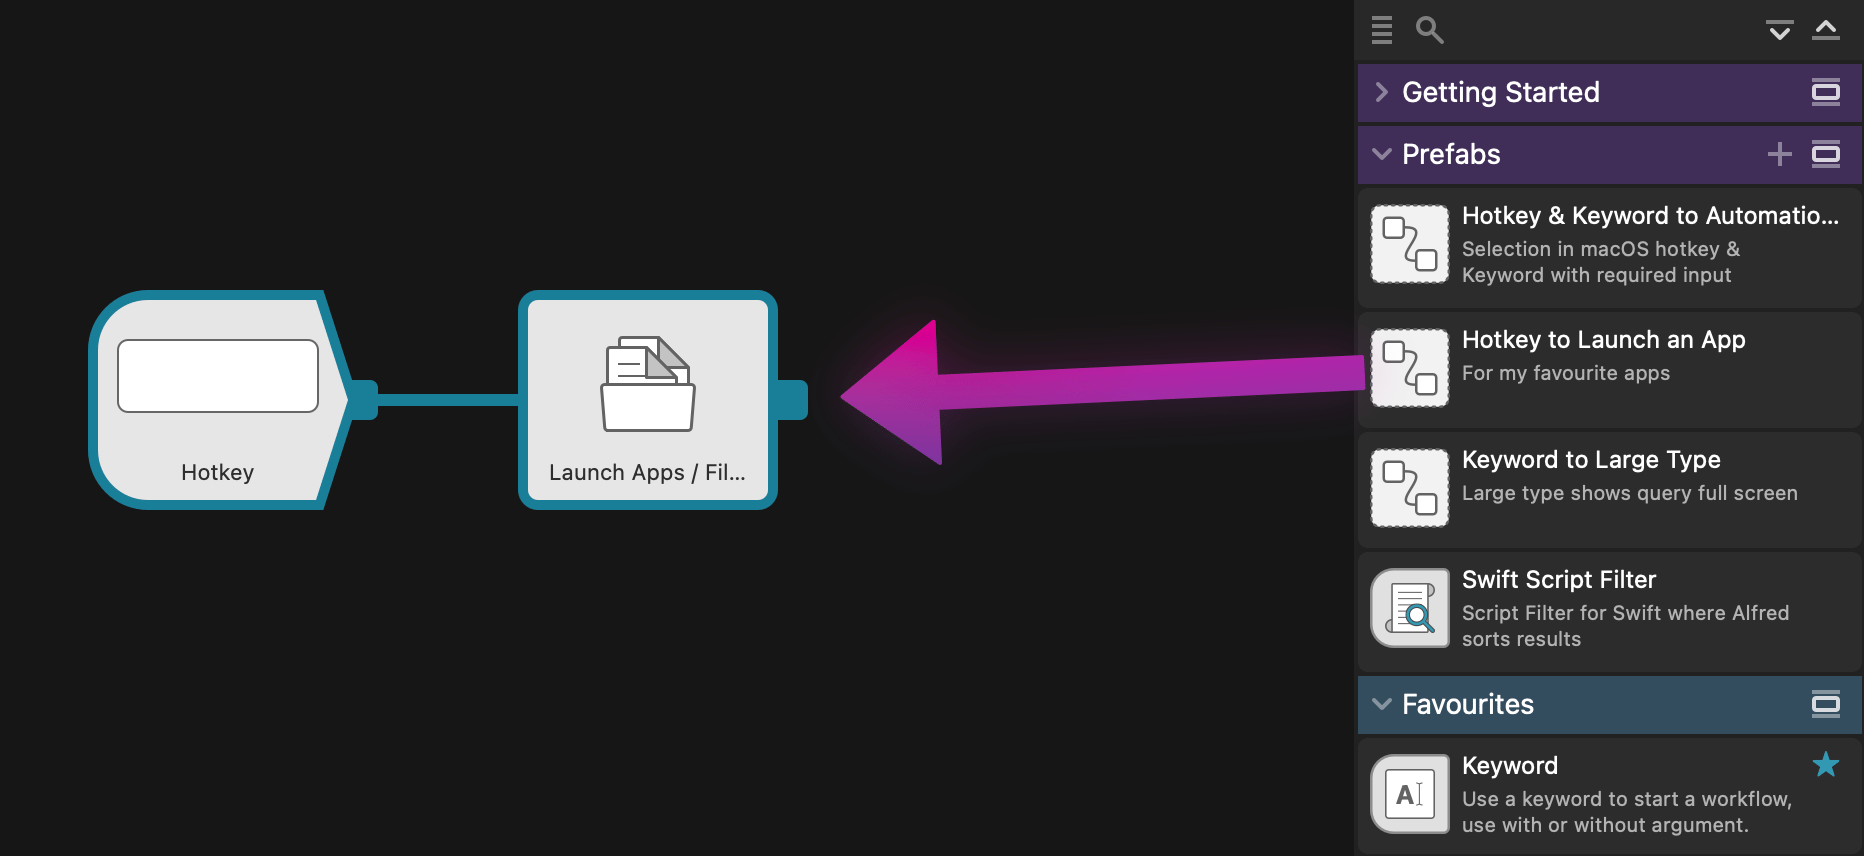
2. Prefabs
To create and save your own Prefabs, first configure your object(s) in the canvas, connecting and annotating them as necessary.
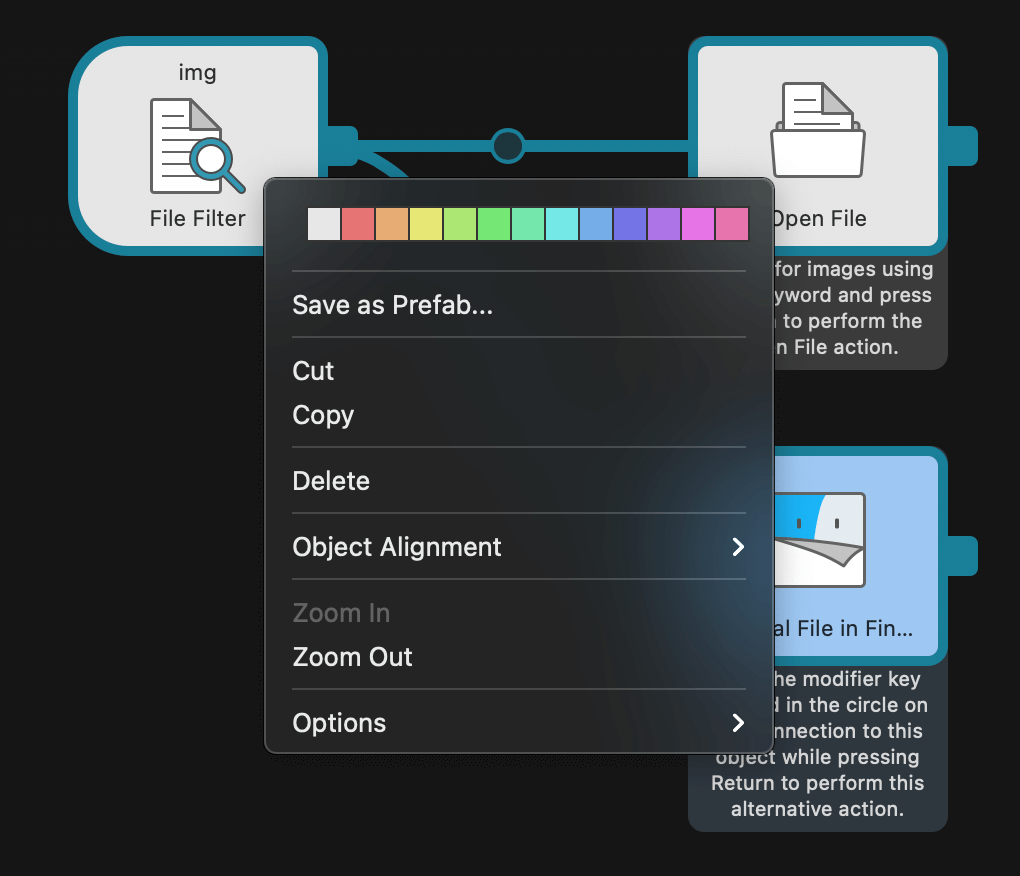
To save them as a Prefab, highlight the object(s) on the canvas and:
- Right-click the group of objects and choose "Save as Prefab..."
- or click the + in the Prefabs header of the Palette.
You'll need to give your Prefab a name and, optionally, a description to make it easy to choose later.
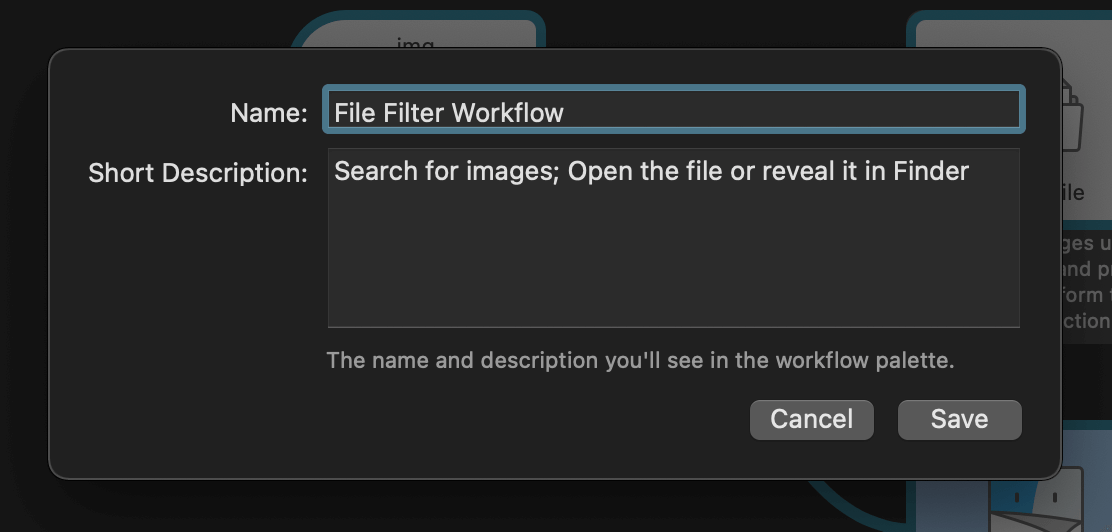
It'll then be saved under the Prefabs section of the Palette, ready for you to add at any time!
3. Favourites
Favourites are self-descriptive; It's a way for you to save your most frequently used workflow objects to the top of the list.
To add an object as a favourite:
- Right-click it in the sidebar and choose "Add to Favourites"
- Click the star to the right of the object name; It'll become blue and be added to your Favourites
Palette Search
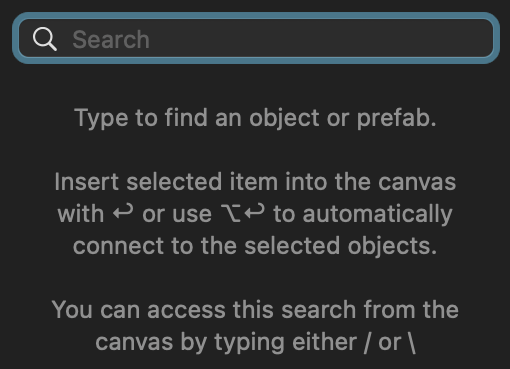 The quickest way to add a new object to your workflow is to use / or \ when you're in the Workflow Editor to pop up the Palette Search.
Even if you've hidden the Palette, it will appear so that you can find the object you need, and disappear once you've added your object to the canvas.
Palette Hotkeys
Navigating objects on the Canvas
Take a look at the hints at the bottom of the canvas to discover the many hotkeys you can use to navigate around objects, connect objects instantly when adding them to the canvas and more.

You can hide these by clicking the cross on the corner, and bring back the hints by right-clicking the canvas > Options > Show hints at bottom of Canvas.
Adding objects and auto-connecting them
When an object is already selected on the canvas, hold the ⌥ (Option/Alt) key while dragging in a new object to auto-connect them.
The Workflow Editor is compatible with VoiceOver and Accessibility features in macOS using the arrows and the hotkeys above to navigate the Editor.
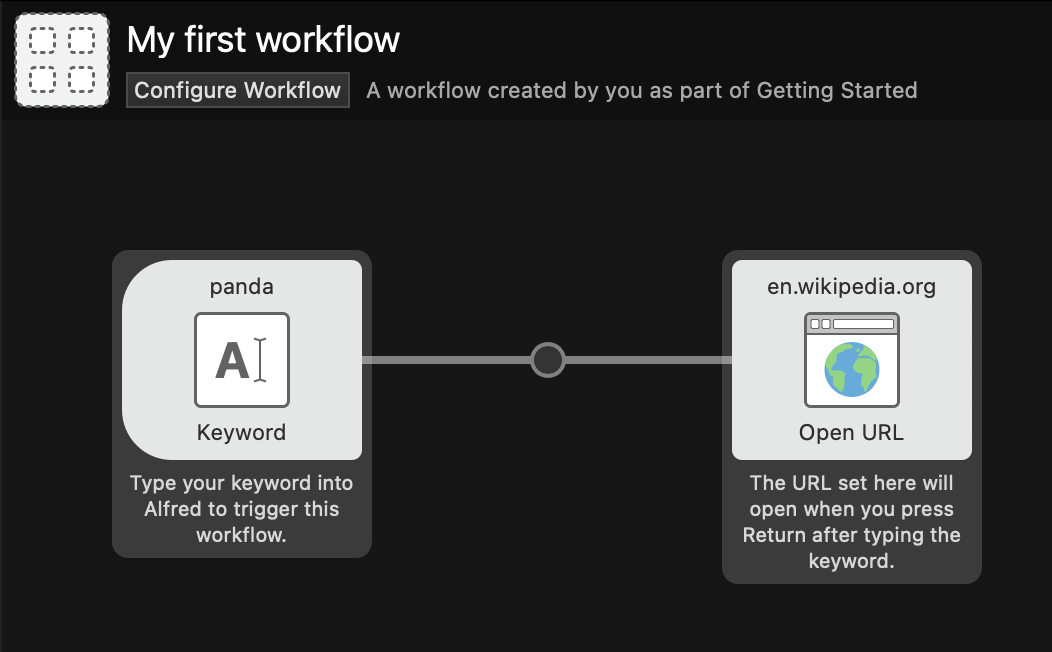
Getting Started Guides
New to creating workflows? We've built in a collection of Getting Started Guides to walk you through creating a few workflows, discovering key objects, ways to connect and make the most of workflows.
To get started with these guides, open Alfred's preferences to the Workflows preferences. With no workflow selected in the sidebar, you'll see a block of options in the centre of the canvas; Choose the third item for the "Getting Started Guide".
Here are the Step-by-step tutorials to accompany the Getting Started guides.
Configuration Builder
The new Workflow Configuration makes it easy as a user to quickly set up the essential information needed to get started with a new workflow.
As a workflow creator, you can use easy text fields, checkboxes, selection lists, file pickers and more to allow users to configure a workflow without having to navigate into individual objects or scripts!
Check out the detailed guides to Configuration both for workflow creators and for users.
Debugger
Alfred's Debugger can now be opened and run regardless of a workflow being opened; It's easier to work out any issues with your workflow.
You can include all information or only core information into the output, and filter to only show the output of selected objects, one workflow, or all workflows.

Exporting Workflows
Before exporting a workflow, take a look at the Workflow Configuration to see if you can make any setup easier for your users.
Write a short (or detailed!) Readme guide introducing your workflow, so that fellow users know how to get started with it.
You can then export your workflow by right-clicking its name in the list of workflows on the left, choosing "Export...".
We've created a guide to sharing your workflow on GitHub, which is a great way to make your workflow accessible to fellow Alfred users.