This is a three-part series on Alfred's Automation Tasks workflow object.
In the first part, we created a workflow to quit all apps except some pre-defined ones, allowing you to quickly create a focused work environment.
With 231 Automation Tasks at your fingertips and more being added regularly, you can create powerful workflows with no need to know how to script or code anything!
In this second part, we'll create a workflow using the "OCR Image" Automation Task.
What's OCR? Optical Character Recognition is the process that converts the text found in an image into a machine-readable text format. In other words, the Automation Task will identify text in an image and copy it to Alfred's Clipboard, so that you can use it somewhere else.
Setting up the OCR workflow basics
The File Filter Input and Automation Task object are the first two objects to connect; We'll add two more useful objects to the workflow later.
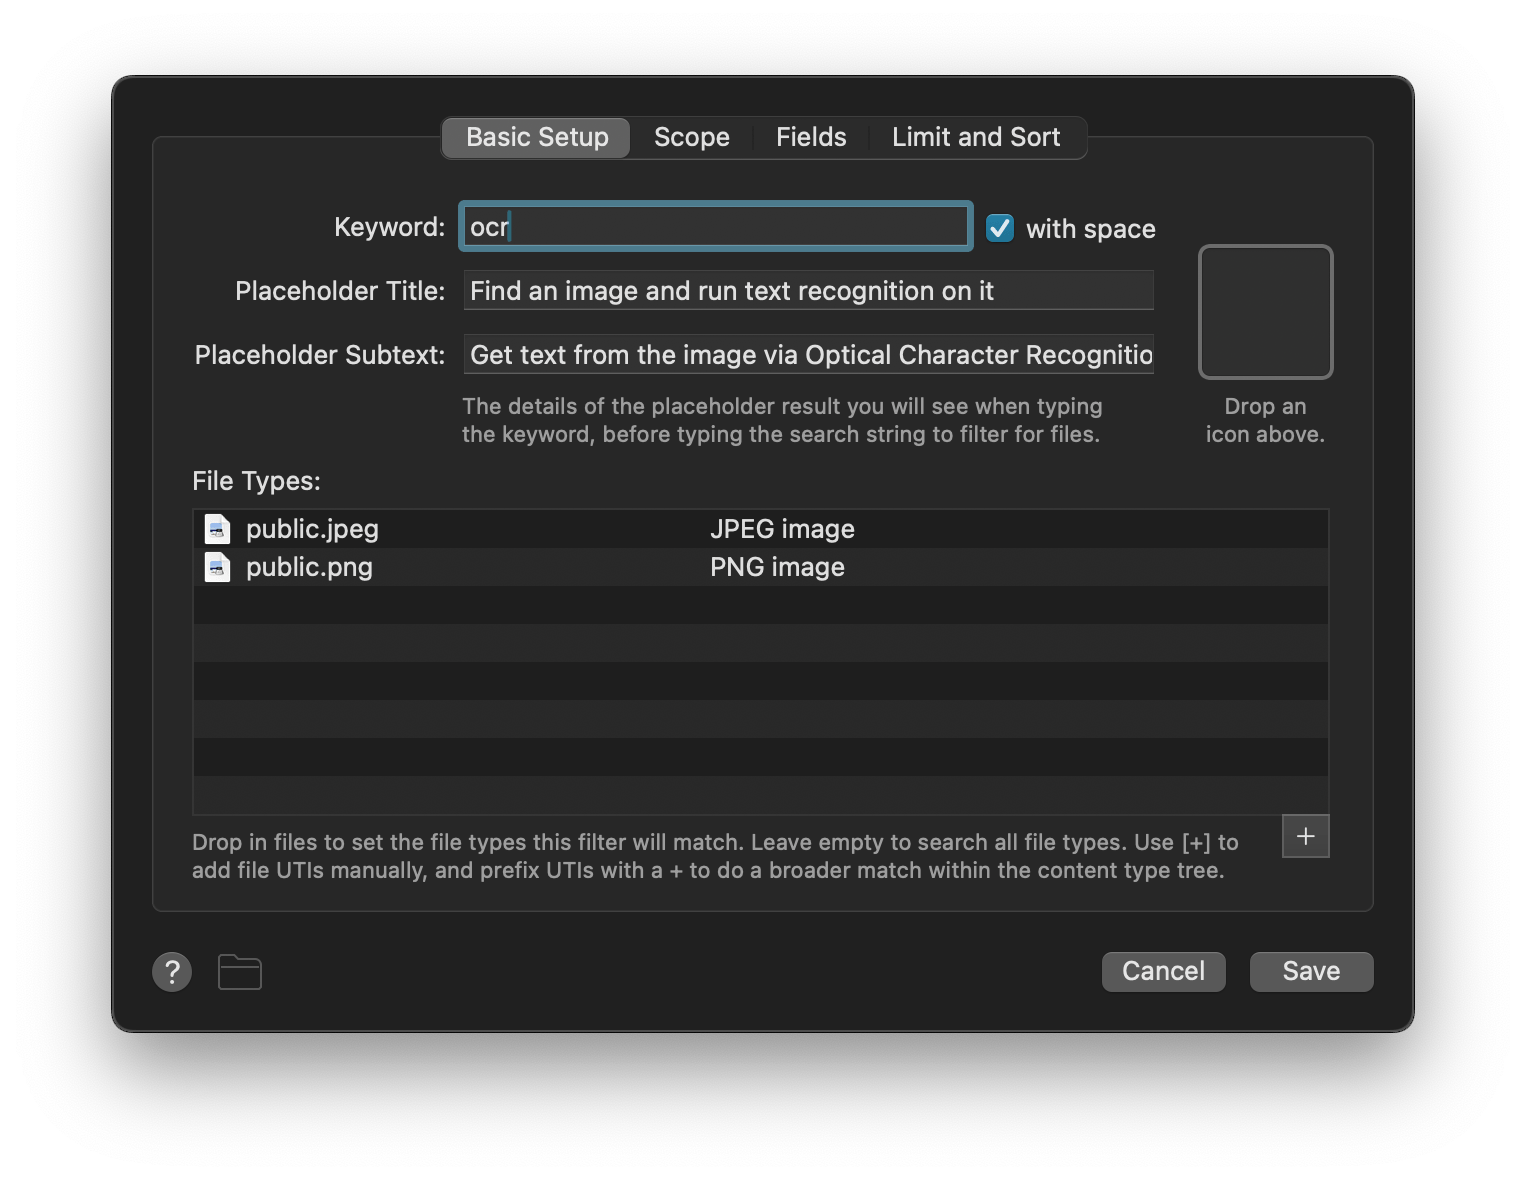
The File Filter is configured with:
- The keyword
ocr
- A placeholder title and subtext of your choice
- File types PNG and JPEG: Drag in files of relevant types from Finder or Alfred's results
All other File Filter settings have been left to defaults, though you can limit the scope (which folders you want to search) or set a date range if you'd like to narrow down your results.
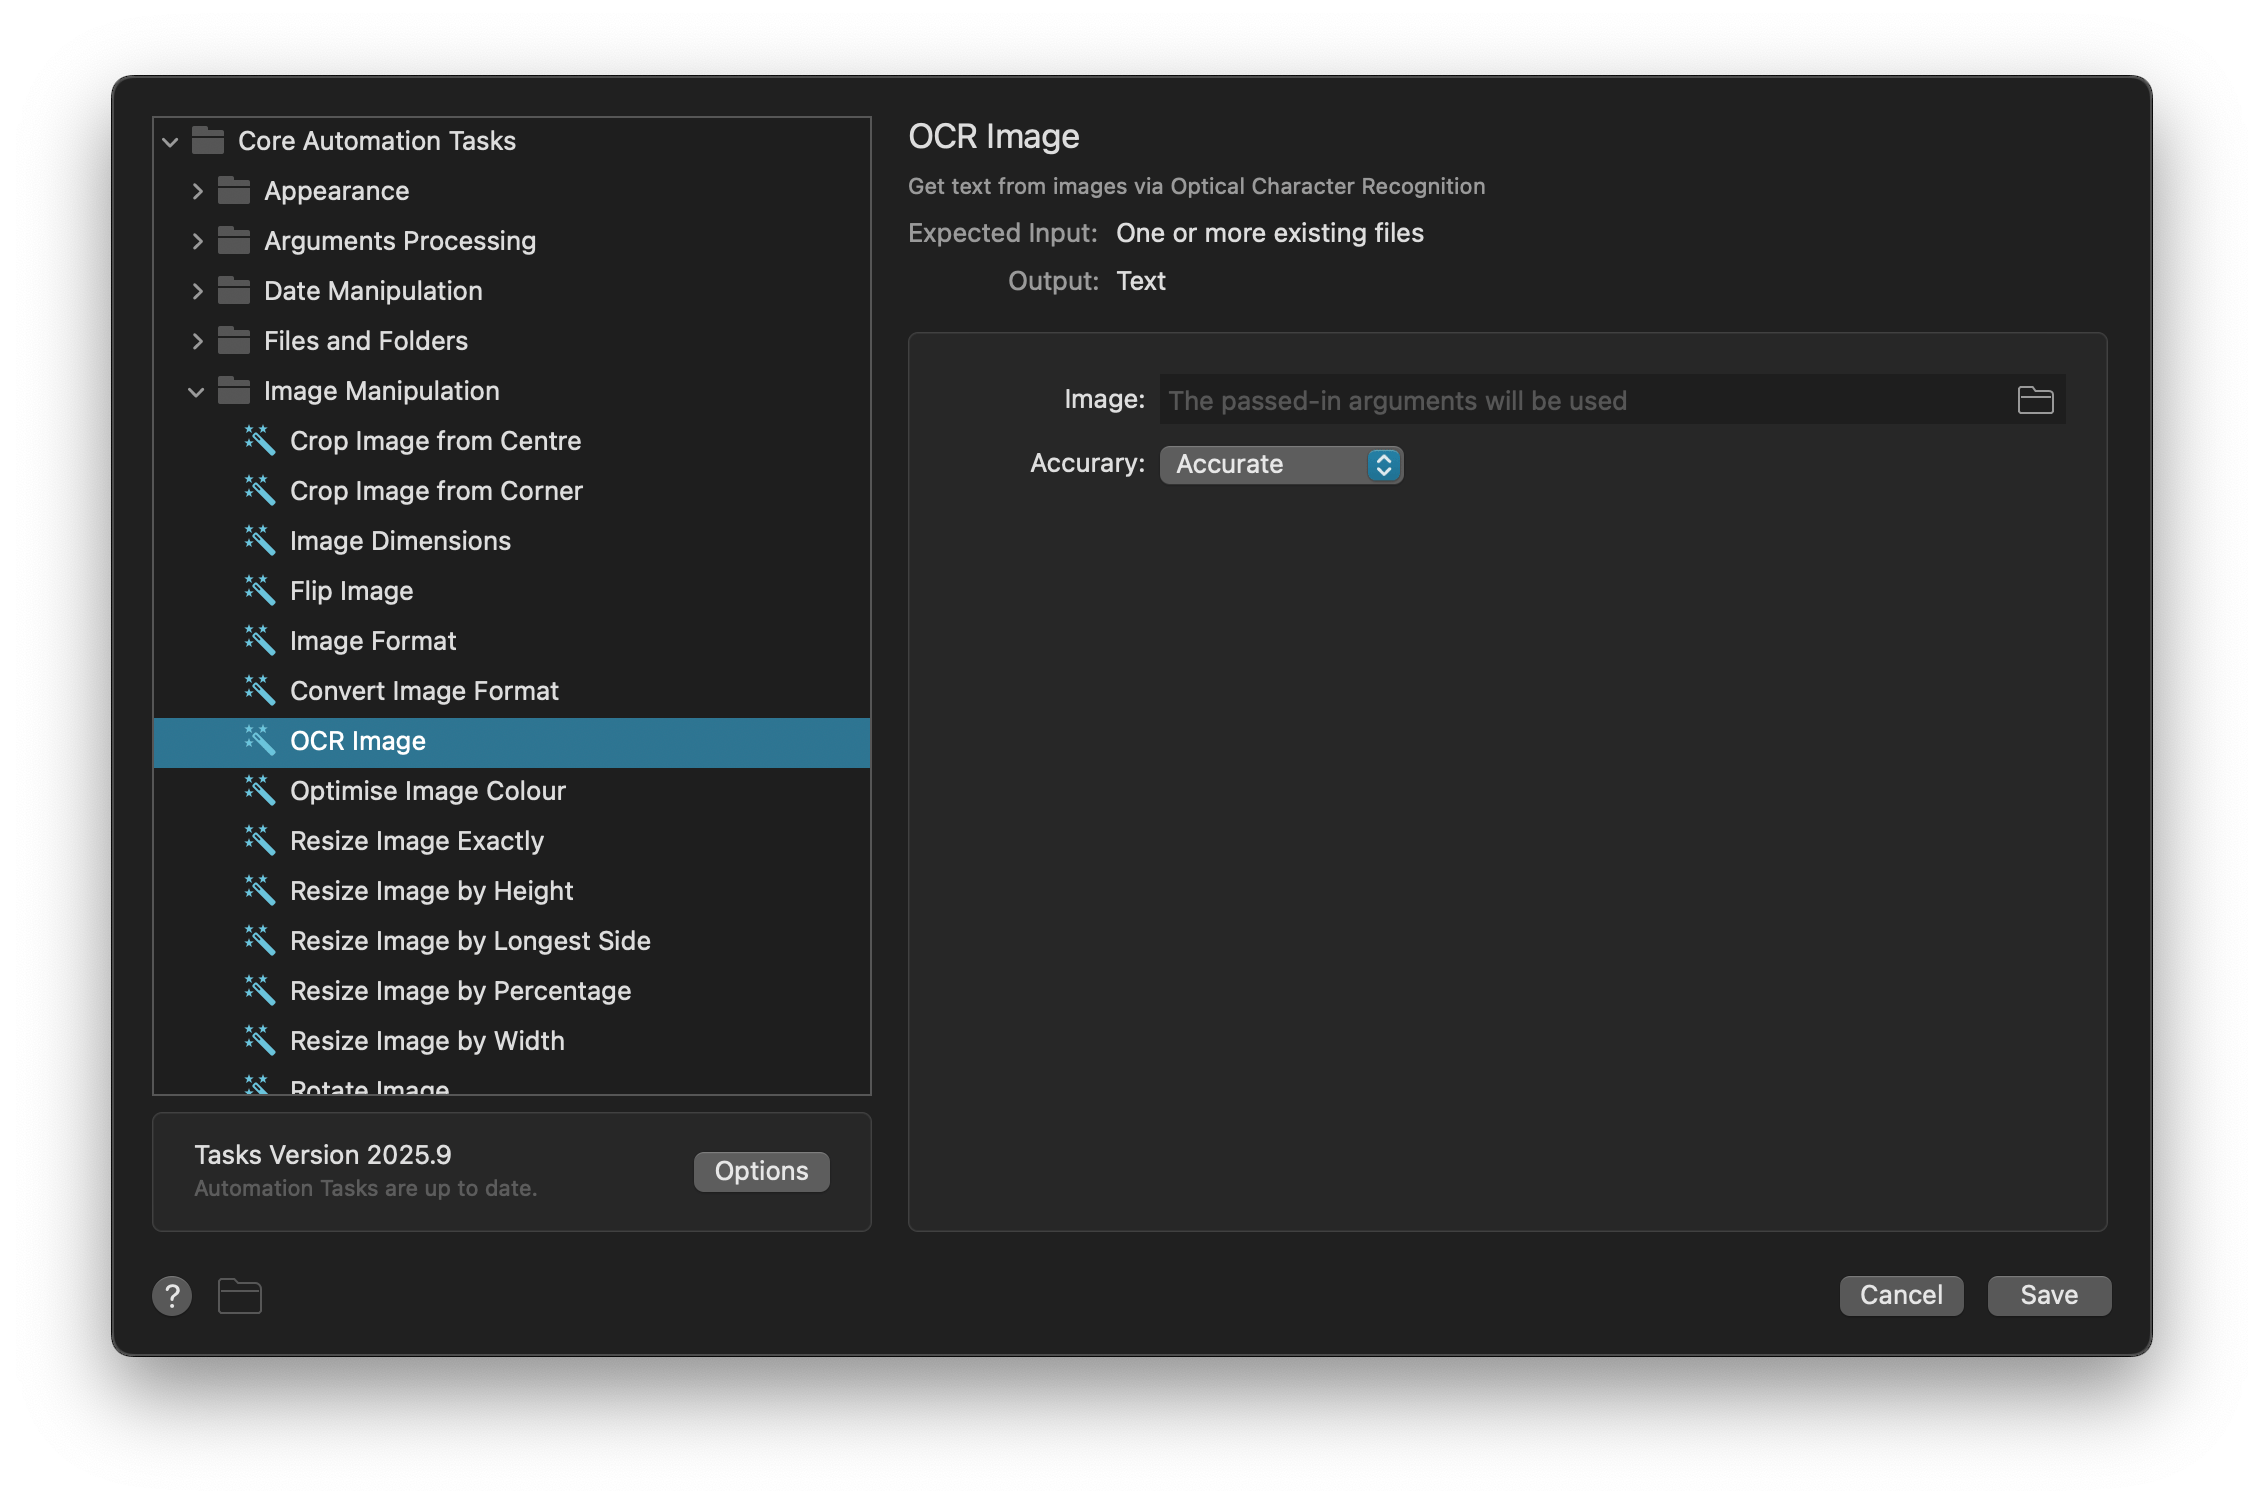
The File Filter is connected to an Automation Task object, where we'll select the OCR Image task from Core Automation Tasks > Image Manipulation section.
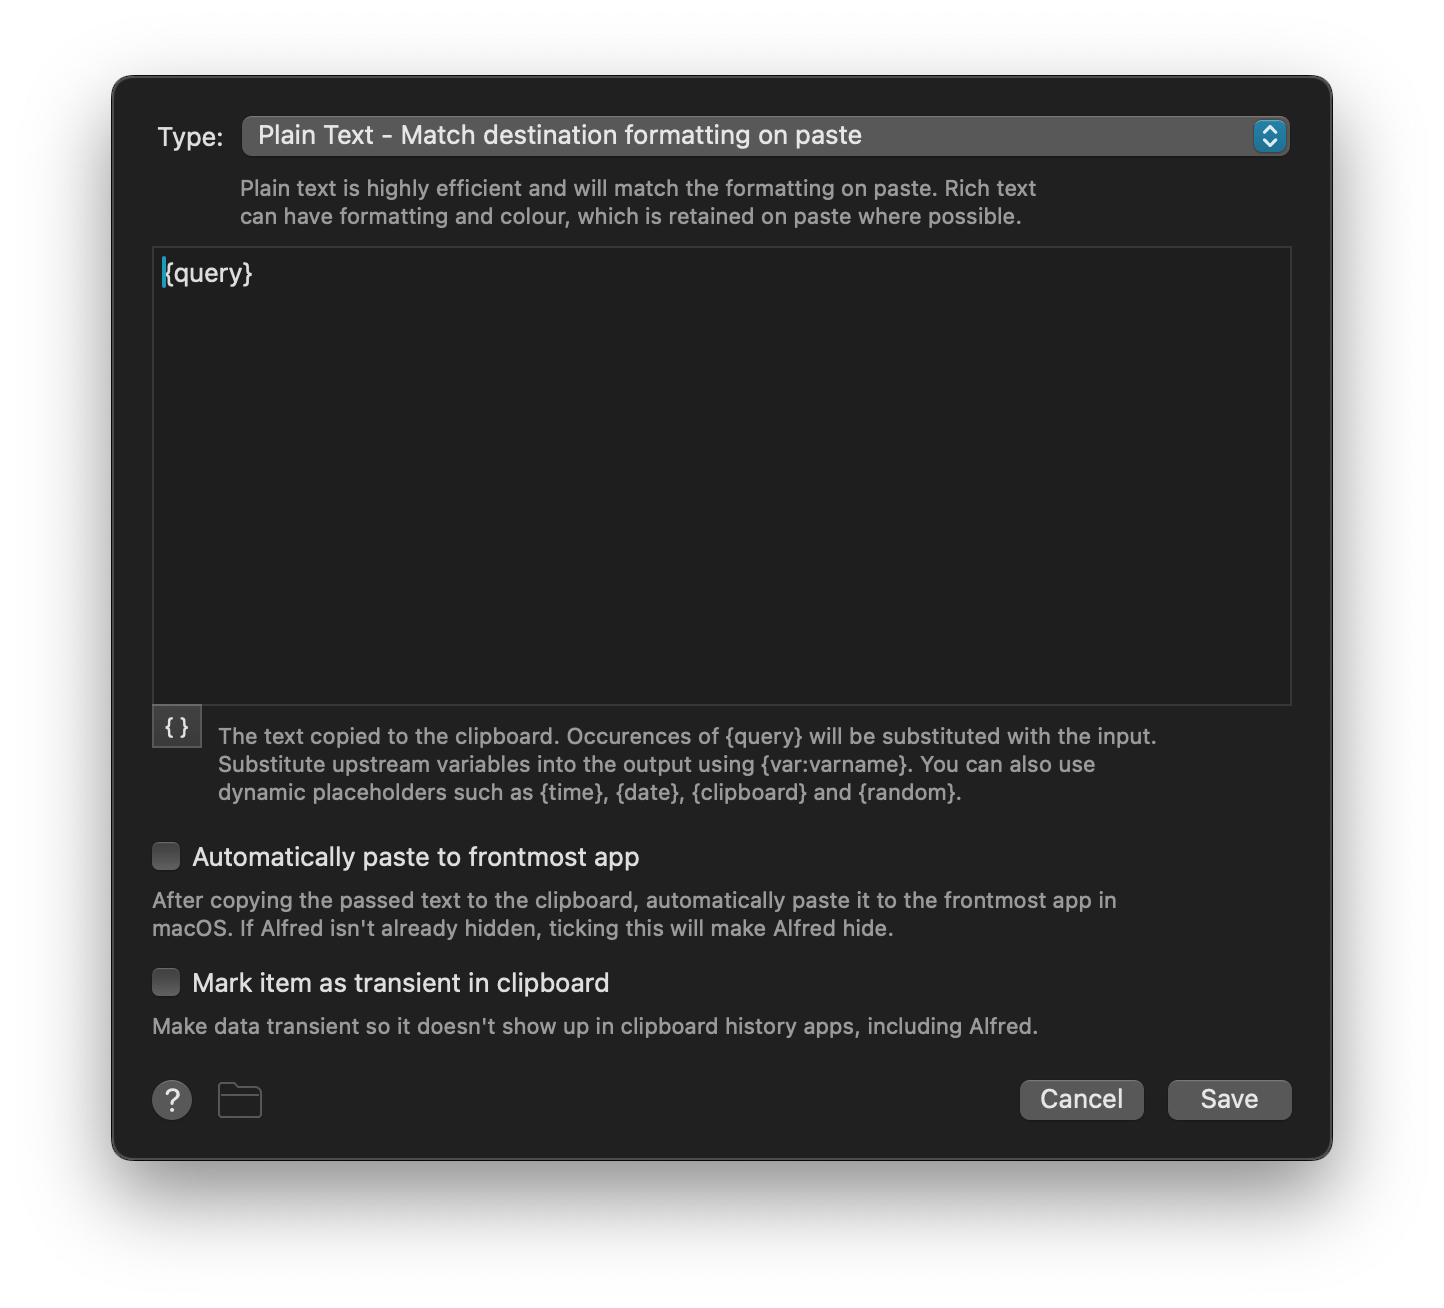
Our workflow is now functional; We can find an image file and process it with the OCR Image Automation Task... but we need to do something with the text found in the image, known as the query, so we connect a Copy to Clipboard Output to use it.
This query can be pasted to the frontmost app by checking the relevant box in the preferences, or prefixed/appended with additional text.
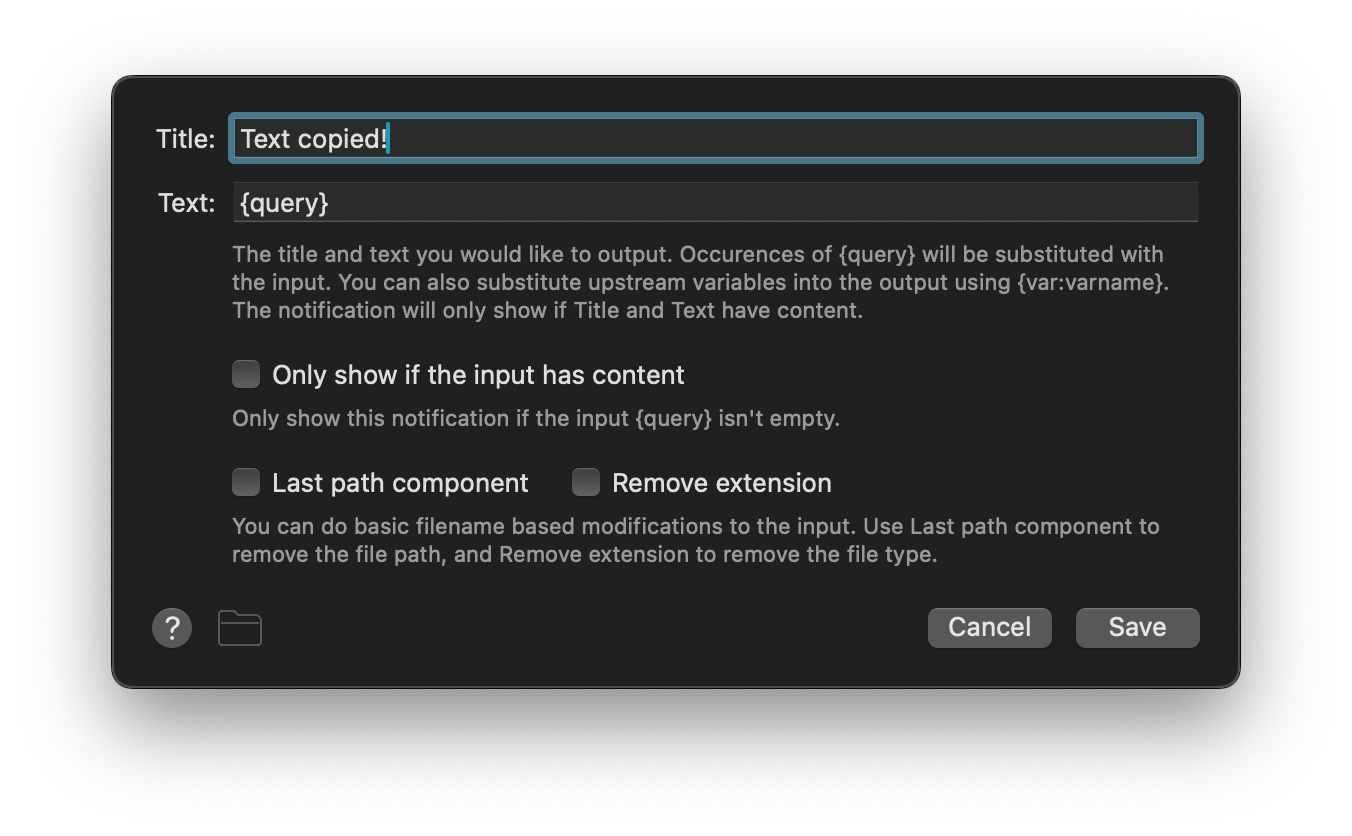
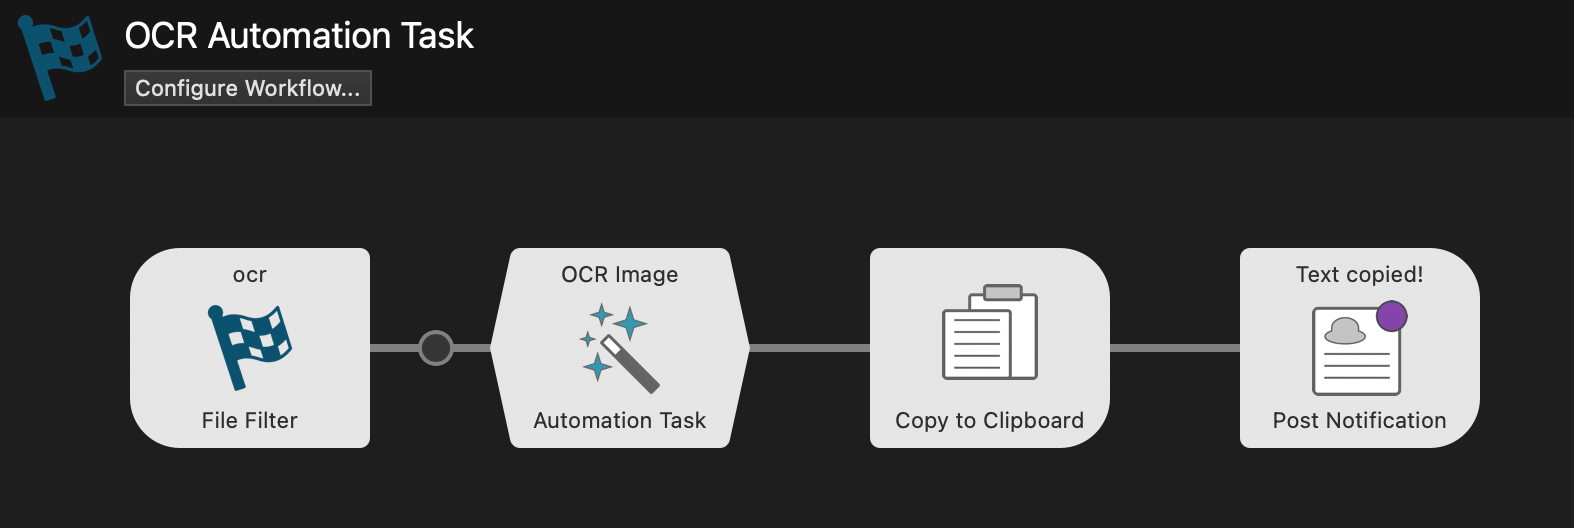
Finally, we'll add a Post Notification Output to let us know once the OCR task has completed, and show us the captured text.
Our workflow should now look like this:
Testing the OCR workflow for text recognition
Now that the workflow objects have been configured, let's test the workflow.
As a sample file, we'll use an image from the beautiful children's book "Zoom" by Sha'an D'Anthes.

Using the ocr File Filter keyword followed by the file name, we can select the image file.
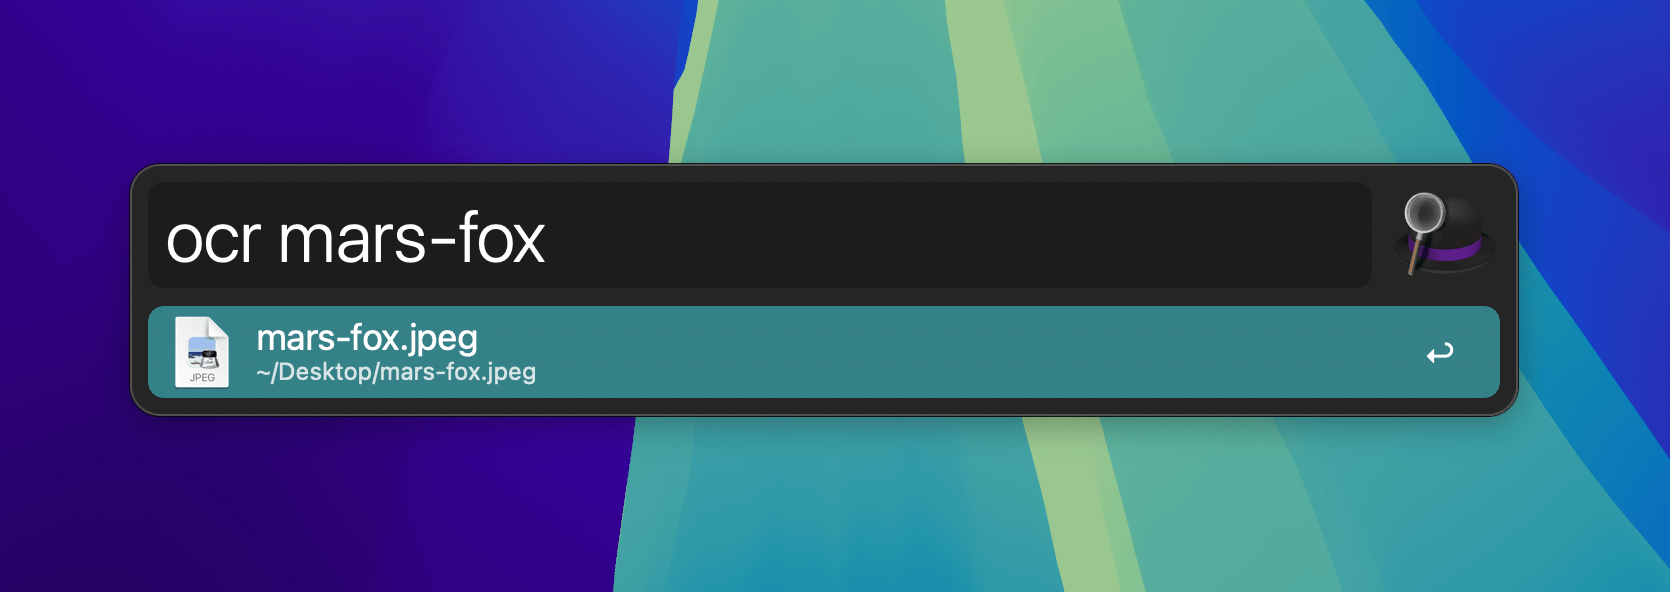
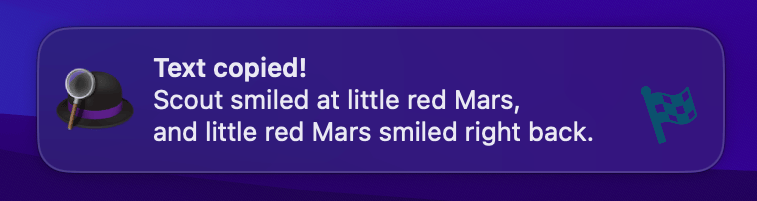
Immediately, the Automation Task processes the image content, copies the found text to the Clipboard and pops up a post notification with the text:
"Scout smiled at little red Mars,
and little red Mars smiled right back."
Other ways to use the OCR Output
There are so many ways you could use the output from the OCR workflow; Trigger an email, add it to an existing text file, pass it to another workflow object to search the web or internal documentation.
What's next? Take a look at our third guide which shows you how to use Automation Tasks to merge images into a PDF file.
Alfred's Automation Tasks are the non-coder's secret weapon.
With 231 Automation Tasks at your fingertips and more being added regularly, you can create powerful workflows with little to no need to know how to script or code anything!
We've created a series of 3 posts to help you discover a few of the ways you could use Automation Tasks as building blocks to speed up your work.
Completely new to workflows?
Take a look at our Getting Started Guides, which will show you how to connect, configure and use workflow objects, the canvas and palette.
In this first post, we'll create a workflow to quit all apps on your Mac except for a few select ones. This is a great way to quickly settle into a focused work environment by quitting all unnecessary distractions.
Setting up your workflow
This workflow consists of only two objects; A Keyword Input and an Automation Task.
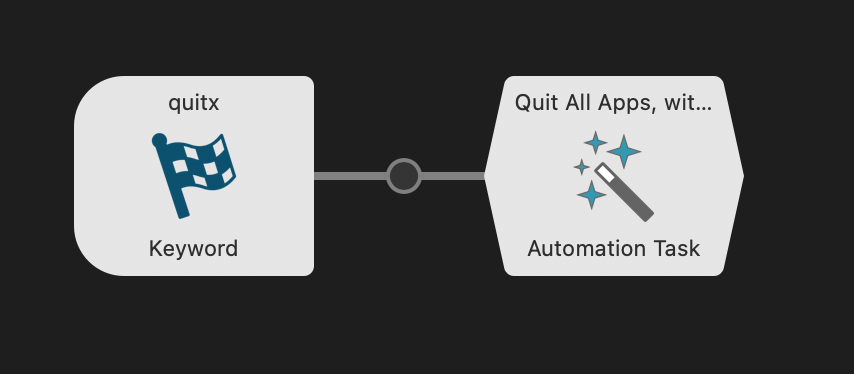
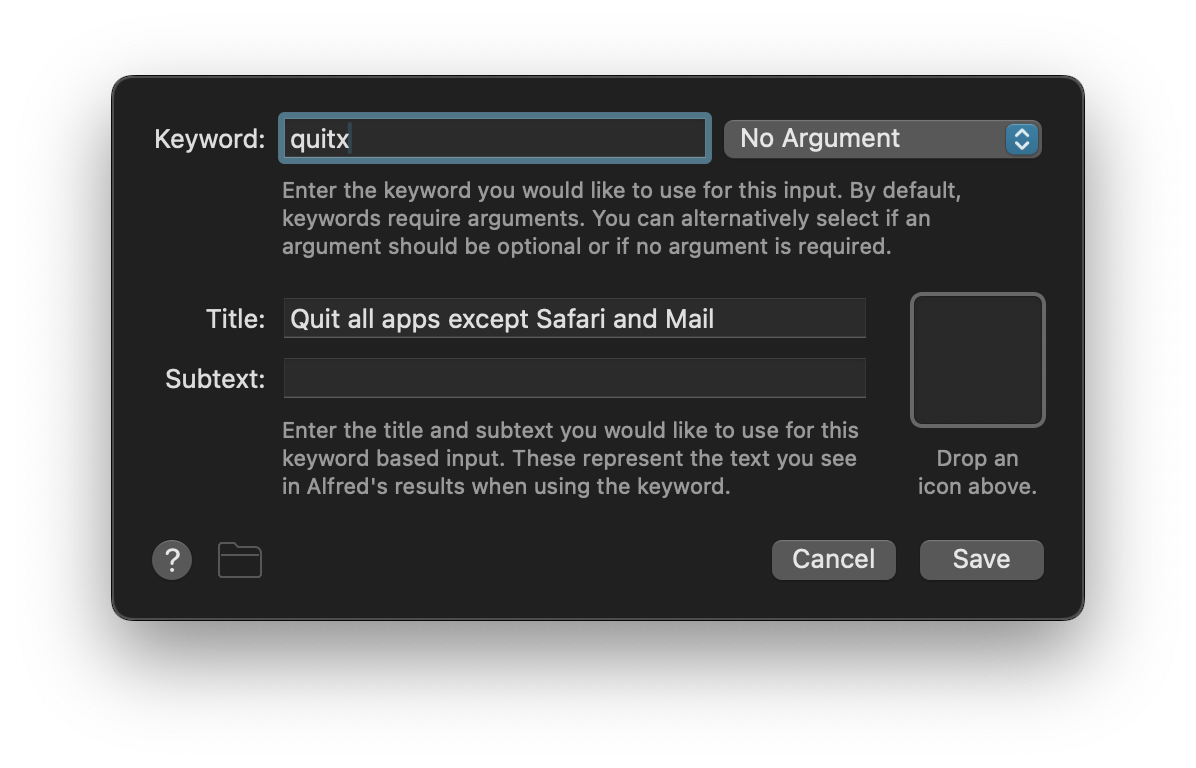
The Keyword object is configured with:
- The keyword
quitx
- The Argument dropdown is set to No Argument
- A Title: Quit all apps except Safari and Mail
- Optional subtext for clarity (or alternative actions, more on that later)
For the Automation Task, we'll select the task Quit All Apps, with Exceptions from Core Automation Tasks > macOS.
In this example, we'll keep Safari and Mail open by typing their app names in. We'll also ensure that Alfred and Finder are checked so that they continue to run in the background.
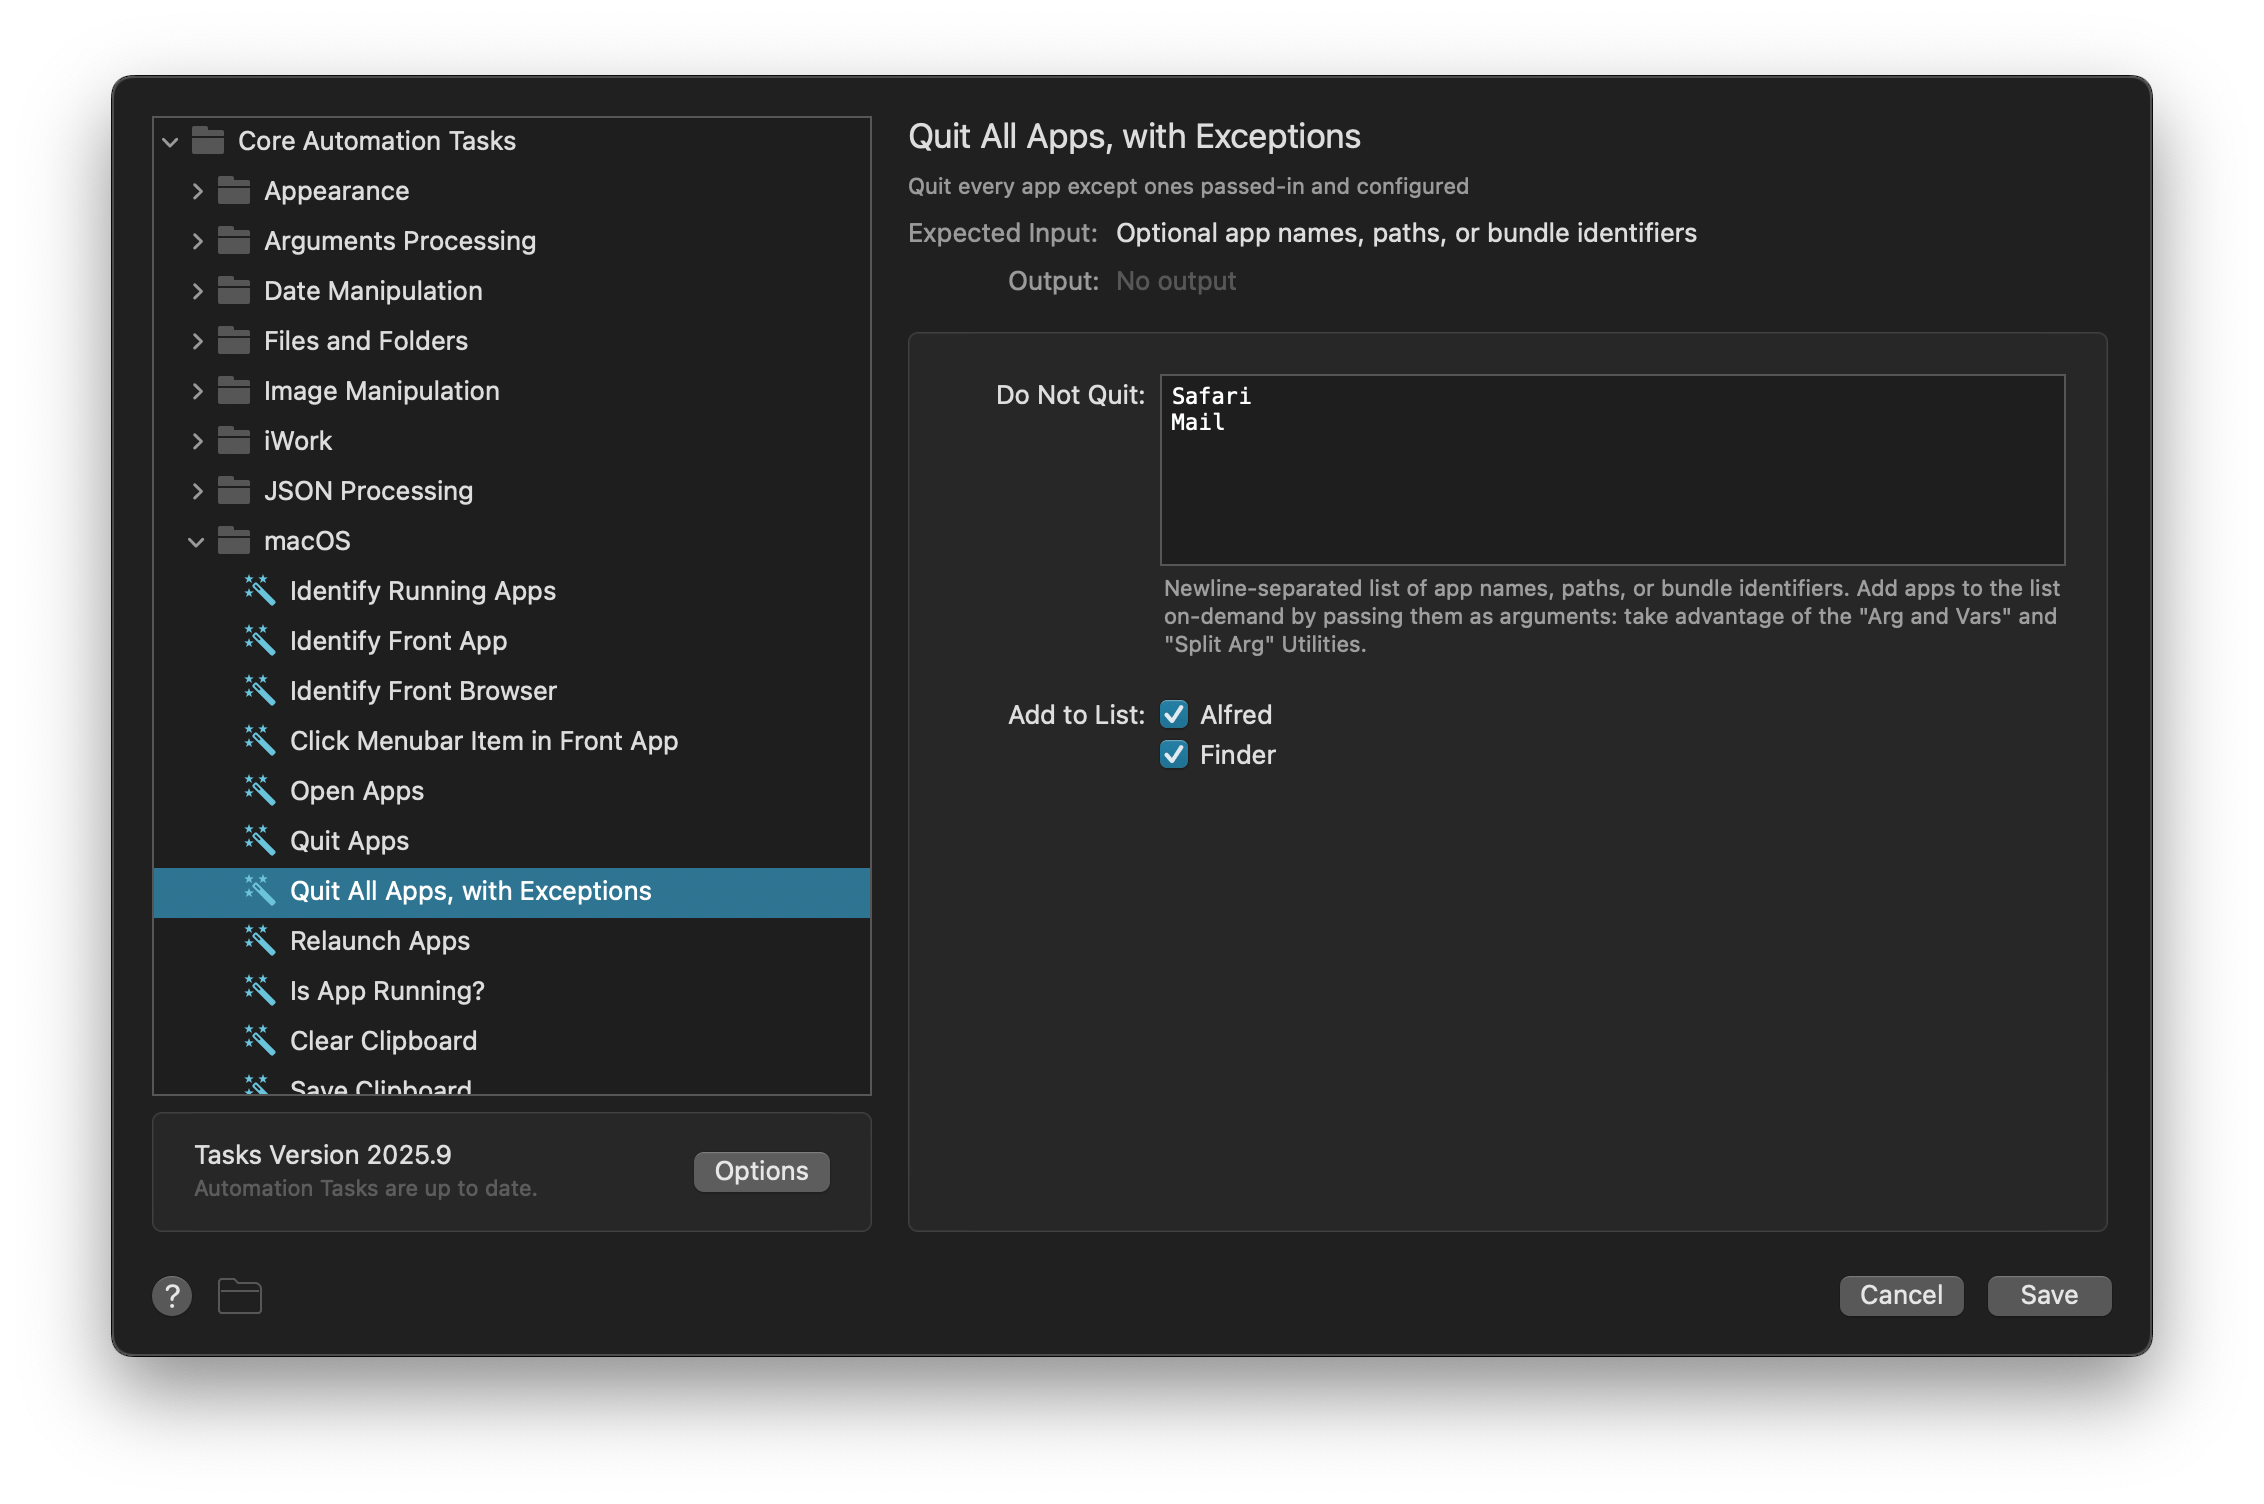
Customisation Tip:
You can add different apps to the "Do Not Quit" list to suit your preferred work habits.
We can now test the workflow by typing quitx into Alfred to trigger the workflow.
Adding an Alternative Action: Leisure Mode
Life isn't just about work, right? To wrap up this workflow, we'll add an alternative action to the same keyword.
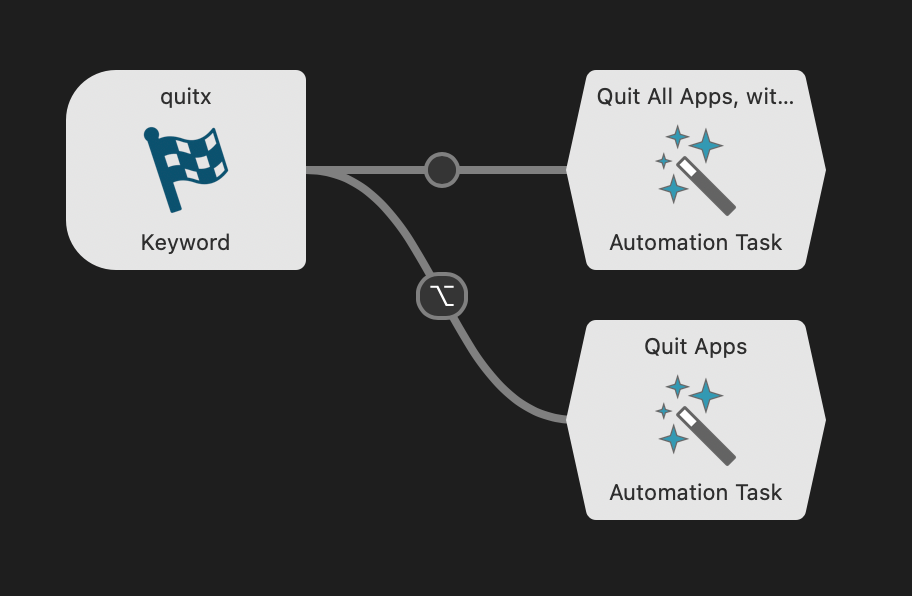
Connect a second Automation Task from the Keyword object; We'll set this AT to use the Quit Apps task from Core Automation Tasks > macOS, and set the app names that relate to work, such as XCode and Slack.
Set an alternative action by double-clicking the circle halfway down the connection between the Keyword and second Automation Task. This brings up a configuration panel for the connection.
We'll choose ⌥ as our modifier key, and set the Subtext to "Leisure mode activated!"
After saving your change, pop up Alfred, type quitx but instead of just pressing ↩ (Return), hold the ⌥ key first. You'll notice the subtext changes to our alternative path. Pressing ↩ while holding ⌥ will trigger this alternative path and quit all your work apps.
That's it, you've created a workflow with two Automation Tasks!
What's next? Take a look at how to extract text from an image with OCR text recognition.
In the third post from this series, you can learn to use Automation Tasks to merge images into a PDF file.
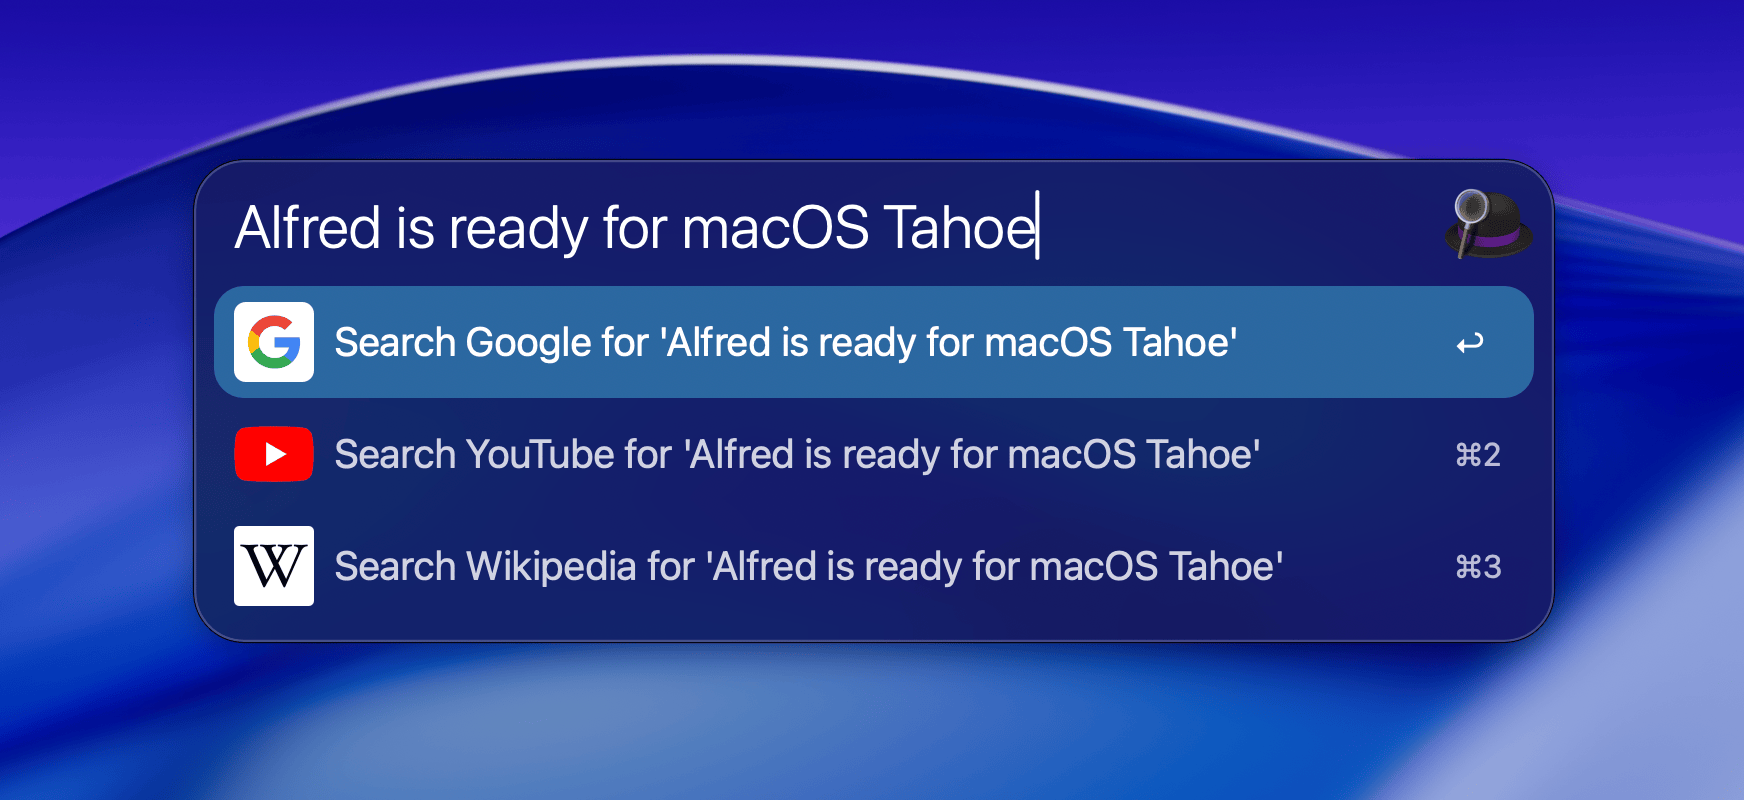
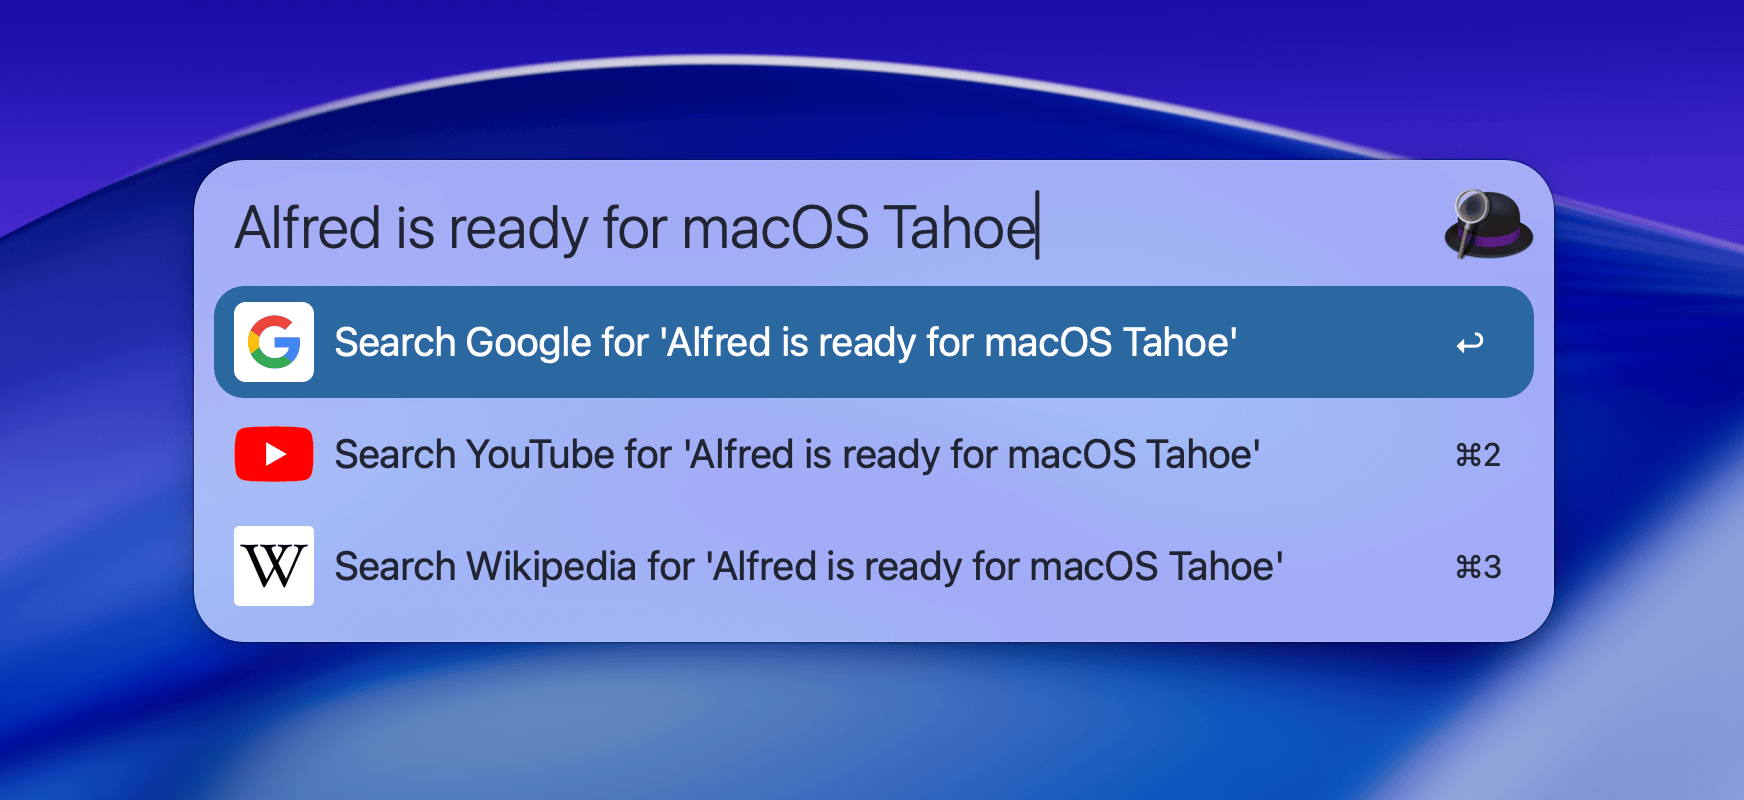
Apple have announced that macOS 26 Tahoe is due to be released today, Monday 15th September. In preparation, we’ve released Alfred 5.7, which is available now for download through in-app update or from alfredapp.com.
Alfred 5.7 has been tested on macOS Tahoe throughout the beta versions and works flawlessly, so you can upgrade to the latest macOS with confidence that you’ll be able to use Alfred with it right away.
In this release, we’ve overhauled the built-in macOS System Settings search, so there’s no longer a need to use a workflow for this. Just ensure that “Preferences” is checked in Features > Default Results.
You can find the full list of improvements and fixes in the Change log.
Themes to match the new look
Embrace the frosted look with new dark and light themes, echoing the rounded corners and glassy features of Tahoe.
Download the Frosted Dark Glass Alfred Theme
Download the Frosted Light Glass Alfred Theme
Alfred themes are easy to customise, so you can tweak sizes, colour scheme, fonts and more to fit your style.
A few tips when upgrading or installing a new version of macOS
A new macOS release is a good time to start or refresh your backups, whether you use Time Machine or another backup method of your choice.
If you want to only back up your Alfred preferences, you can use our Preferences Backup workflow to make sure you never lose your carefully crafted preferences.
When installing macOS from scratch on a new Mac, remember that your Mac will need a moment to build the file index on which Alfred relies on, so allow an hour or two after installation for macOS to sort itself out.
Did you know that we offer Alfred corporate licensing for teams?
Alfred's Corporate Licensing scheme is used by companies around the world, from small teams to multinationals, supporting their everyday activities.
Imagine making your whole team was as productive as you are with bespoke workflows, internal custom searches and all of the great tools that make your day to day more efficient!
Here are the few key points you can share with your team leader:
- Alfred's corporate licensing is not a subscription; We use a simple per-Mac activation system, making it easy to share Macs amongst your team.
- Your privacy and security matters; Your data is yours, Alfred doesn't track your searches and doesn't share your usage data with us.
- Bulk activations purchase; Volume discounts range from 10% to 40% for larger purchases.
- Top up any time; Self-service checkout to purchase more activations when needed. Unused activations don't expire, and can be banked for later use.
Our Alfred corporate licensing scheme keeps it easy for team leaders to administer, so that you can ultimately all be more productive and enjoy working on your Macs.
Alfred's history features can help lighten the load on your brain and do the remembering for you. Here are three ways you can store your favourite sites' URLs, copied clip items and more.
Query History
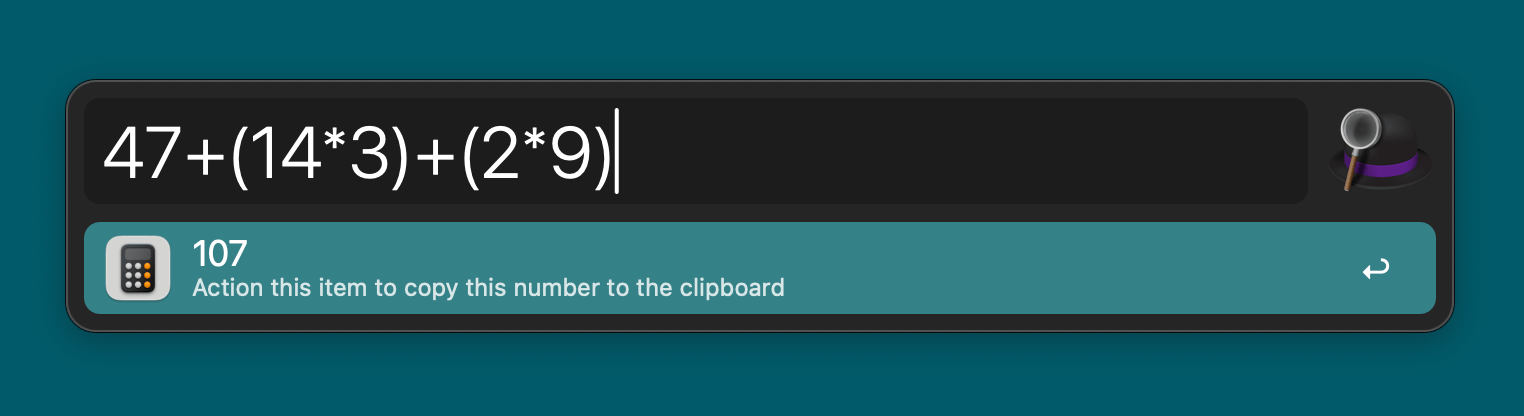
Alfred can store the last 20 queries you've typed, and show the latest query automatically if you typed it less than 5 minutes ago.
This is particularly useful when you're making calculations, hide Alfred then continue adding to your equation.
Enable Query History in Alfred's Preferences > Advanced > History.
Clipboard History (and Snippets)
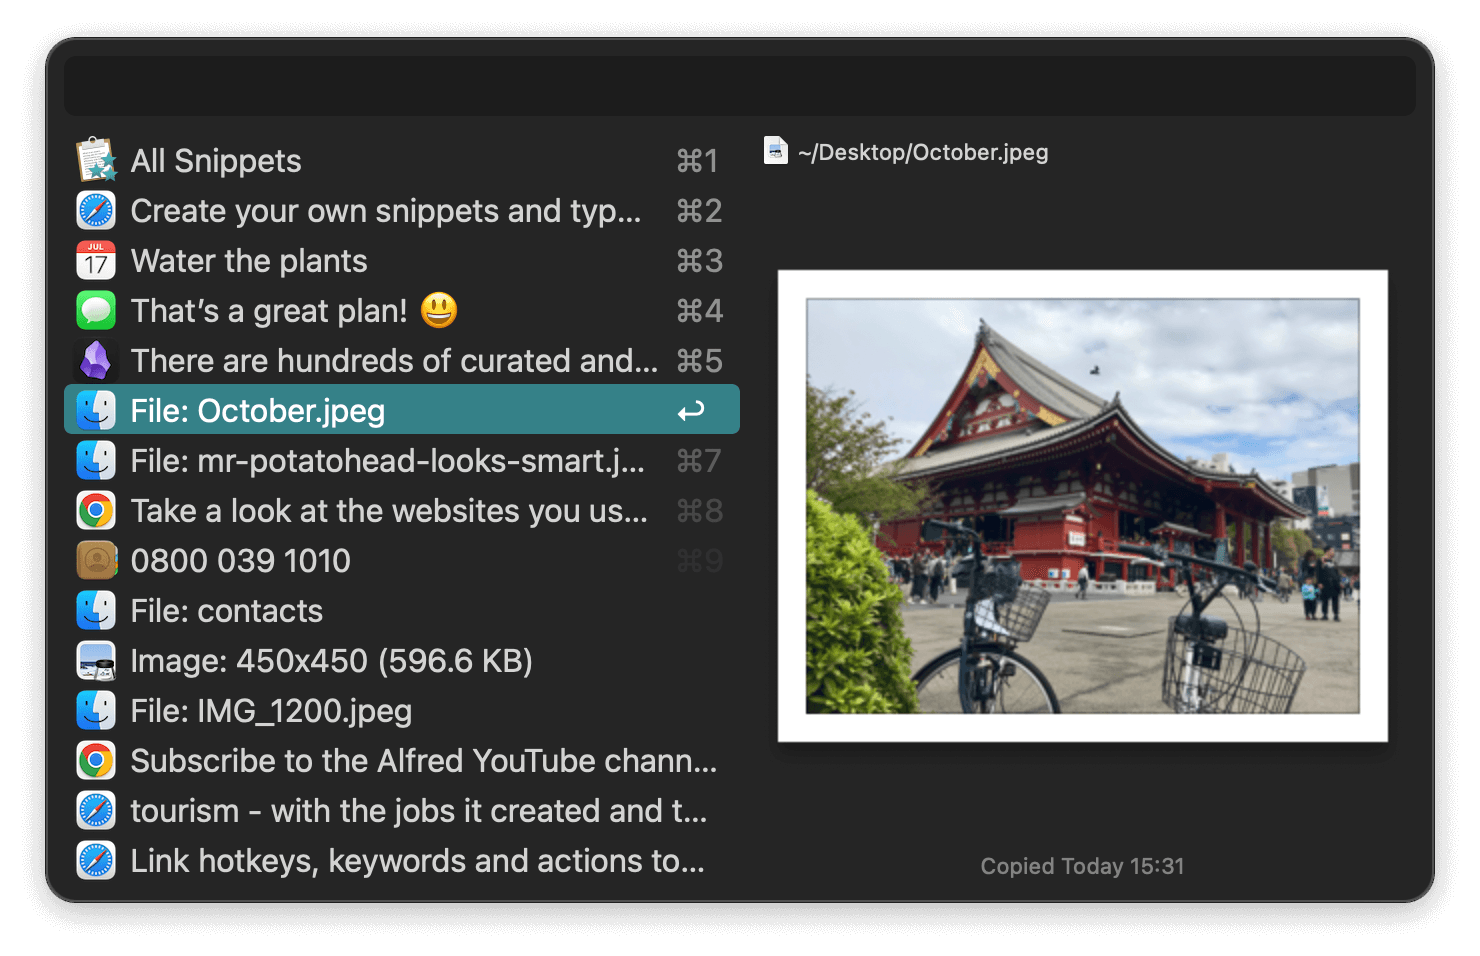
Once you start using Clipboard History, you simply can't go back! Alfred saves text clips, links, images and file paths as you copy them.
Pop up the Clipboard Viewer - the default hotkey combo is ⌥⌘C - then type a few letters to narrow down to the results you want, or scroll down for recently copied items.
Enable Clipboard History in Alfred's Preferences > Features > Clipboard.
Bonus tip: Do you search for the same clipboard item often? Save it as a snippet by using the ⌘S shortcut on the item in the Clipboard Viewer.
Snippets can be synced between your Macs and backed up for longer-term use.
Alfred's URL History
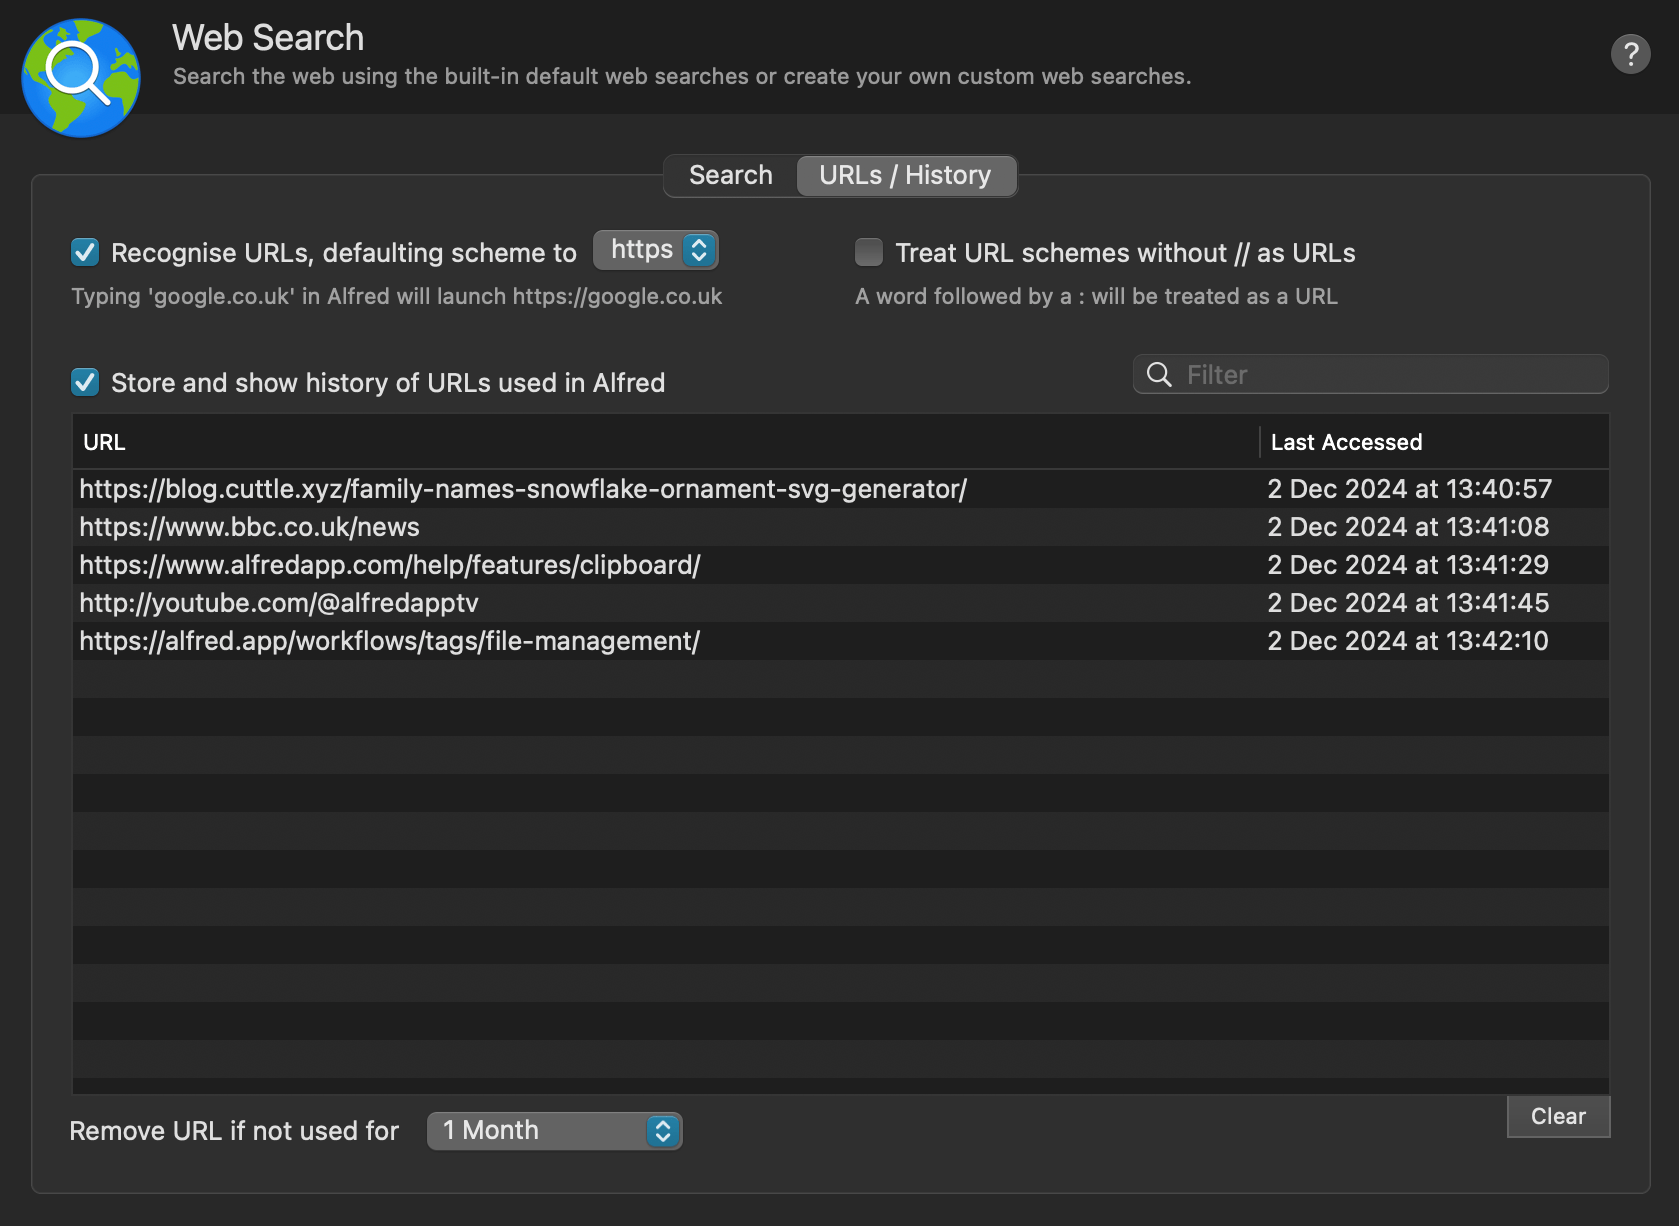
After you've opened URLs once in Alfred, your favourite sites will be remembered so that next time you can just type a few characters. No setup, no keywords or hotkeys to remember.
Accessing the same services and sites often, why not create a custom search?
Enable URL History in Alfred's Preferences > Features > Web Search > URLs / History.
Your Data is Secure and Private
You'll notice that these history features need to be enabled manually. Why? For your privacy and security. In an era where your data is so rarely yours, we give you the choice whether you want to store your query history.
Furthermore, this data isn't synced to the cloud or sent to us. It's simply stored locally on your Mac for your use only.
Get started with Alfred's History features and lighten the load on your memory!