In macOS Monterey 12.3, Apple removed Python 2 from the pre-installed scripting languages, after a decade-long transition period.
If you're using workflows that use Python 2, here are a few tips to help with a smooth transition.
First, check if there's an update to the workflow; The workflow's creator may have already released a new version that doesn't depend on Python 2. You'll find this on their own website, GitHub or on the Alfred Forum.
Next, consider alternatives; In particular if you're using a much older workflow, it might be a good time to see if there is a new alternative that takes advantage of Alfred's ever-evolving features.
Many workflows have already been updated, and our community hero Vítor is actively working to update any other 3rd party workflows which rely on Python 2. Take a look at the wealth of workflows that have already been updated on the official GitHub. If you'd like to suggest a workflow that needs to be updated, pop a post in the forum thread.
To use these workflows, follow our guide to installing Python 2 via Homebrew; It only takes a few minutes and you'll be back up and running.
When Apple's Shortcuts was released on macOS Monterey, our community started asking for ways to run shortcuts from Alfred. You’re so passionate about automation that you want to automate your automations, and we love that!
So we created a Workflow for running shortcuts.
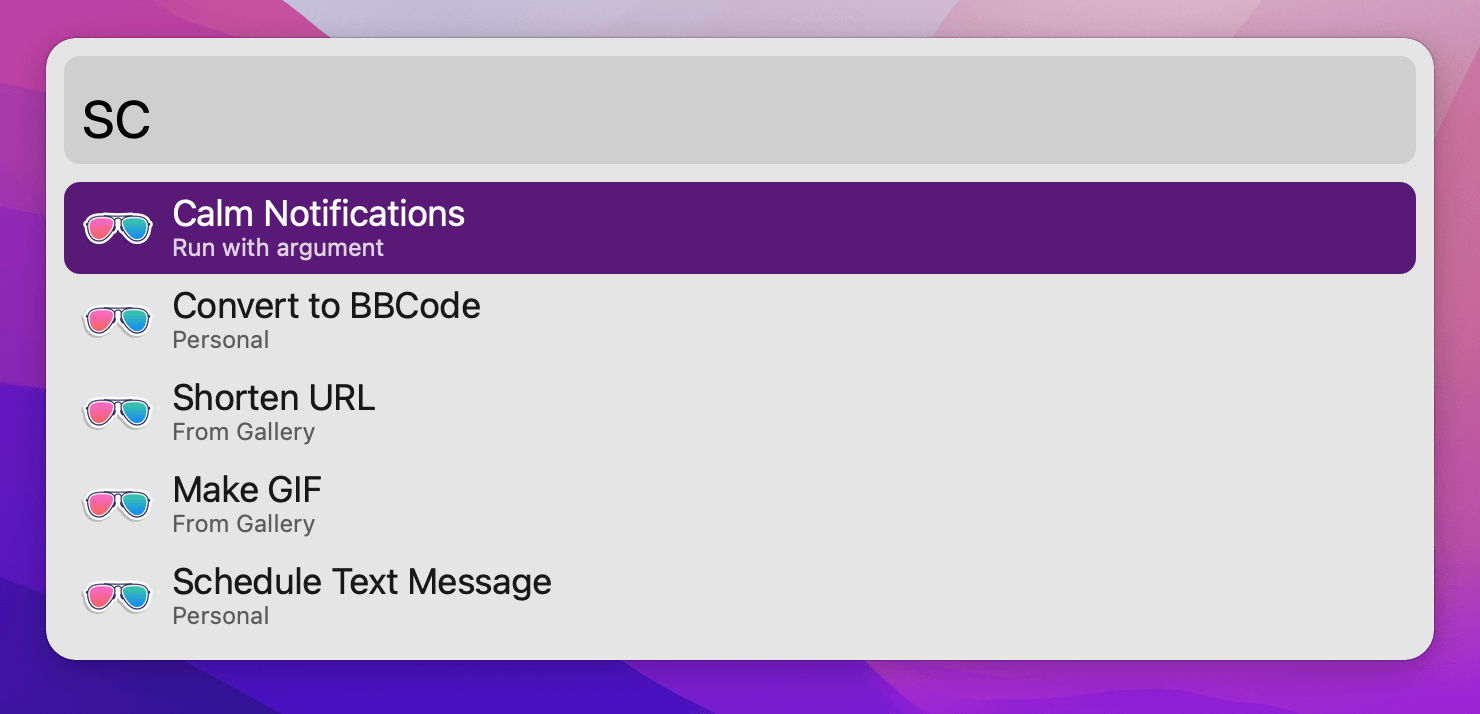
To list all your installed shortcuts, open Alfred and type sc. You'll need to download the linked Shortcuts actions below to use them.
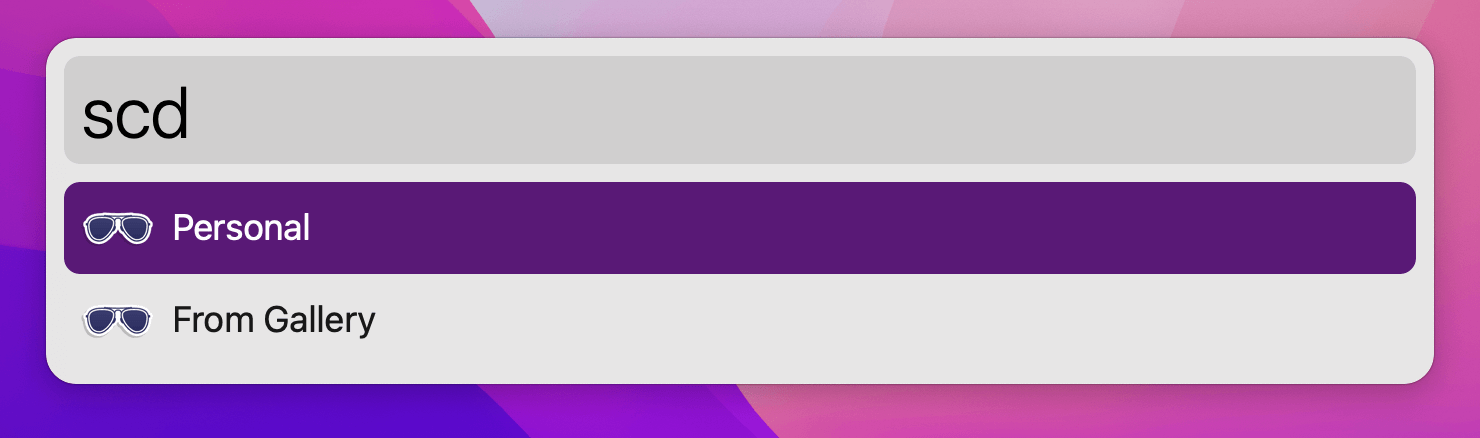
If you're hyper-organised, you may have your shortcuts separated in folders. scd reveals those.
There are three main ways to run shortcuts:
Just Run it
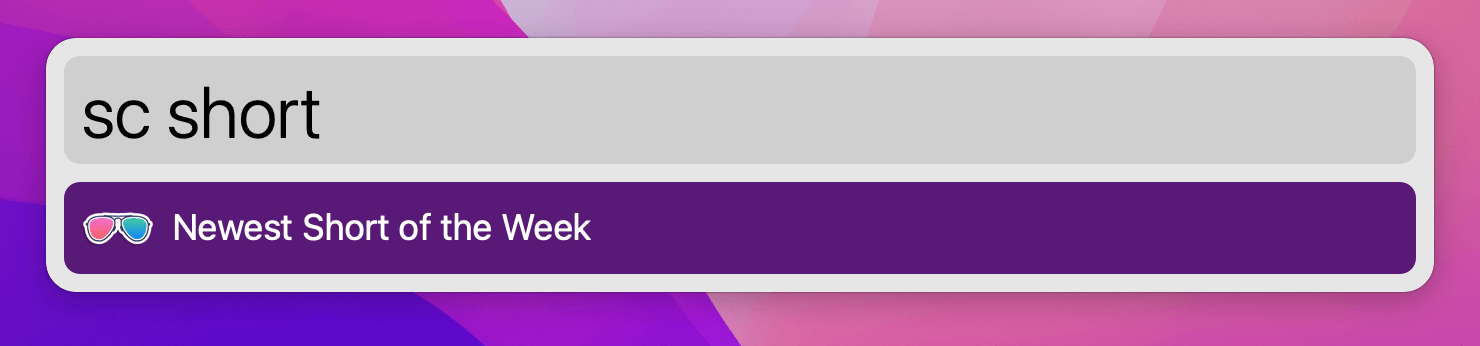
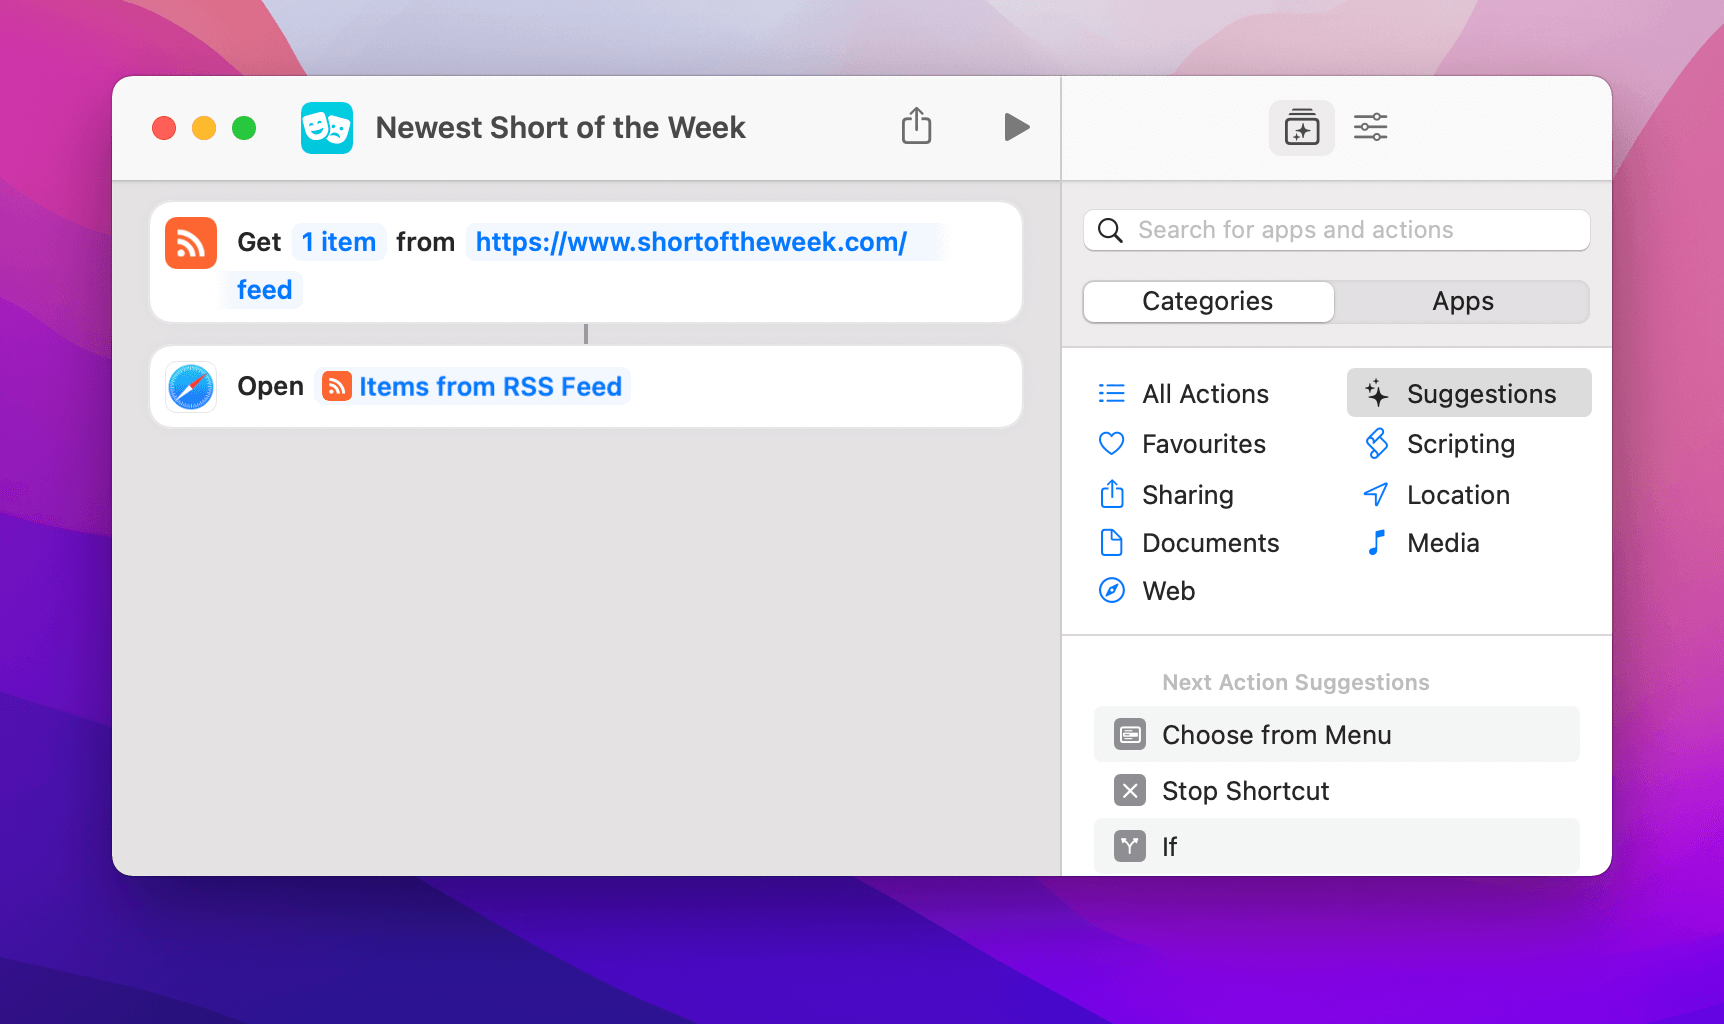
Newest Short of the Week is as simple as it gets. Run it with ↵ and it opens the latest post on the Short of The Week website. Great when you're looking for something quick to watch on a break.
Pass Files to it
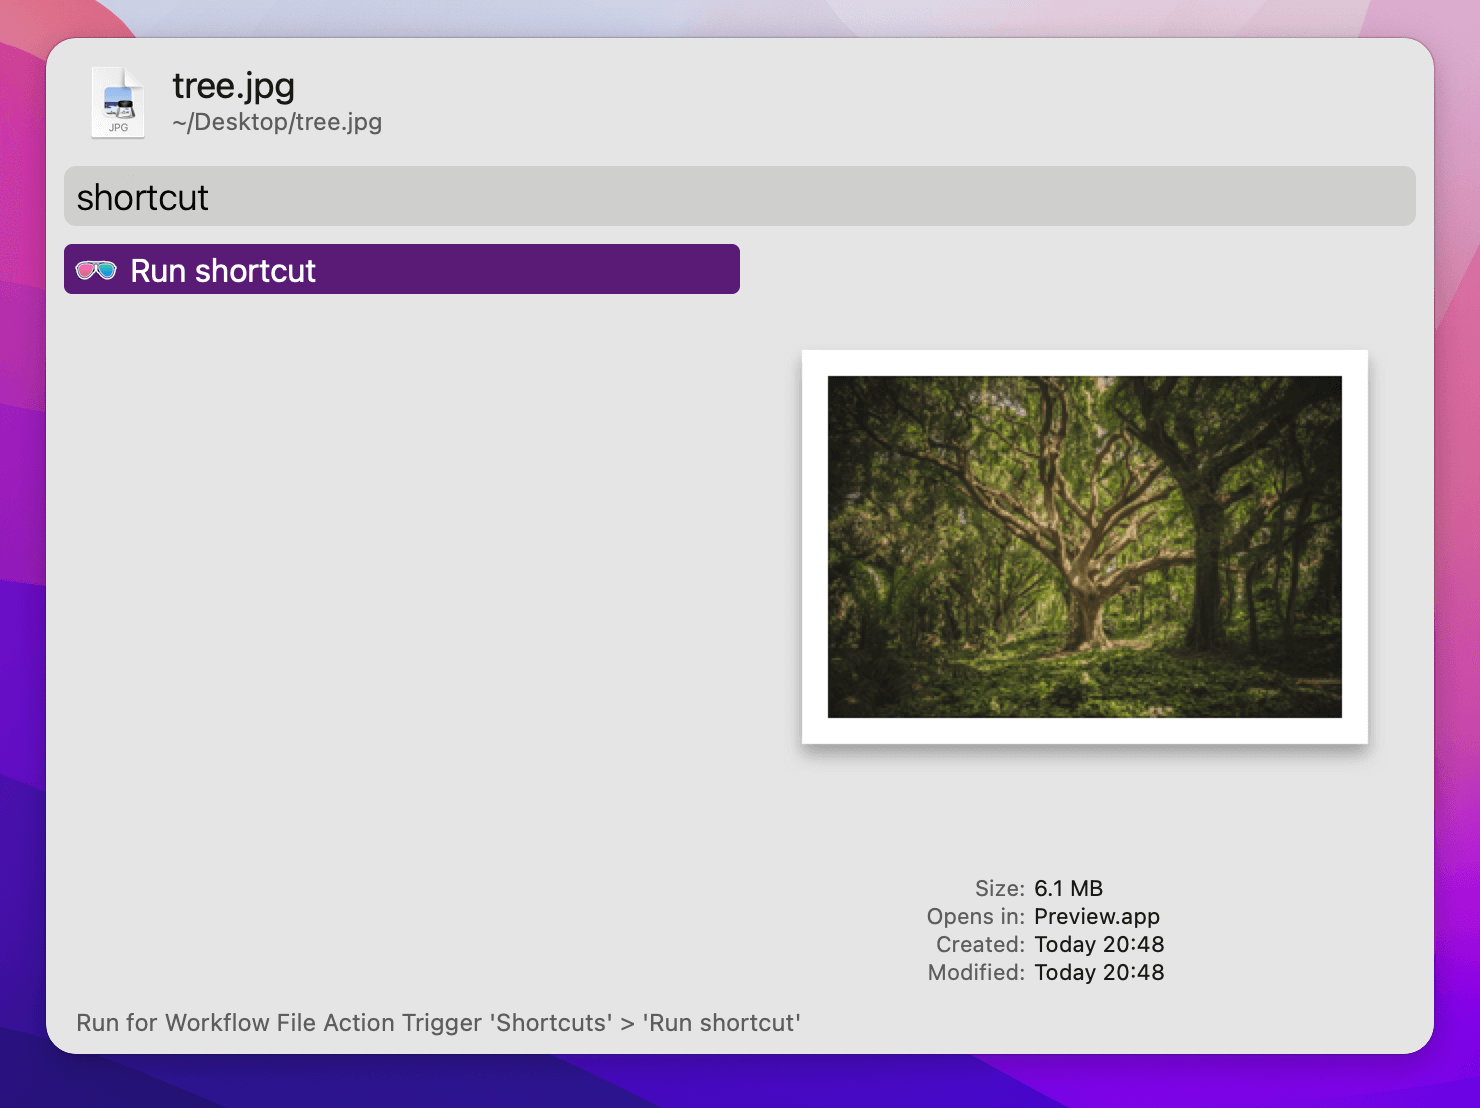
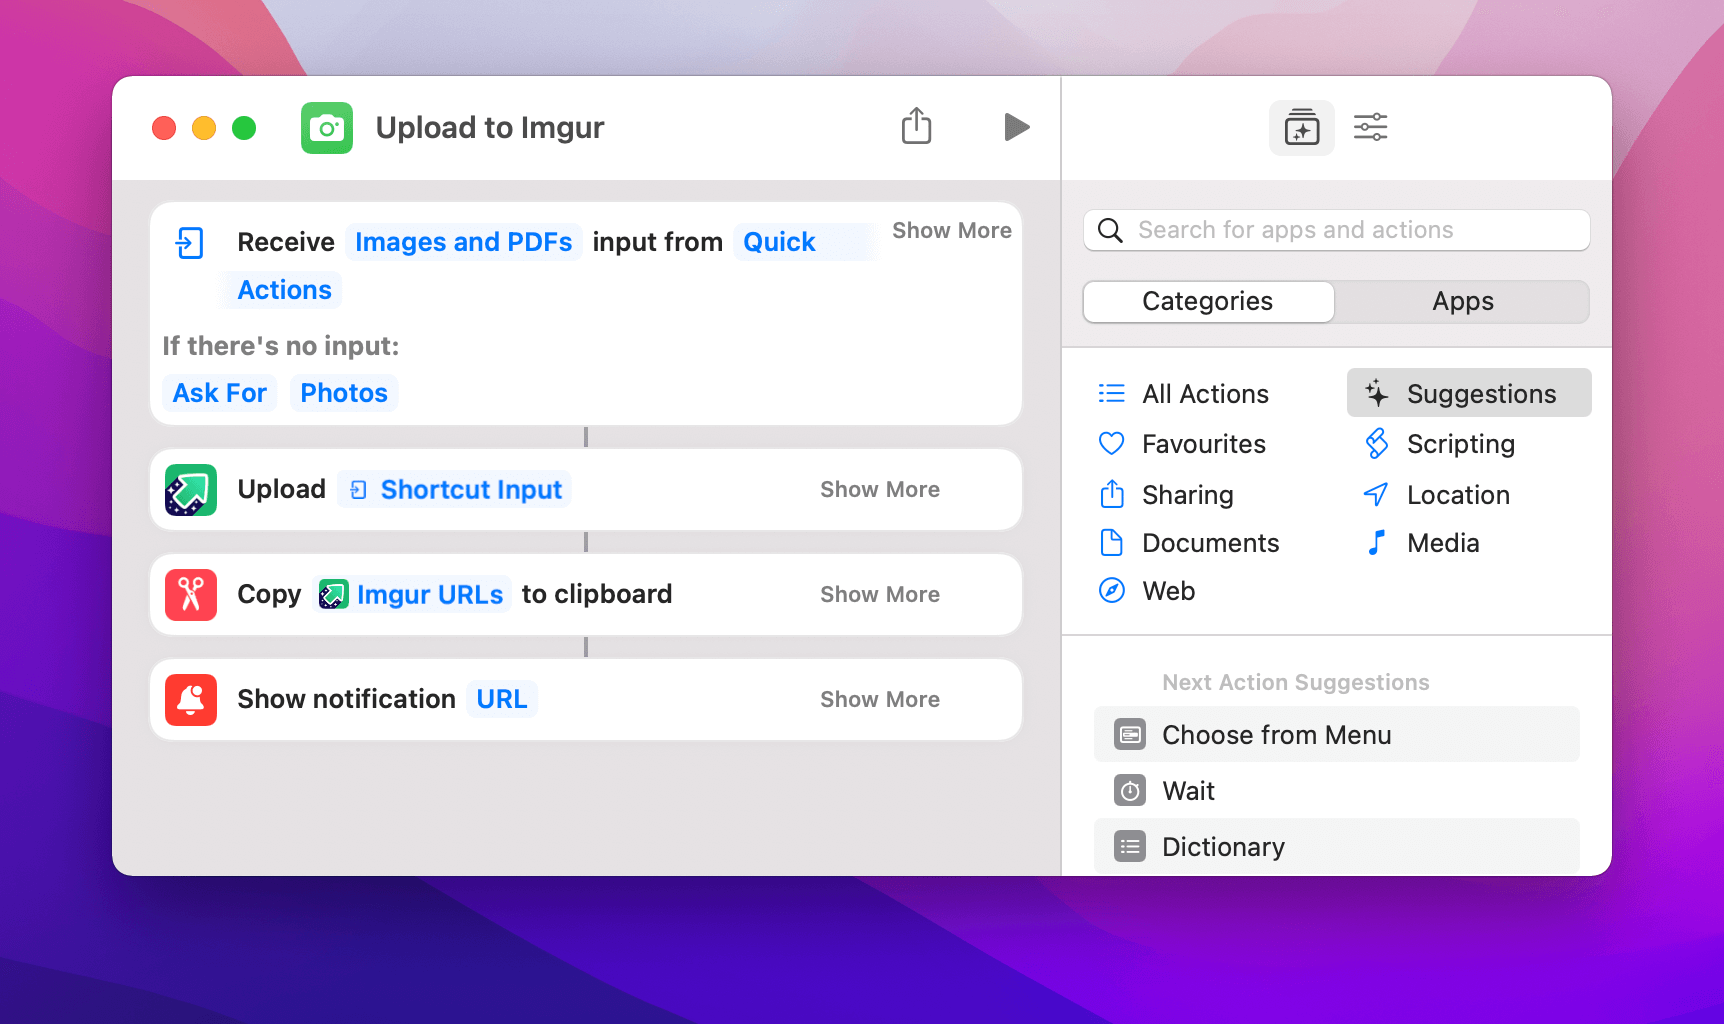
Upload to Imgur does what it says on the tin: Select one or more images, press your Universal Actions hotkey and run the shortcut to upload your images. You'll get a notification and the links will automatically be copied to your clipboard.

Give it an Argument
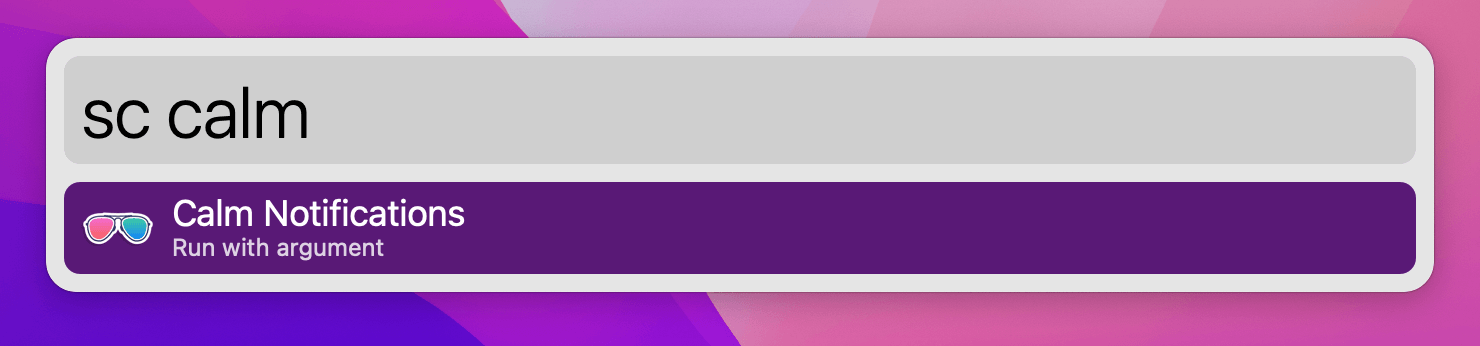
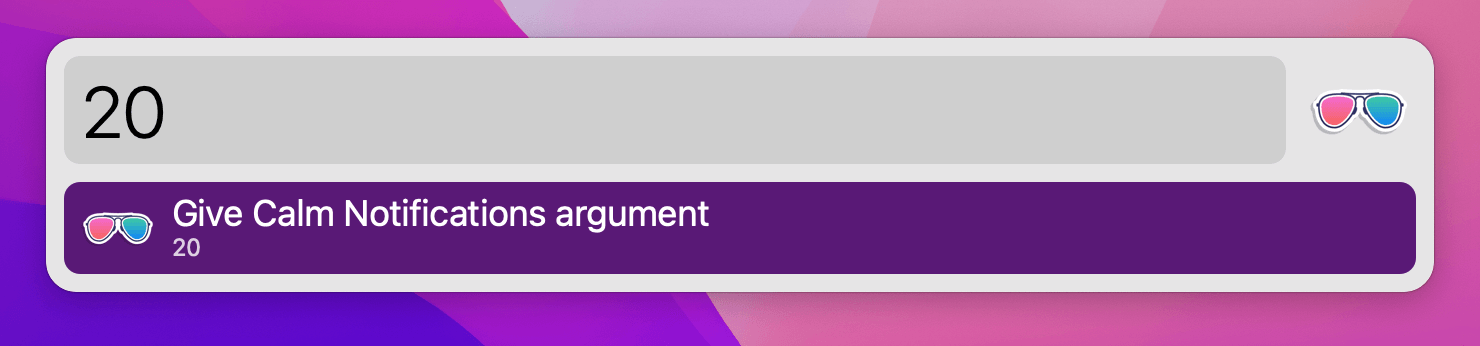
Calm Notifications controls Do Not Disturb. It needs an argument of on, off, or a number (enables Do Not Disturb for that number of minutes).
To give an argument to a shortcut, action it with ⌘↵. Alternatively, select text anywhere and press your Universal Actions hotkey - it works like passing a file.
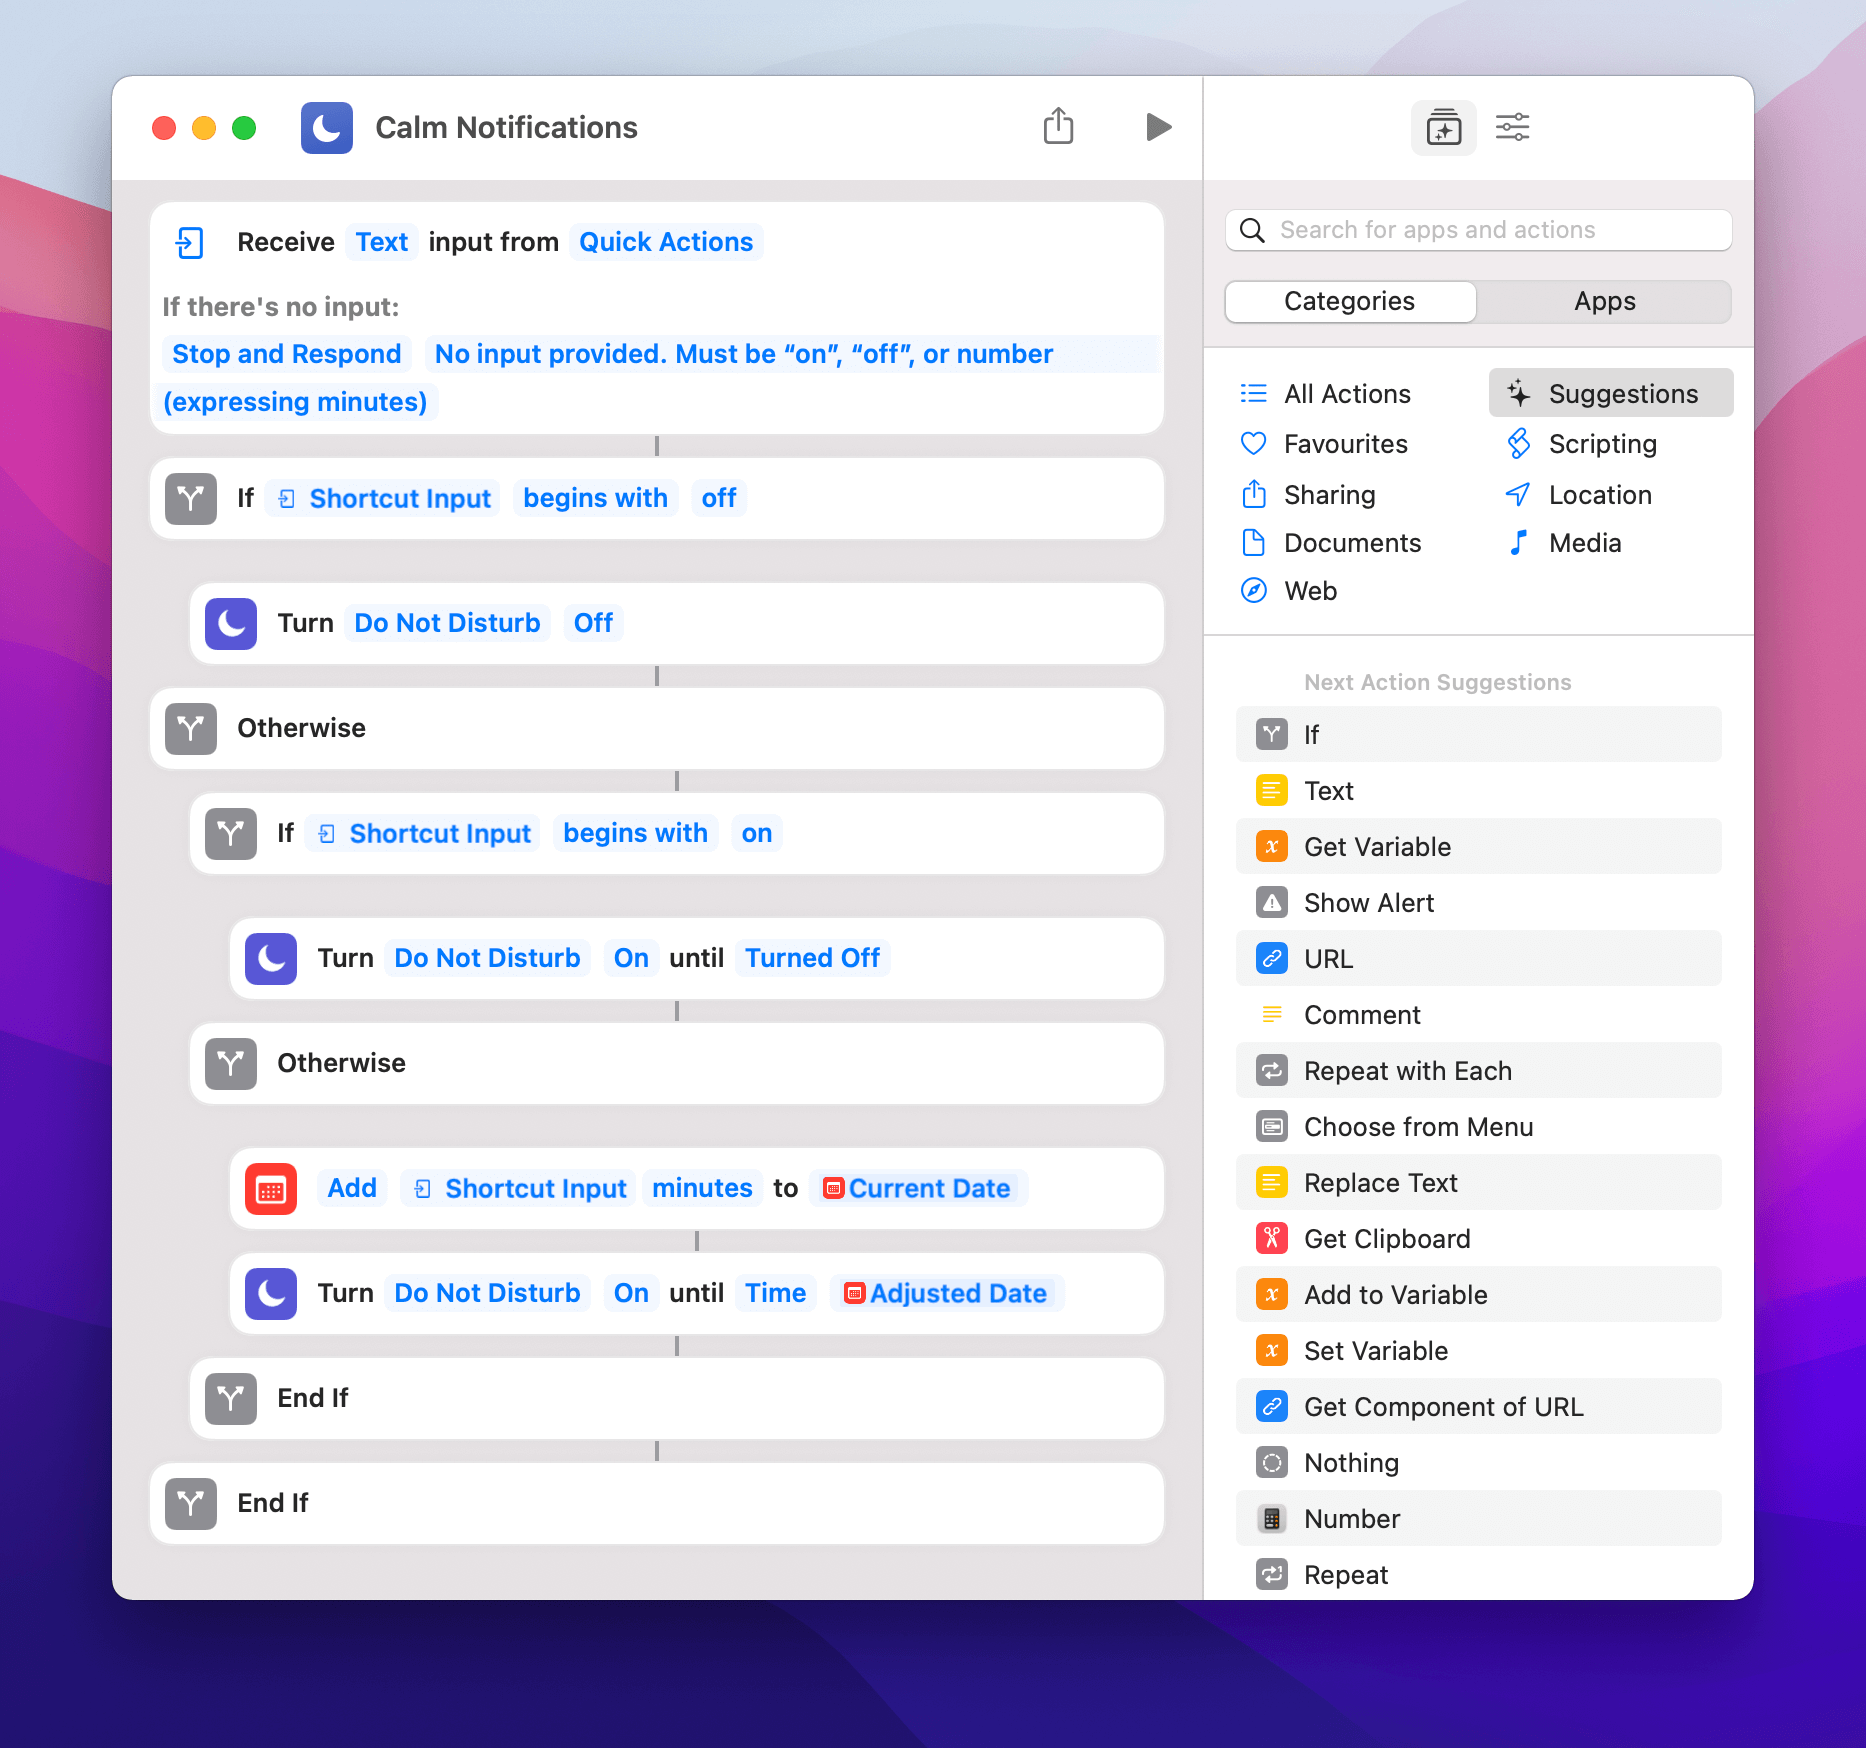
Adding arguments to your shortcuts is a powerful way to integrate them with Workflows. CalmNotifications is also a Workflow which seamlessly runs the above shortcut and uses other Alfred features to give feedback on the current state of Do Not Disturb.
Be sure to check John Voorhees's rundown of the Shortcuts Workflow at MacStories for more examples.
Did you know that you can use a single snippet keyword for multiple snippets? Typing your snippet keyword in any app will pop up Alfred with a list of options to choose from, and pressing Return will paste it to the frontmost app.
In this post, I'm using three email signatures as an example; Depending on the situation, I can choose which of my three identities I want to use.

Trigger Email Signatures with Snippets
If you'd like to follow along, you can download the example workflow on GitHub or you can create your own workflow and add the objects as you go.
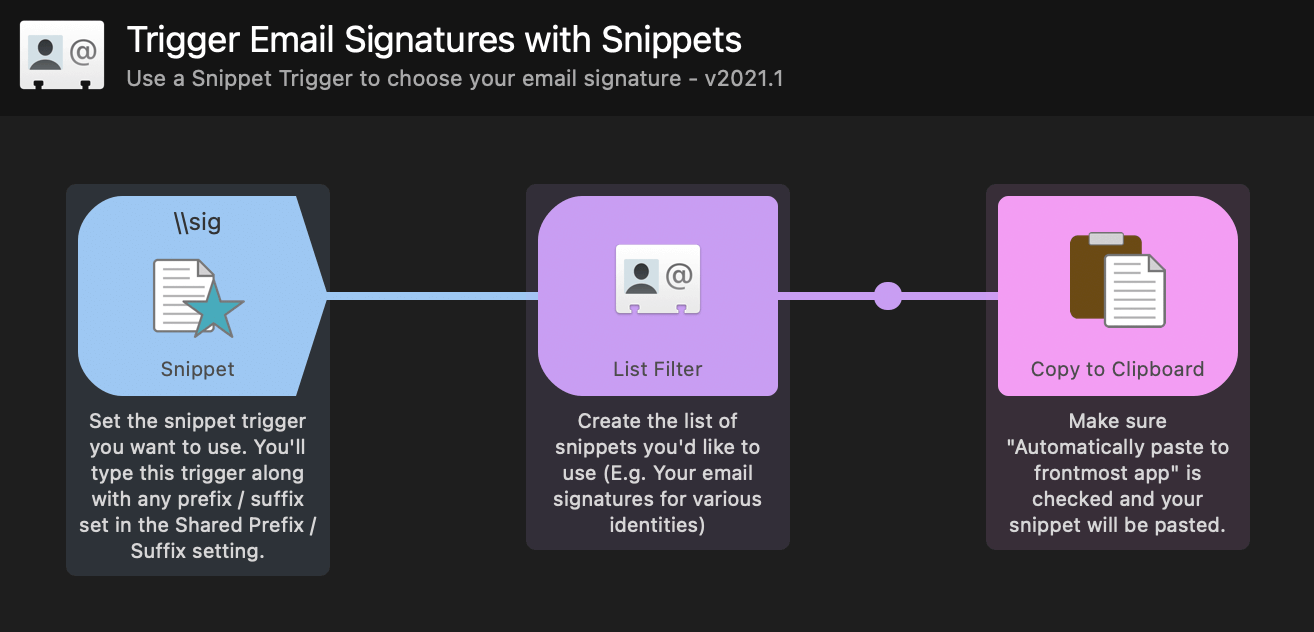
1. Using the keyword:
Open the Snippet Trigger object and set your keyword, which you'll type with any prefix or suffix you've set in the Shared Prefix box found in the Snippet Trigger object.
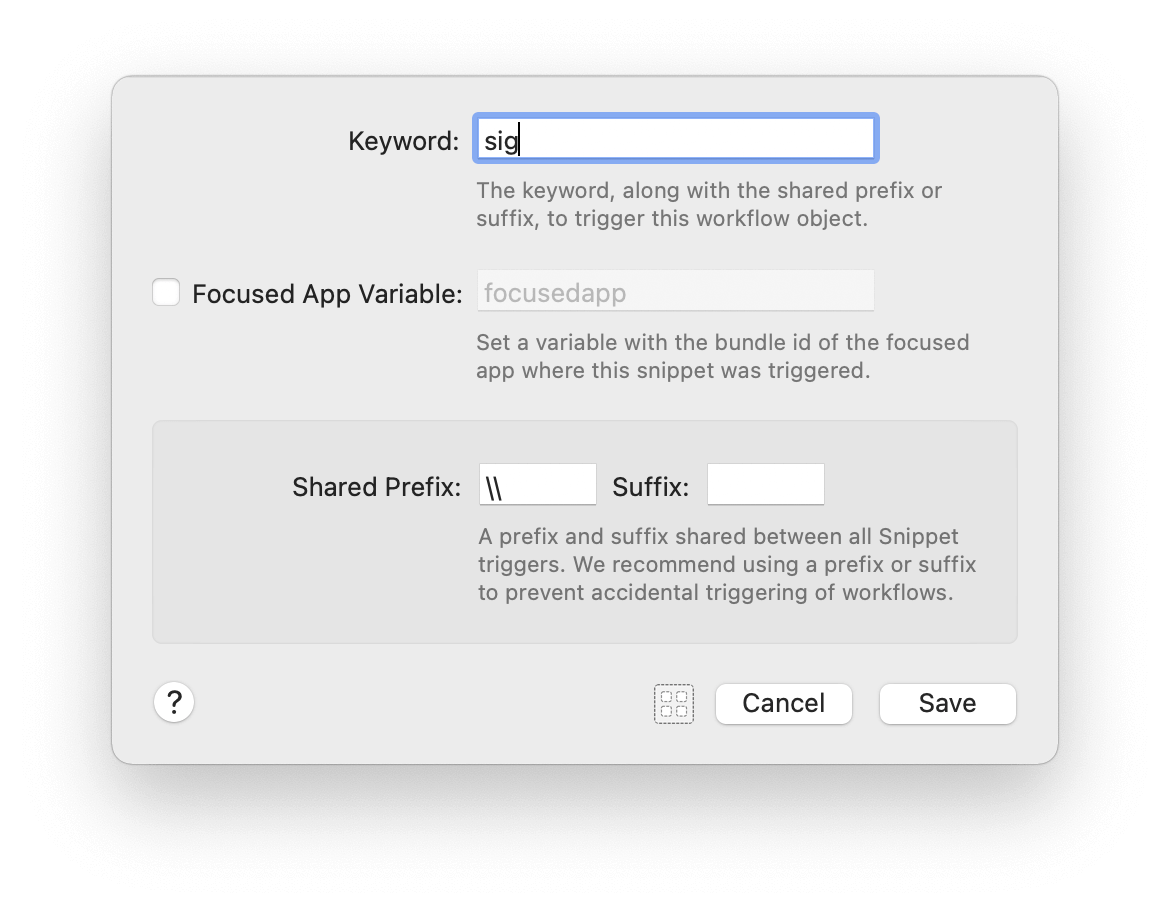
Note that in this example, my keyword is \\sig as the Shared Prefix is set to \\.
2. Setting the snippet content:
Change the content of your signatures in the List Filter object to reflect identities that are useful to you.
This can be used for any scenario where you need to paste different content, but want to only have to remember a single snippet trigger.
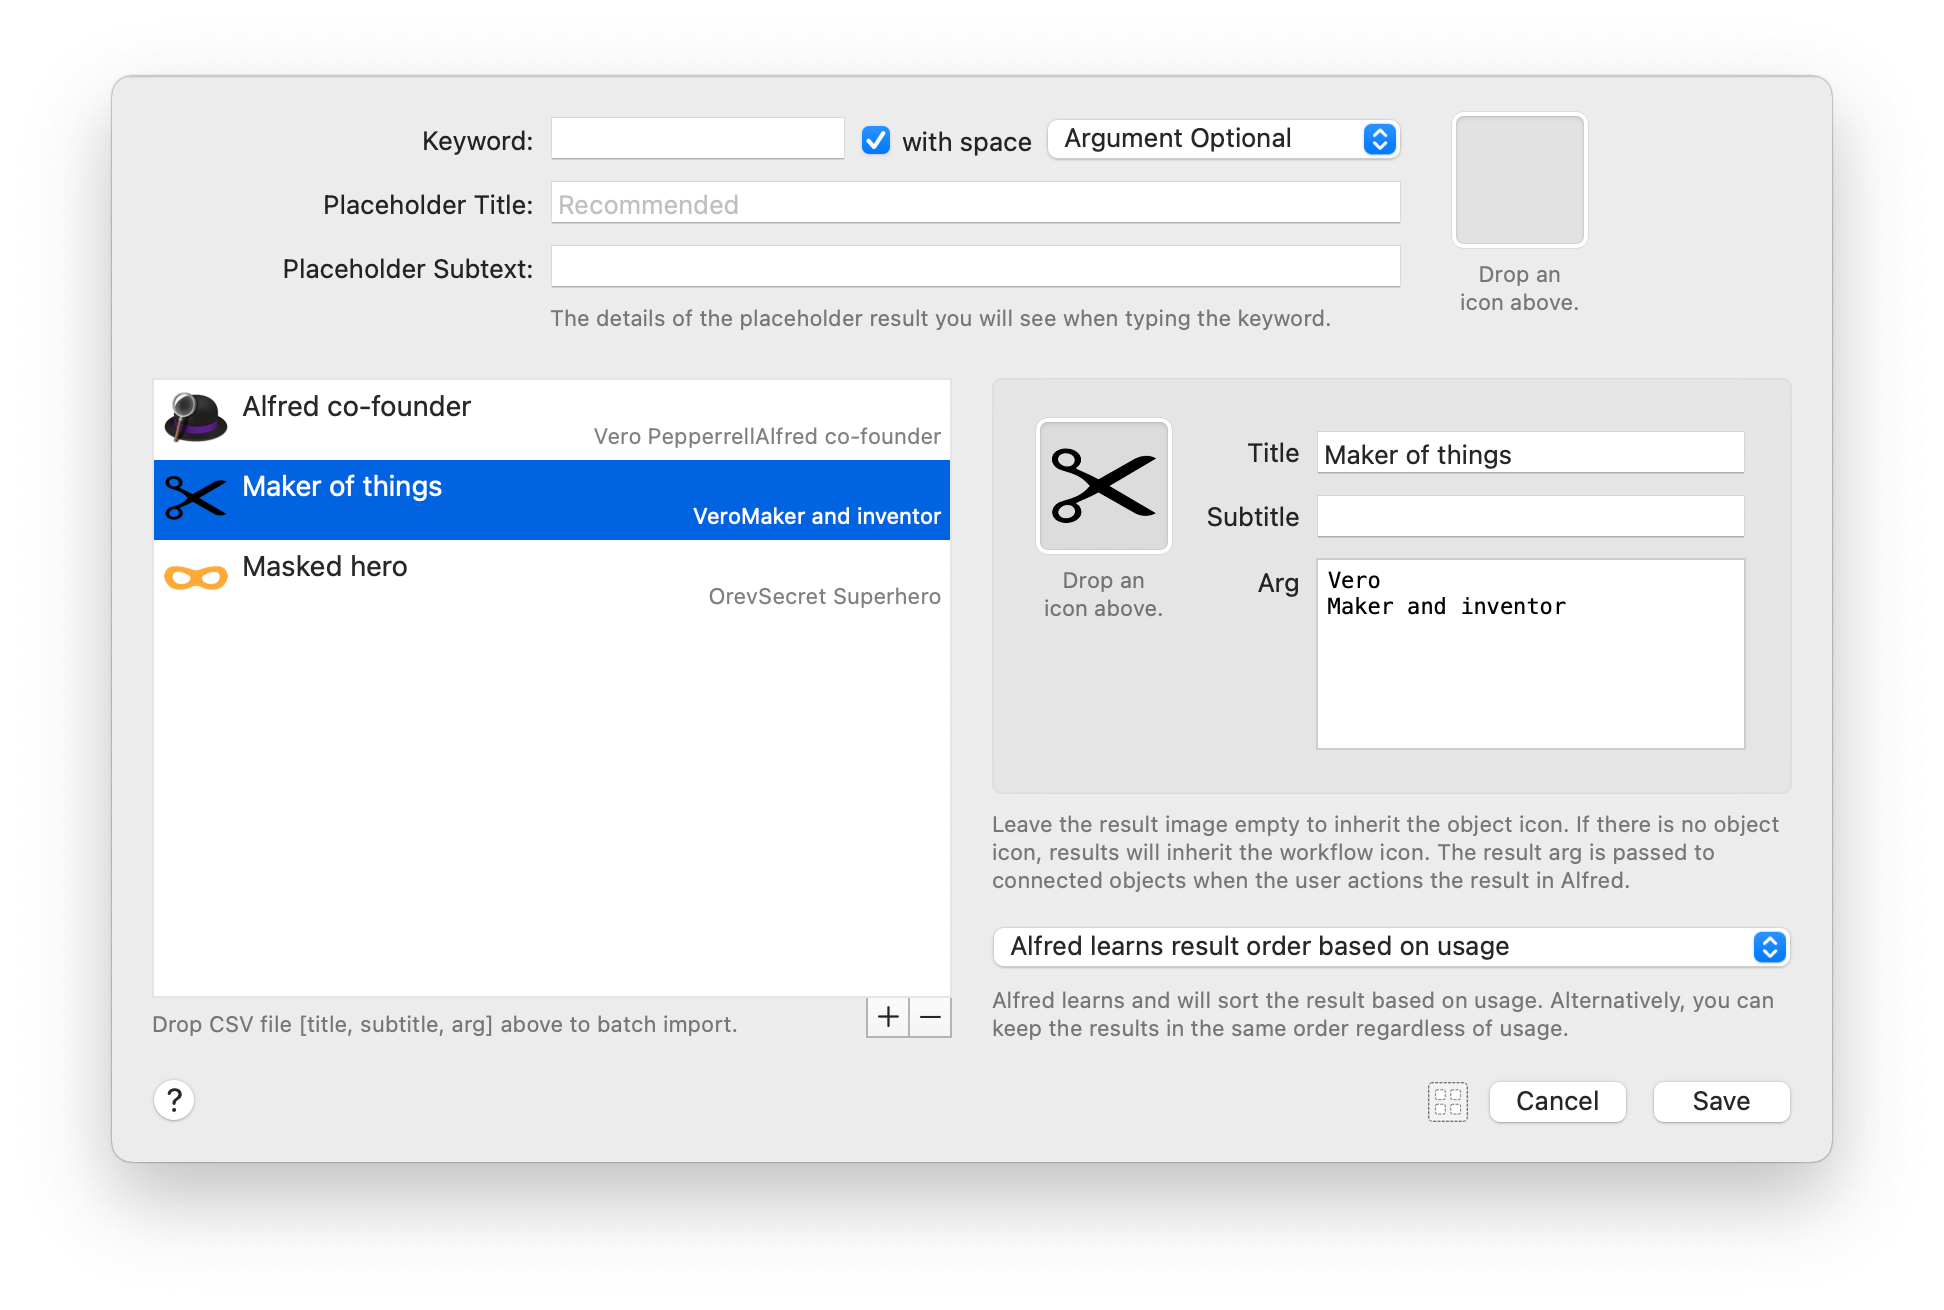
You'll notice that none of the List filter keyword details are filled in, as we won't be accessing the workflow through the list filter keyword in this case. However, you could fill this in and access the workflow from Alfred results too.
3. Pasting the snippet content:
The workflow is currently set to automatically paste to the frontmost app, so no changes are needed in this object.
Note that you'll need to have granted Alfred the necessary Accessibility permissions required for the Snippets feature. Here's a guide to setting up Alfred's Snippets Text Expansion feature if needed.
Open a text file or an email, type your snippet, choose the snippet you want to paste, press Return and like magic, your snippet will appear!
I bet you can think of you a dozen other ways you could use snippets like these now that you've created one.
 TinyPNG is a web service that allows you to reduce the size of your images with no perceptible loss in quality, while shrinking the size of your files significantly. It's brilliantly useful, so we've made a workflow for it!
You can compress PNG, JPEG, and WebP images without having to hop over to their website and manually dragging in images, as their API makes it a breeze to use directly from the TinyPNG Alfred workflow.
Whether you're designing a new website, posting to your blog or creating an Alfred workflow, the more optimised the images are, the more lightweight your page or workflow will be. Using TinyPNG can shrink a file size to a tenth its original size, making your exported workflow far more suitable for sharing!
Setting up the TinyPNG Workflow
1. Install the workflow
Install the TinyPNG Alfred Workflow from the Alfred Gallery, which will launch Alfred's preferences and pop up the workflow's Readme and setup window.
2. Get your API key
You'll have to register for an API key and add it to the Workflow’s Configuration.
Because TinyPNG's compression is lossy - meaning information is discarded - the Workflow backs up your originals. By default, they are saved to a temporary directory which is cleaned on every reboot.
As of writing, TinyPNG lets you compress 500 images per month for free.
3. Choose your favourite way to use the workflow
You can access the workflow in a few ways; File Action, File Filter, or External Trigger, take your pick!
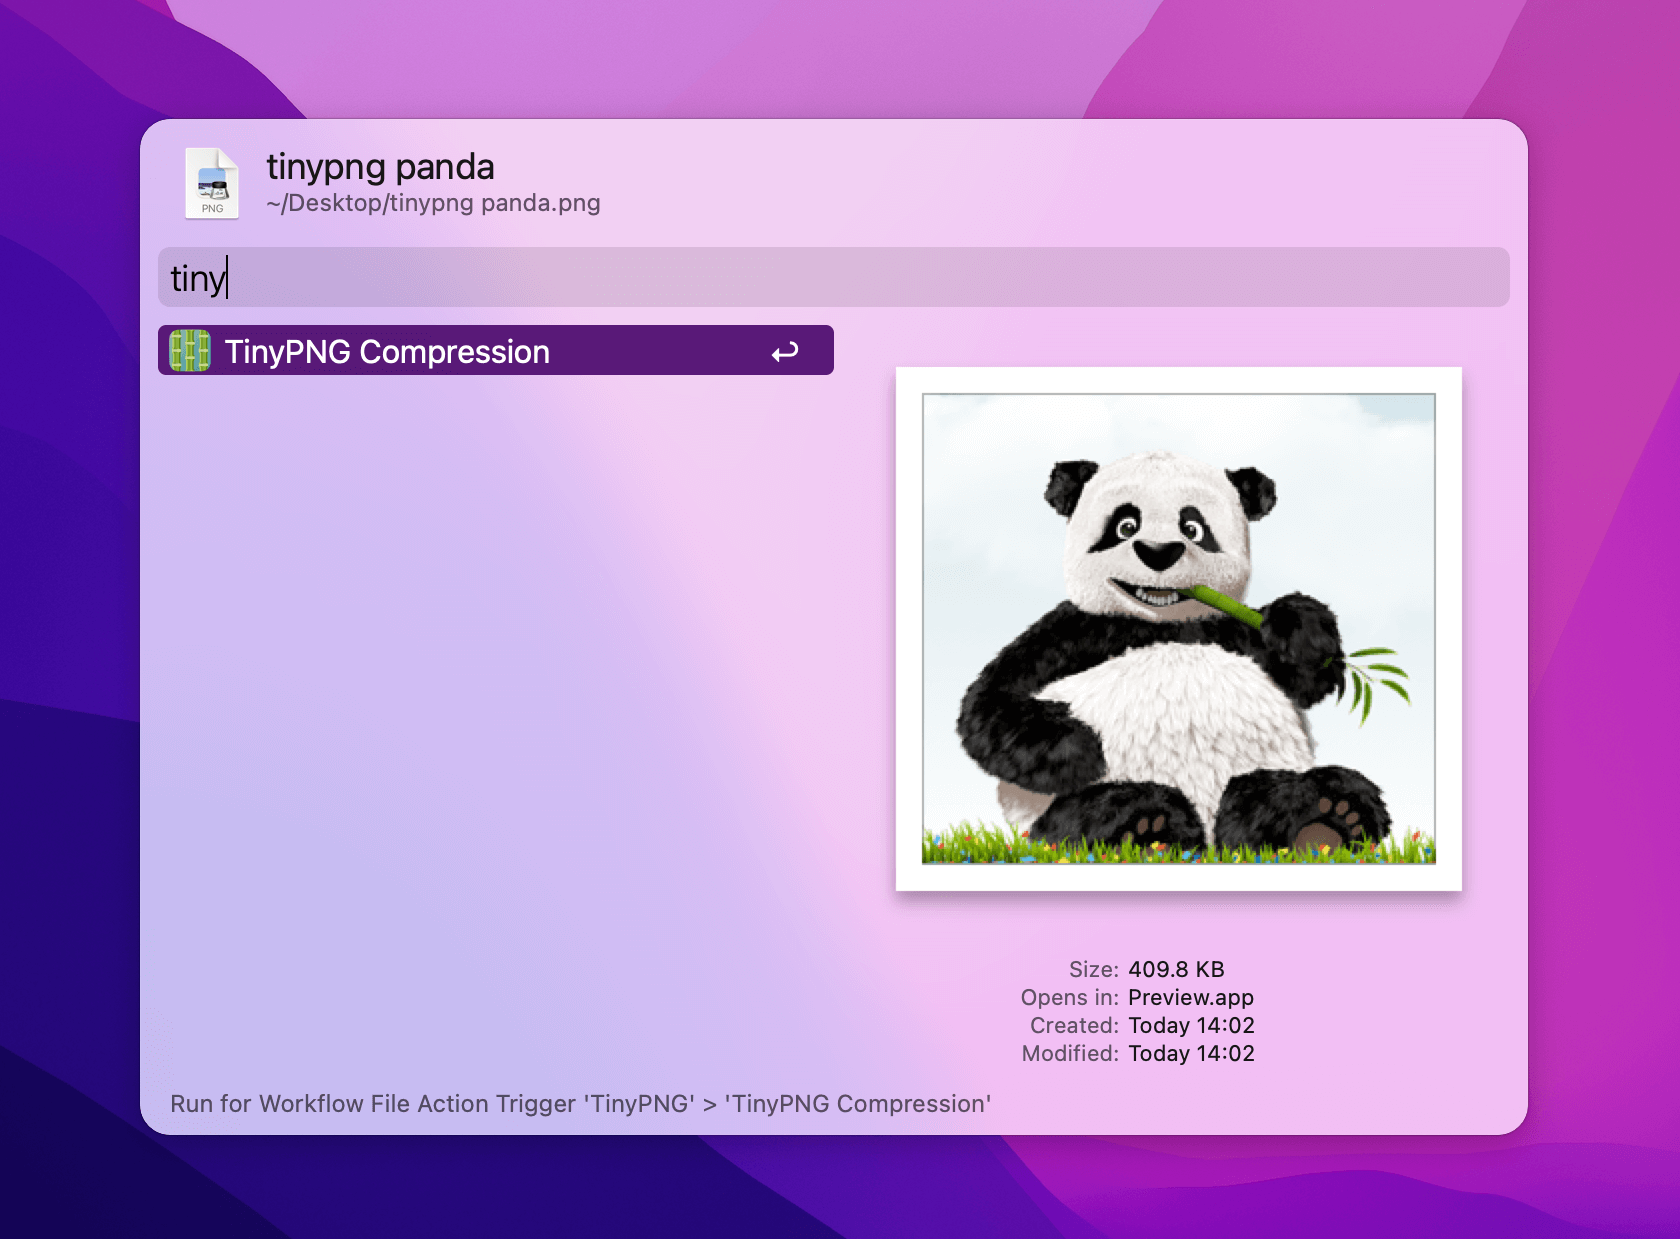
To use it as a File Action, select one or more files in Alfred or Finder, and use your Universal Action hotkey (which is ⌘/ by default) to pop up the list of actions. You can then type "tinypng" or choose "TinyPNG Compression" from the actions list.
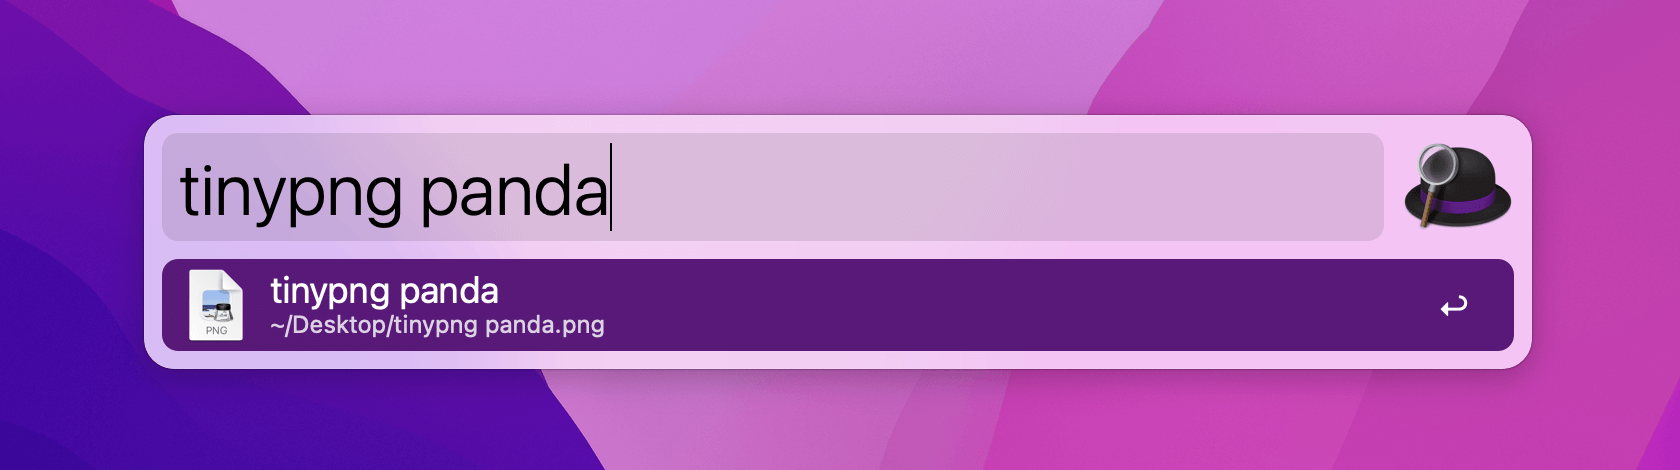
To use the File Filter, use the keyword "tinypng" in Alfred to choose the workflow, then search for the name of the image you want to optimise.
And finally, you can use an External Trigger to call this action from another workflow or AppleScript.
tell application id "com.runningwithcrayons.Alfred"
    run trigger ¬
        "compress" in workflow ¬
        "com.alfredapp.tinypng" with argument ¬
        (POSIX path of (path to desktop folder)) & "tinypng panda.png"
end tell
Enjoy your efficiency boost!
If you use Google Drive on macOS, chances are Spotlight isn't indexing your File Stream paths. This long-standing limitation is a problem because if Spotlight can't find those files, neither can Alfred.
Or can it?
Alfred uses Spotlight's indexing, so it sees what it sees. By default. With Alfred's Workflows you get greater flexibility of results and powerful combinations: if you'd care to do it, you could even use Workflows to build a mini private Spotlight targeting a specific set of files.
So that's what we did.
The Google Drive Workflow has gradually evolved with the help of our users on the forum. It relies on standard tools to create a database of your Google Drive's local structure without requiring futzing with API keys or complex configurations.
Using the Workflow
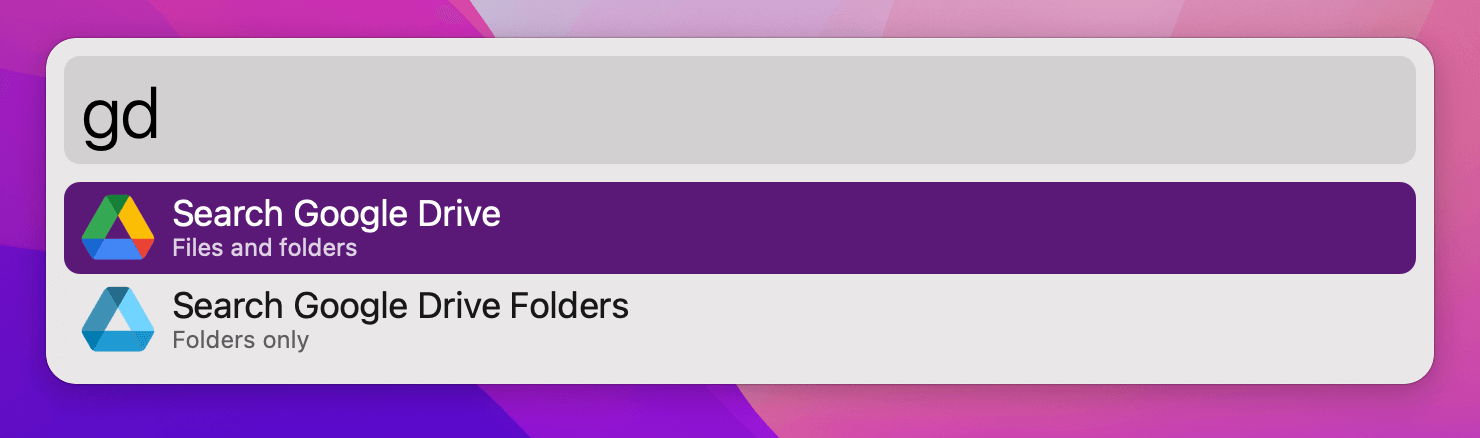
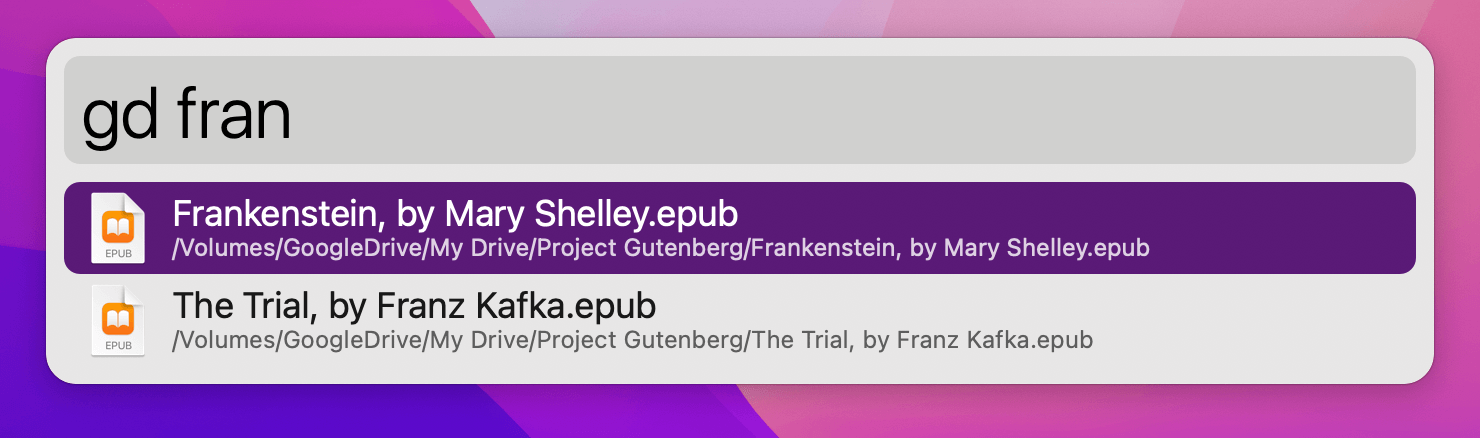
After you install the Workflow, invoke Alfred and run gd or gdf to find your files and folders.
On the first run you will be prompted to build the file cache. It will take a while, depending on how many files you store in Google Drive, and will present a notification when done. After that it will be automatically rebuilt every day.
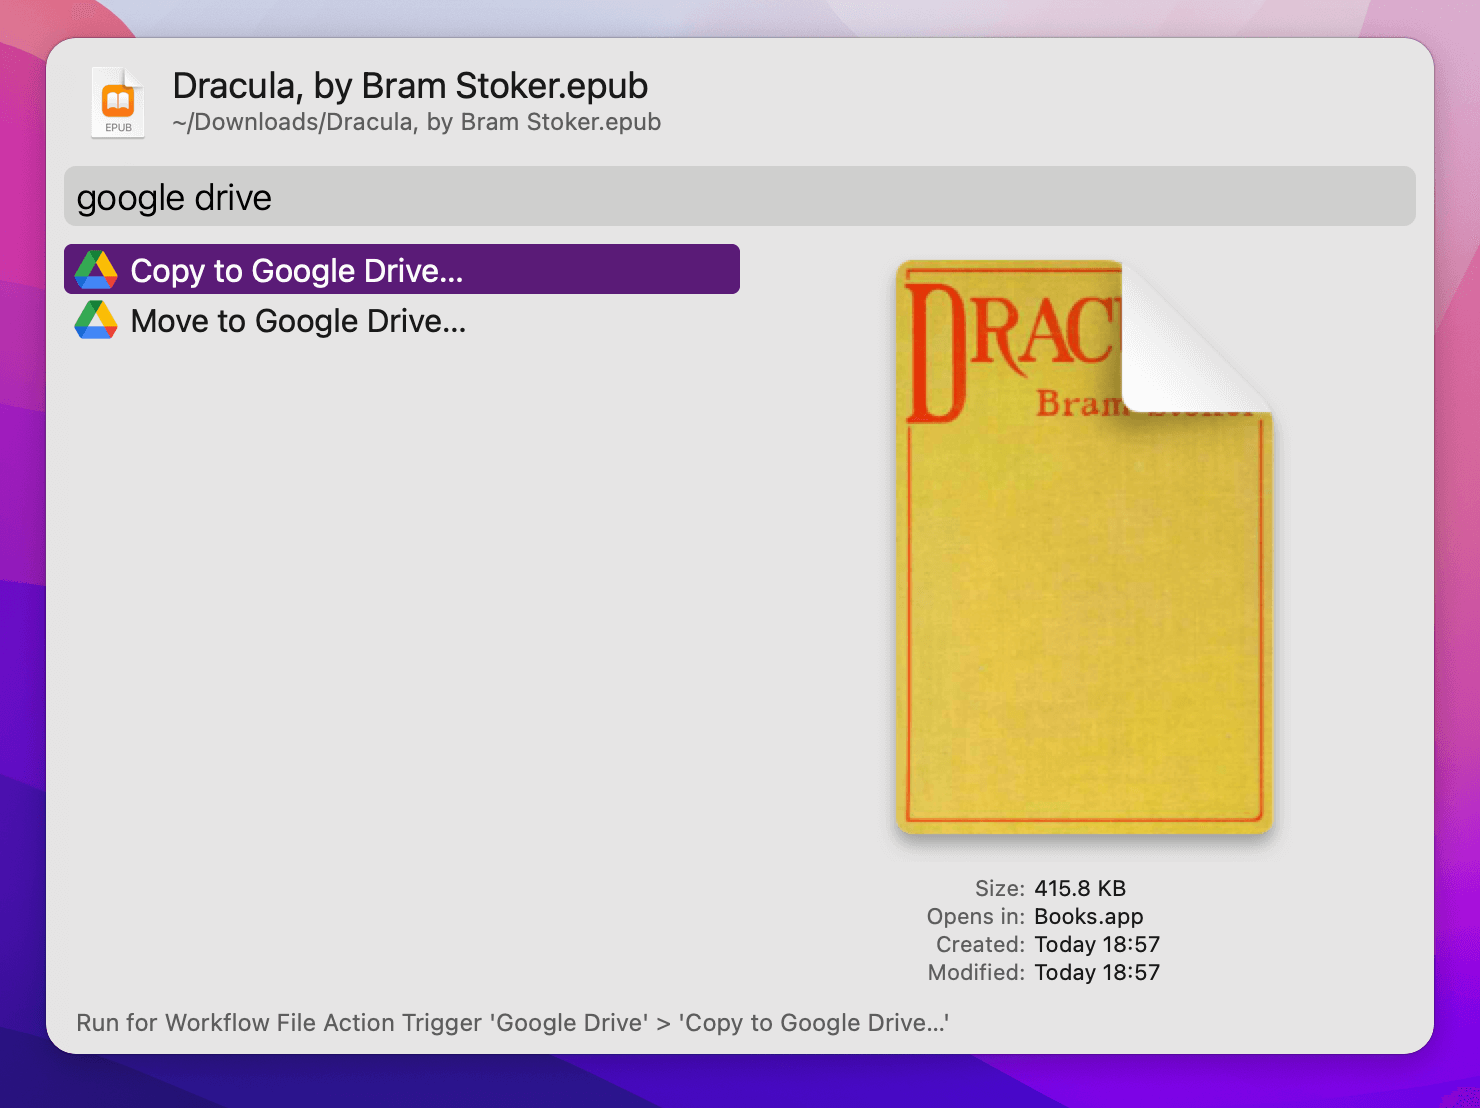
Actions will work as expected, and two more are introduced to quickly send files to your Google Drive.
The Workflow has sane defaults but does allow a degree of customisation. See the instructions for details on the options.